09-27-2024 - Technical Guides
7 Workflow Tips to Help you Transition From the FX3 to the FX6
By: Yaroslav Altunin
The Sony FX line is a robust range of workhorse cameras that excel when used to support each other. Whether it’s a reality show like Deadliest Catch or a narrative project like Shōgun, it’s common to see different types of Sony cameras on set.
However, each camera was created as a standalone tool, which means that when a creative moves from one platform to another, certain workflow and technical changes must be considered.
If you are a cinematographer actively using the Sony FX3 and are now moving onto the FX6, let’s look at how your workflow will change when setting up your FX6, using LUTs, and Cine EI mode.

Setting Up the FX6
Whether you’ve rented out your camera and you’re not sure which settings have been changed or you just need to return to factory settings, the Sony FX6 has a few more options for creatives to choose from compared to the FX3.
To access the reset menu on your FX6, open the menu, go to Maintenance, and then select All Reset.
As of firmware Version 5.00, users will find three options:
• Reset
• Reset Without Network
• Reset to Factory Defaults
When using Reset, your FX6's settings, passwords, and wireless connections will be reset to factory defaults. This is the setting most creatives will choose when returning their camera from a rental. But unlike the Reset to Factory Defaults option mentioned below, this will not delete your LUTs and will not force you to set the language, clock, and location. It’s a quick way to get your settings back to a baseline.
Reset Without Network functions exactly like Reset, but it takes the additional step of not resetting the Network menu settings. This will ignore all the settings found in the Network Menu, such as the mobile app setup, wireless and wired LAN connections, and camera control settings.
If you’ve made many changes to your settings for a specific project, such as your Exposure Index, White Balance, or custom button setting, and you need to wipe them but keep your Network setting intact, this is the option to pick.
Finally, Reset to Factory Defaults will completely restore all of your settings and delete all your files, such as your language, timezone, LUTs, monitoring settings, and custom button settings, making this a great option if you plan to sell your camera.
When you have a fresh settings baseline to work from, creatives can reactivate all of their favorite settings by using an All File, a single external file that contains a record of non-factory changes made to your camera.
To generate an All File, set up your camera with the necessary settings, insert a memory card into Slot B, open your menu, and navigate to:
User>All File>Save to Media (B).
This will save a special file onto the card that can then be loaded from the same menu. Any settings on the camera when the All File was created will be restored.
With this workflow, no matter what changes were made to your camera, you can be sure that you can start with a clean baseline and restore your favorite settings that aren’t factory defaults. Do note that this won’t save your passwords or your LUTs. Those will have to be added back in manually.

Understanding Your Exposure Index
Both the FX3 and FX6 have similar types of Log Shooting Modes, which allow users to shoot in the S-Log3 gamma curve. These include Cine EI, Cine EI Quick, and Flexible ISO. However, the Sony FX6 has a fourth option: Custom.
In the FX3, users will find the Log Shooting Modes by using the following menu tree:
Shooting>Image Quality/Rec>Log Shooting Setting.
For the FX6, these options can be found in Project>Base Setting>Shooting Mode.
Custom Mode allows users to “bake in” a look in-camera while on set without the need to finish it in post-production. This sets your color space to either Rec.709 or Hybrid Log Gamma broadcast standards. Creatives can use this setting to build a look in camera that won’t need to be managed in post-production, which is great for projects with fast turnarounds such as news gathering, live production, or even documentaries.
In Cine EI, a BASE EI of either 800 or 12,800 can be selected, and from here, creatives can adjust their Exposure Index to change the distribution of the camera’s dynamic range. This won’t change the ISO level but provides fine control over how your camera handles highlights and shadows. For example, when shooting at a base of 800 with an EI of 200, the camera will have 11 stops of dynamic range under 18% gray (or middle gray) and 4 stops above. When setting your EI to 3200 at a base of 800, the distribution will change to 8 stops under 18% gray and 7 stops above 18% gray.
When shooting in Cine EI, the base must be set manually, but when set to Cine EI Quick, the camera switches between 800 and 12,800 automatically.
To preview footage shot in either Cine EI modes, creatives had to use Catalyst Browse. But with the current version of DaVinci Resolve, FX6 footage shown in the Cine EI modes can now be viewed with their exposure shifts.
Finally, the third mode—Flexible ISO—functions more like an Alpha series camera. When using this mode, any ISO value within the range can be selected. This adds flexibility to your workflow, but also increases noise.
While both the FX3 and FX6 are very similar in their Log Shooting Modes, the FX6 provides a more versatile user experience. The ISO/Gain Switch gives creatives the ability to set three levels of ISO in any shooting mode. When used in conjunction with an Assignable User Button, users easily make changes without having to enter a menu to switch their ISO or shift their ISO when working in Cine EI mode.

Managing Your LUT Workflow
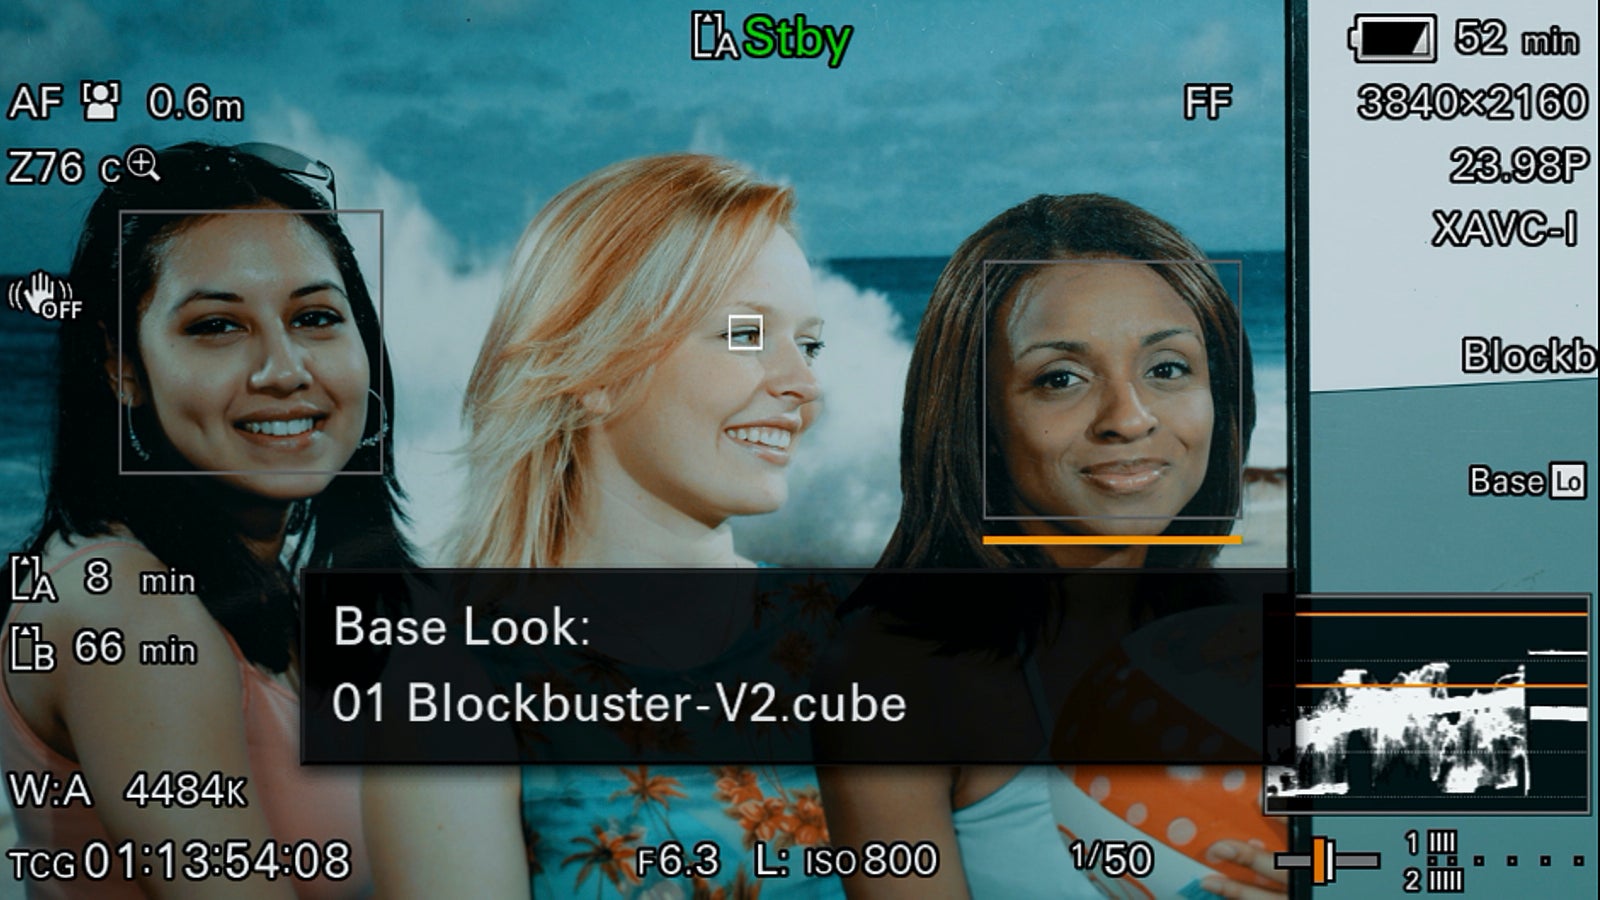
When working in any Log Shooting Mode, it’s important to have a monitoring LUT to be able to view the LOG footage in your desired color space. This is equally important when using the Custom shooting mode, as whatever LUT you choose, will be baked in the image.
While the FX6 comes with several display LUTs, let’s examine how to import new LUTs into your camera and set up the proper viewing settings for your project.
To import a LUT into the Sony FX6, you must first format a memory card in card Slot B. This will create the proper folder structure on the card. Upon connecting this formatted memory card to your computer, navigate the following folder path:
Private>Sony>Pro>LUT
Copy over any LUTs you want to have on your camera. The FX6 and FX3 can both hold up to 16 different looks. Once the files are copied, reinsert the memory card into Slot B on the FX6. Then open the menu and navigate to:
Paint/Look>Base Look>Import from Media (B)
In Step 1, select the slot you want the LUT to live in. Then, select your LUT in Step 2, and it will be loaded into that position. To ensure the LUT is active for the right viewing experience, open the menu again.
Navigate to Shooting>LUT On/Off.
In this menu, you can select where you want your LUT displayed—either via SDI/HDMI, the viewfinder or outputting to a stream, or recorded internally to bake it into your footage. These options offer more flexibility compared to the FX3, as you can preview the LUT in your viewfinder, but have a clean LOG image going out to a monitoring system. The benefit here is to provide more flexibility to you and your production team.

Never Miss a Moment with Cache Recording
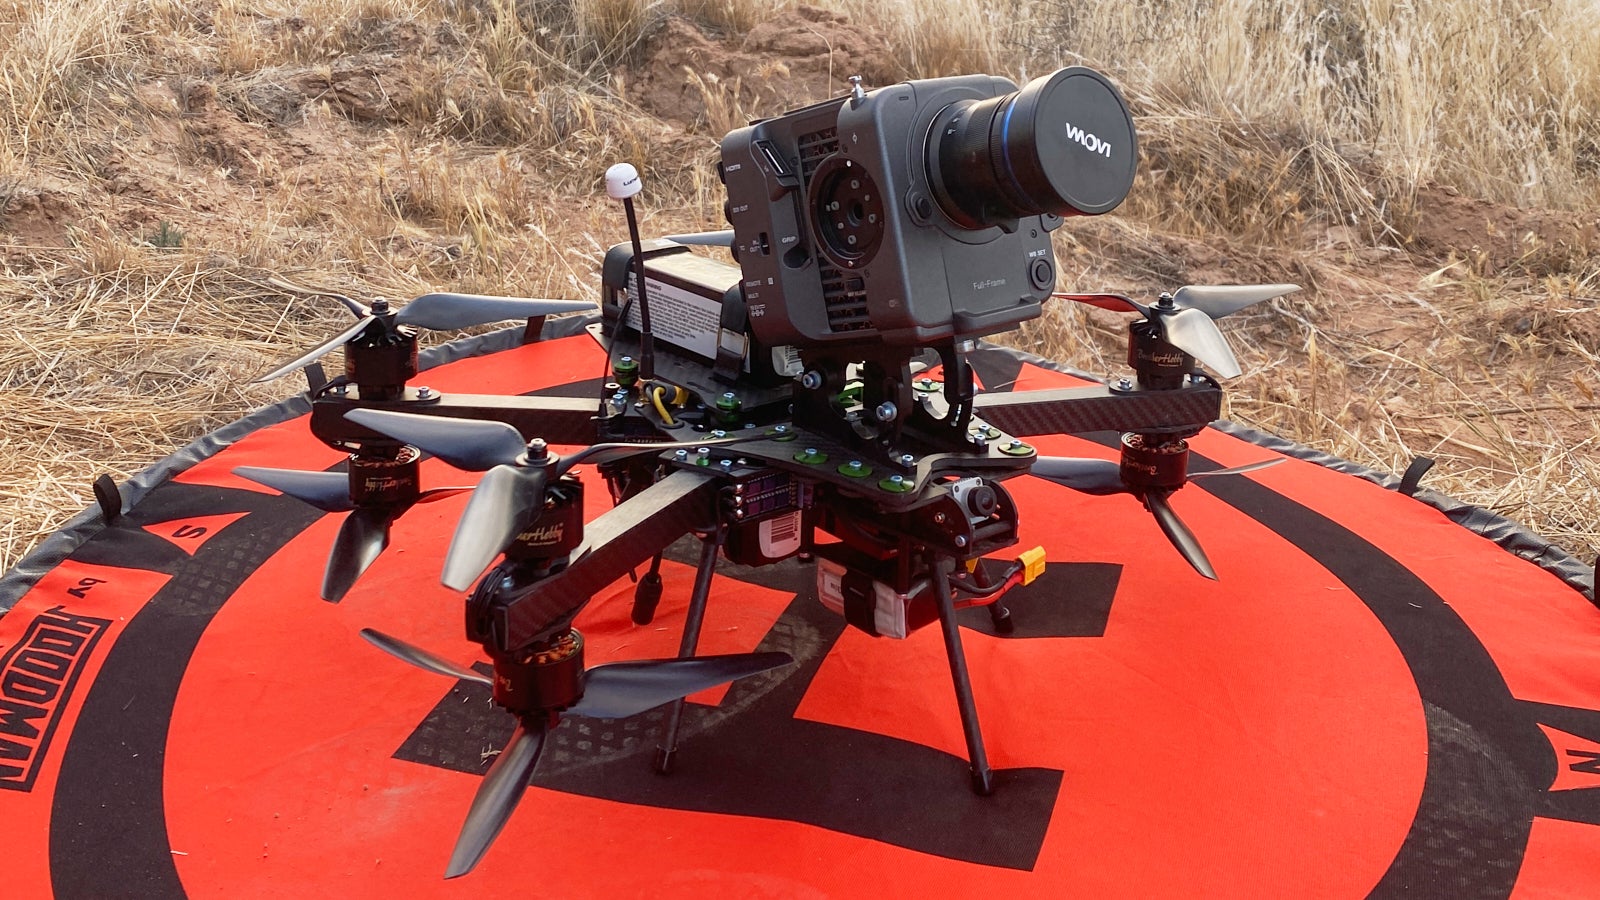
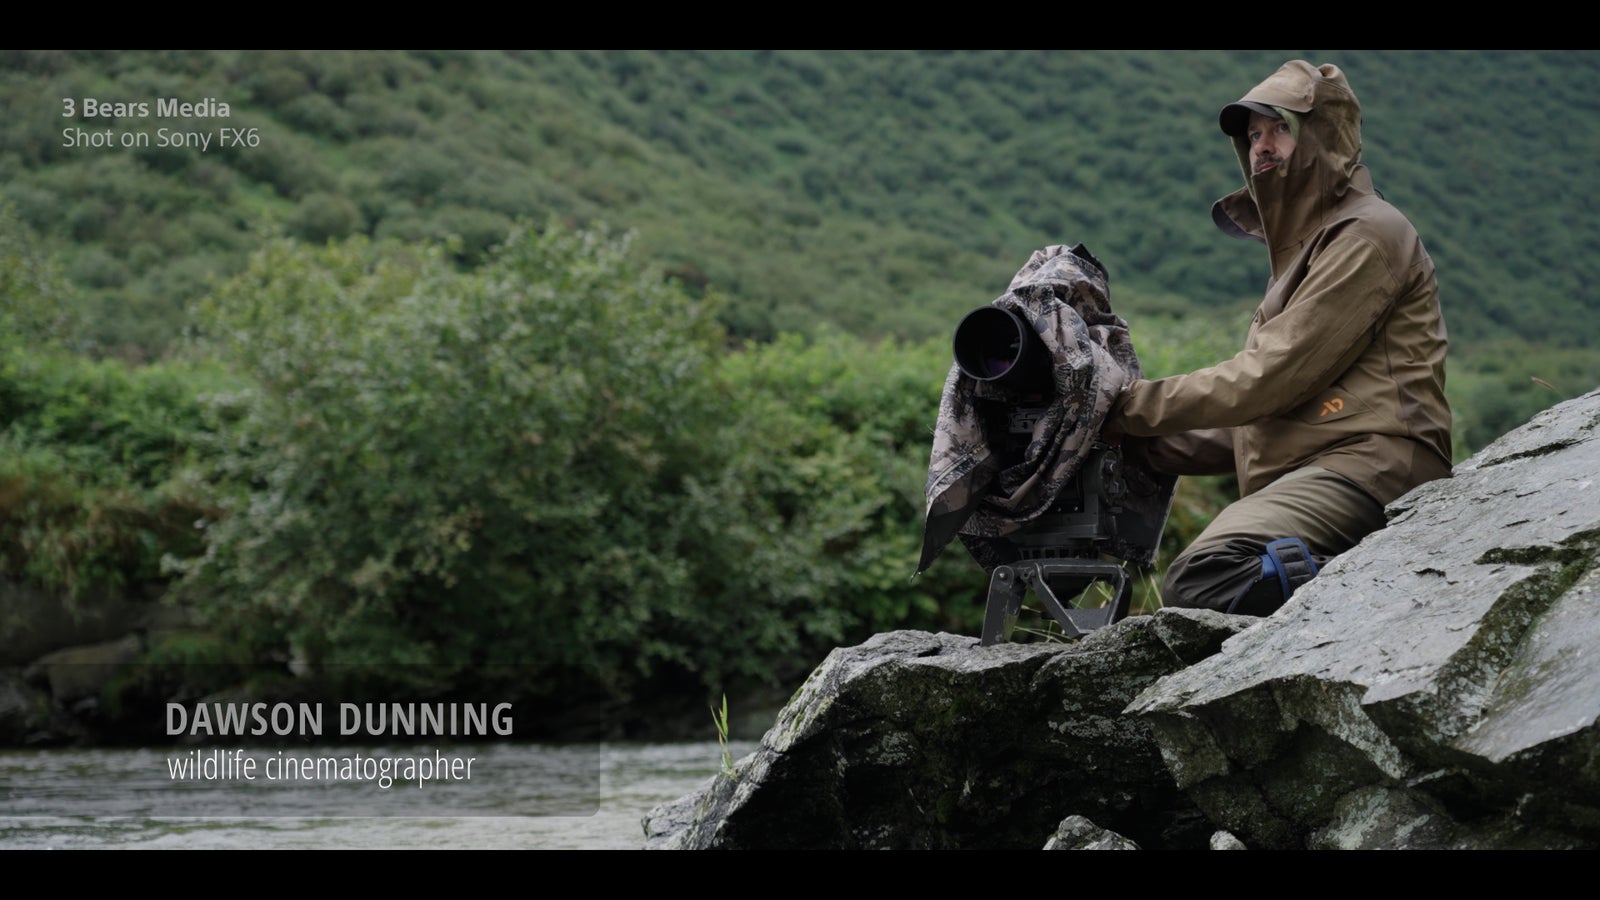
The Sony FX6 is capable of shooting high frame rate footage using S&Q mode, while using Cache Recording, and taking advantage of autofocus. This makes it a powerful camera for wildlife and sports.
But what is Cache Recording?
When this setting is turned on, the FX6 continuously records footage up to 3 or 31 seconds, depending on your resolution and frame rate. This footage is only recorded to temporary memory (or a cache) and is constantly overwritten over the record limit set by the settings. When the record button is pressed and a clip is recorded onto the media, the cached footage is added to the beginning of your footage. Creatives can use this to catch once-in-a-lifetime moments, like a whale breaching or a footballer catching a pass, without having to roll the camera and eat up memory card storage.
The FX3 also includes Cache Recording, but because of its form factor, it only allows for up to 6 seconds, depending on the image settings.

How and When to Reduce Noise
Noise reduction is an integral part of the FX line, as it allows for crisper images. However, some creatives might not want noise reduction, so they can control it in post-production. The saying goes, you can always remove noise, but you can’t add detail back in that noise reduction has affected.
But isn’t image noise bad? Not always, as the perceived image resolution can be higher without Noise Reduction. Also, creatives sometimes like the texture that camera noise can offer. It’s all a matter of taste and story.
In the FX3, noise reduction can be adjusted but not turned off. On the FX6, this isn’t the case. Noise reduction can be completely turned off or adjusted to meet the needs of your project. By going down the following menu structure:
Shooting>Noise Suppression
Here, you can turn Noise Reduction off or set it to Low, Medium, or High. Once again, it’s all about providing flexibility to your project.

Proper Formatting Techniques
Another important part of your workflow with the FX6, will be how you format your cards. With the FX6, creatives have two options for formatting their media cards.
Full Format and Quick Format. But which one is right for you?
Quick Format is a unique workflow option that only removes the file structure on the media card. While the footage data is still on the card and can be recovered, the card can safely be used. Any data will be overwritten once the card fills up. However, there are certain circumstances when you may have formatted a card accidentally.
When using Quick Format, users can recover the data that hasn’t been overwritten yet.
On the other hand, Full Format completely erases the data and file structure on your media cards. None of the files will be recoverable. This is necessary when working on a show that needs to maintain high-security protocols around its footage and is especially critical when renting cameras and media cards from a rental house. These tools may end up on another project, and if the cards were erased using Quick Format, your footage can be recovered if it hasn’t been overwritten.

Moving From FX3 To FX6
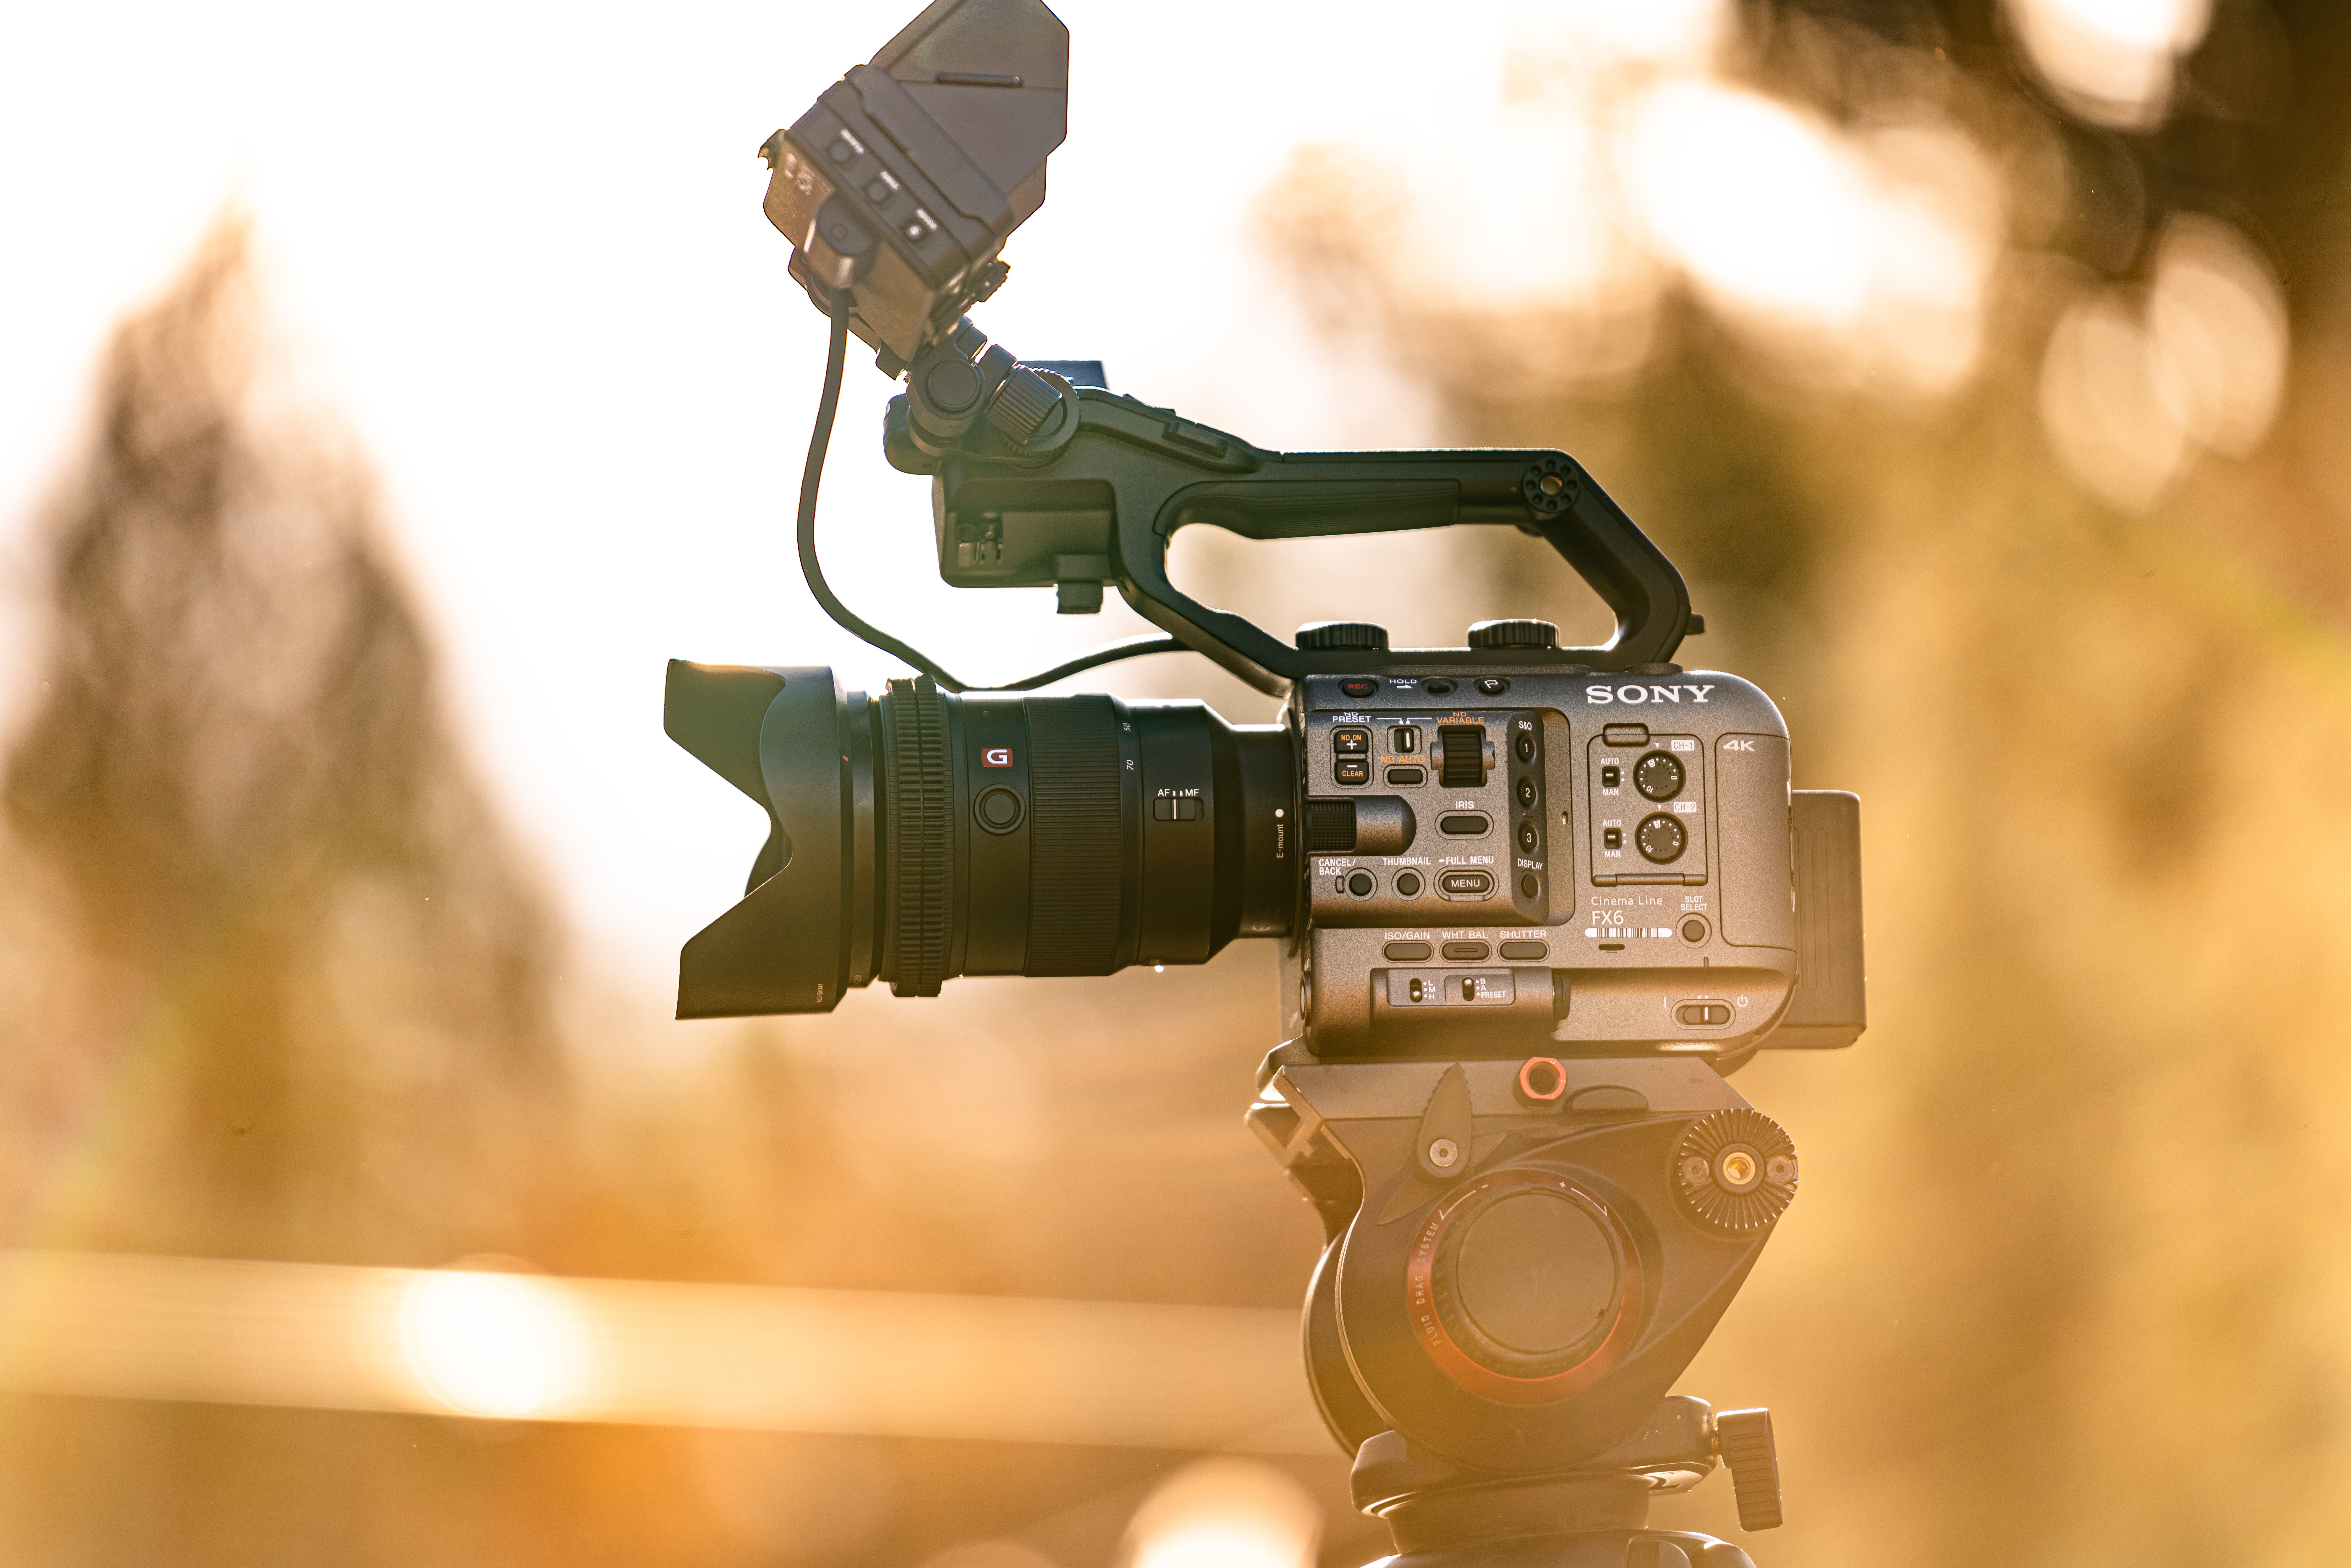
Shooting on the FX6 over the FX3 has several benefits. Creatives will find an expanded feature set, a more efficient button layout, and internal ND filters. When upgrading, it’s important to learn these differences, but also to understand that both cameras excel in their own niche, and sometimes, both cameras are needed to fully capture a project.
Which camera fits your needs best will depend on the size of your camera team and the scope of your project.