10-19-2023 - Technical Guides, Gear
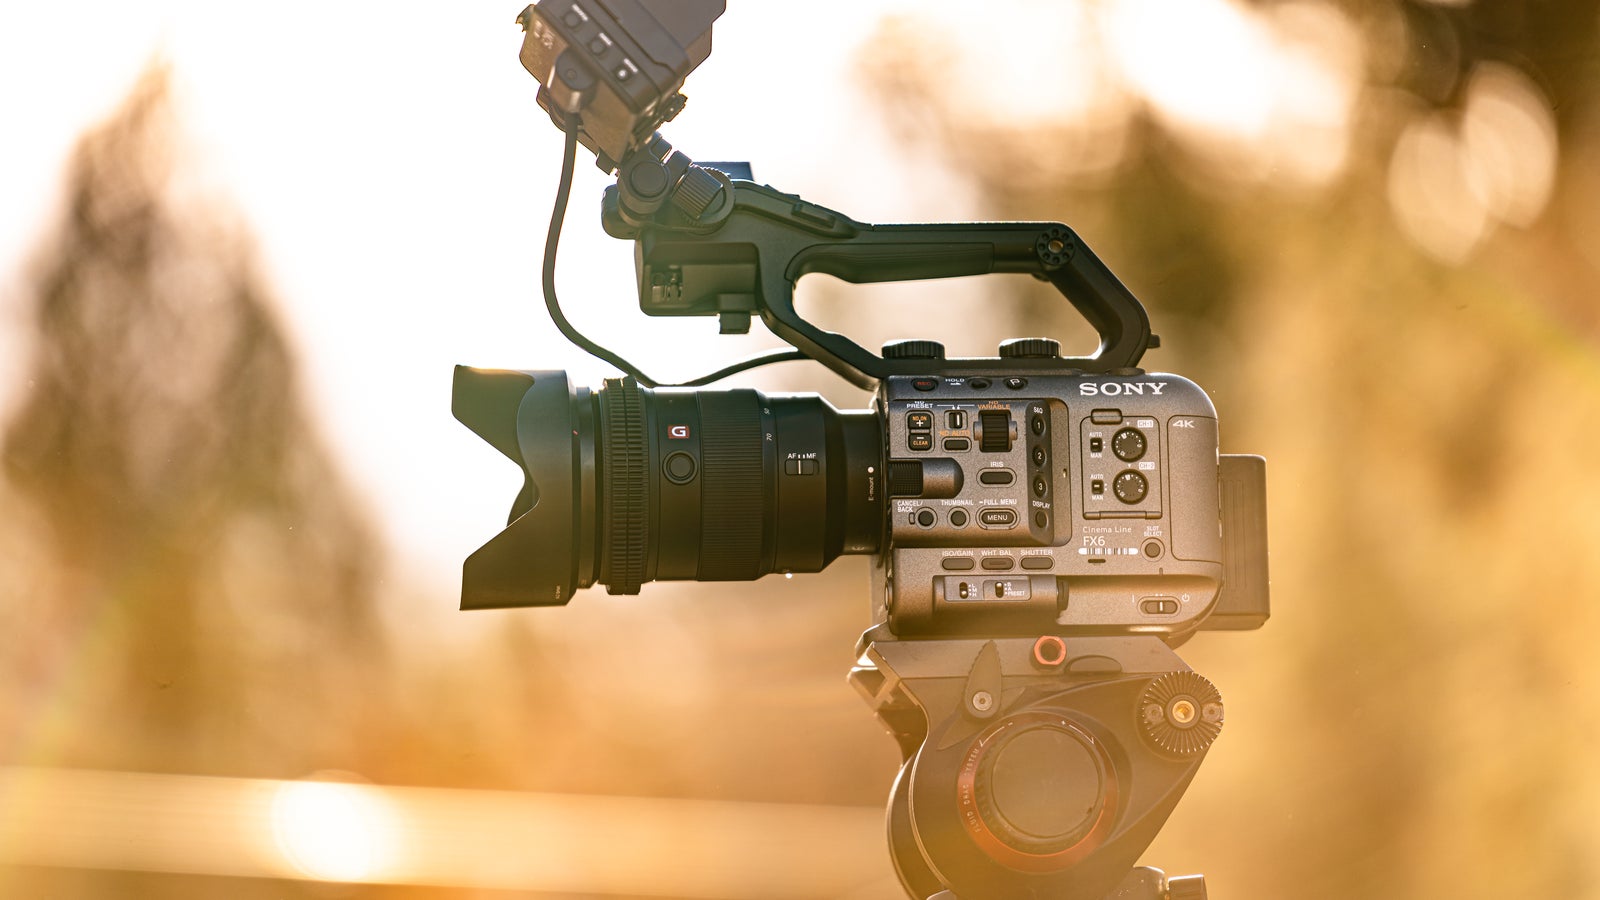
Sony FX6 Settings
By: SonyCine Team
Even the best camera in the world is useless if you don’t know how to operate it. That’s why it’s essential to understand the ins and out of your camera’s menu. In this guide to the Sony FX6 menu, we’ll go over each menu option so you can feel confident in the camera settings you choose for your next shoot.
Looking to skip the guide, we have free downloadable presets here: Camera Setup File Downloads | Sony Cine

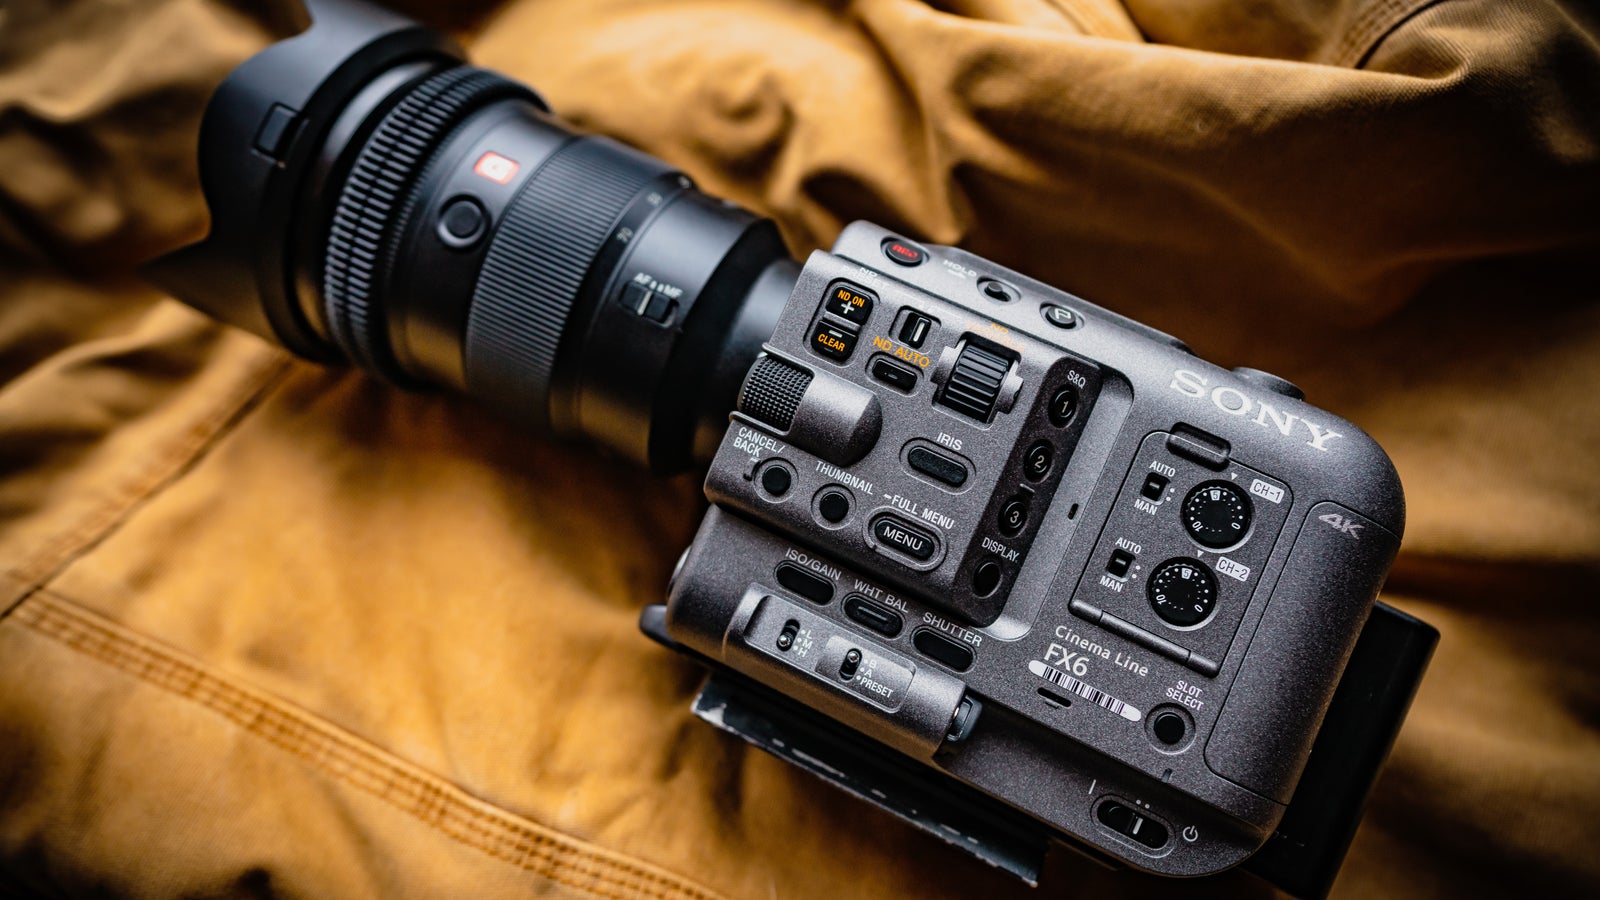
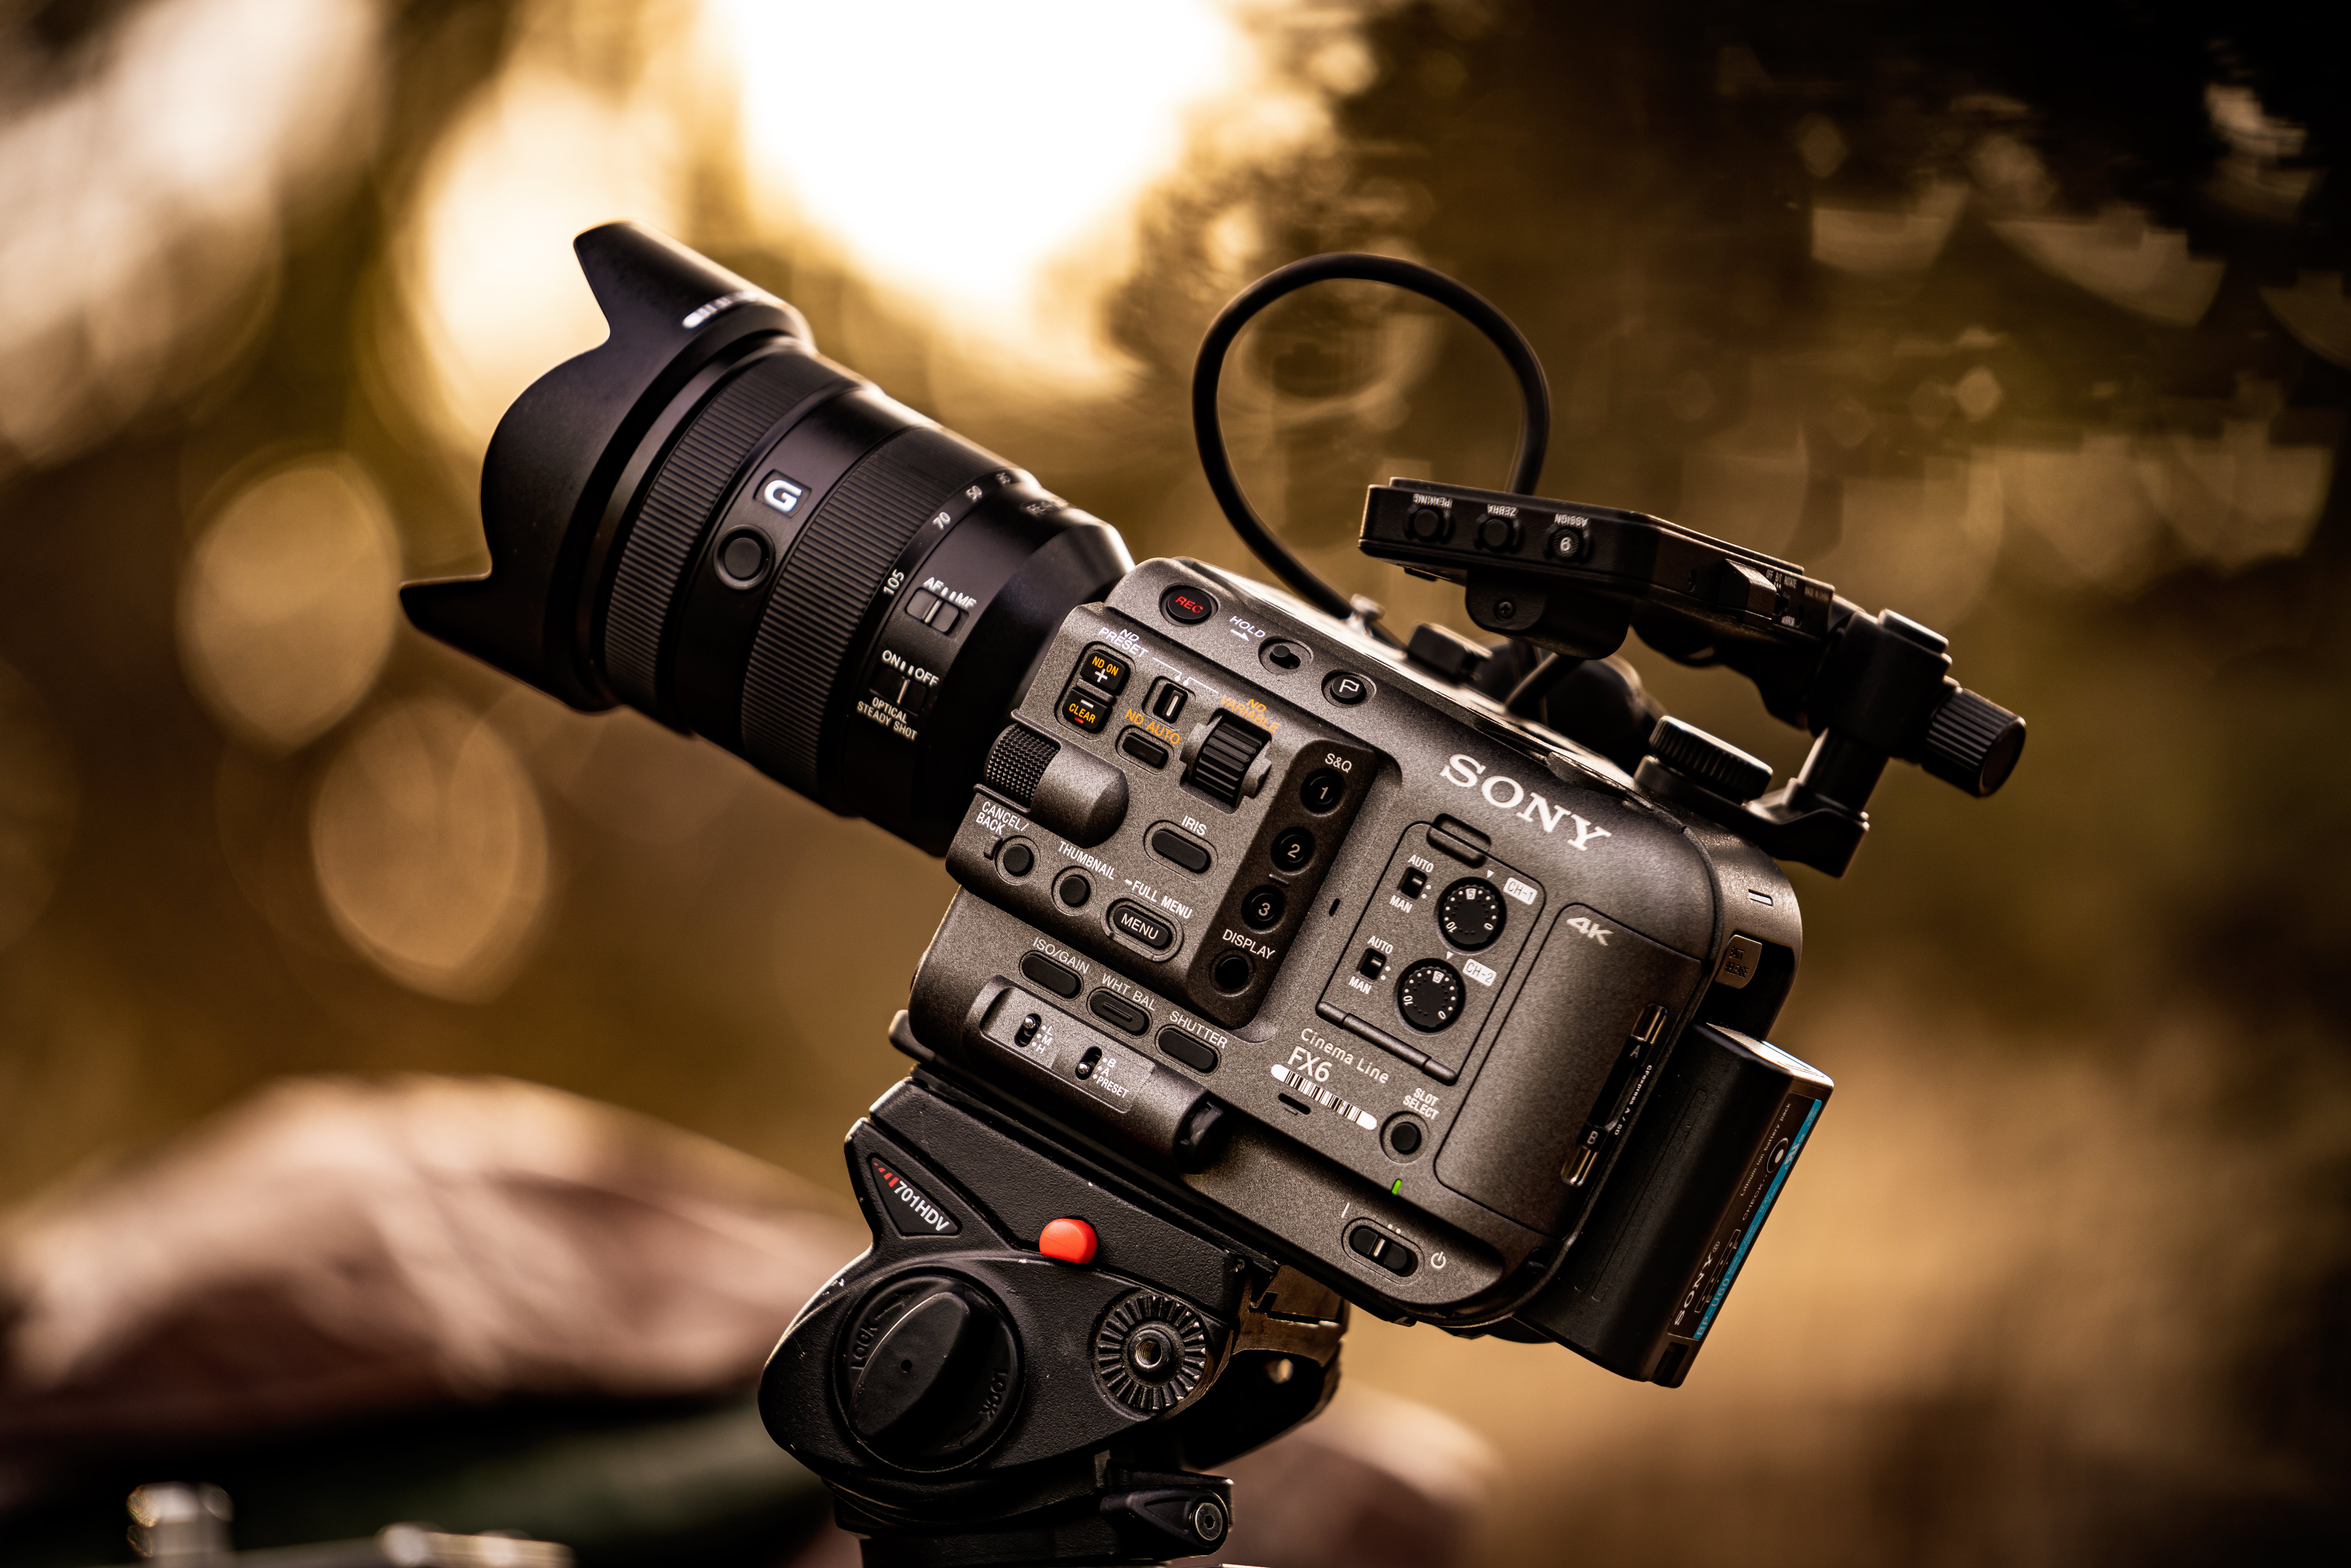
Sony FX6 Settings: Menu Overview
The first thing to note is that there is a status menu and the main configuration menu, each serving a different purpose. You can quickly access the status menu by pressing the menu button once. Here you’ll get an overview of how the camera is set up, with options to change the most frequently used setting. To navigate through the status menu’s 10 tabs, you can use the multi selector, the multi-function dial or tap directly on the touch screen.
If you need to make deeper adjustments to the camera’s settings, you can access the full configuration menu by pressing and holding the menu button for two seconds. There, you’ll find 11 tabs containing every setting the FX6 offers.
Like with the status menu, you can navigate within and between the tabs using either the multi-selector, the multi-function dial or the touch screen. To return to the previous screen, you can scroll up and hit back or use the back/cancel button below the multi-selector.
Now that you know the basics of accessing and getting around inside the Sony FX6 menu, let’s take a closer look at each submenu.
Shot on FX6: Behind the scenes of Deadliest Catch
Sony FX6: In the Status Menu
Think of the status menu as a quick-access panel — a shortcut to the most important settings. After pressing the menu button, the FX6 will offer the Main status menu. This displays essential information about the state of your camera, including things like frame rate, media remaining, ISO, codec, video format and more. You’ll notice that some options are highlighted with a white box; those are the options you can access and change directly from the status menu interface.
As you scroll through the status menu tabs, the next panel you’ll see is the Camera status menu. Here’s where things like gain levels, base ISO, zebras and gamma curve settings are displayed. Next, the Audio menu displays current audio channel assignments and levels. The Project menu shows frame rate, codec, video format and other project-specific settings.
The Monitoring shows the camera’s video output settings, while the Assignable Button menu gives you a cheat sheet of your currently assigned custom buttons. The Battery status menu displays the current battery life and other battery info. Likewise, the Media status menu shows the remaining media capacity. Finally, the Network and File Transfer status menus show the camera’s current network settings and activity.
Shot on FX6: See the FX6 on an FPV Drone
Sony FX6: What's in the Main Menu
That was just the status menu. The main menu gives you deeper control over each of these settings. Again, you can access the main menu on the Sony FX6 by pressing and holding the menu button for two seconds. Let’s dive in.
User menu
When you open the main menu for the first time, you’ll see the default user menu. This customizable menu is designed to make your most used camera settings easier to get to. The settings that appear here can be pulled from any other submenu for fast, convenient access.
Using the Edit User menu, you can customize the User menu with up to 20 custom menu items. Then, once you have the User menu set up the way you want, you can lock the rest of the menu so that only this simplified view is available.
Shooting menu
Moving on, the Shooting menu contains all the settings that might change based on the shooting situation. Here’s a quick look at the submenus and settings found in the Shooting menu:
- ISO/Gain/EI: Toggle between gain and ISO modes, control Exposure Index settings and adjust Base Sensitivity; toggle between dual ISO high and low settings to adjust for bright or dark environments. Once the <H><M> <L> preset has been configured, use the ISO/GAIN (gain select) switch on the side of the camera for quick and easy setting changes.
- ND Filter: Adjust neutral density filter presets to control how much light is blocked at each ND setting.
- Shutter: Control shutter mode and shutter speed or angle; Adjust ECS Mode from 23.99 to 8000 to reduce moire and flashing when recording computer monitors and LED panels.
- Iris: Toggle bokeh control.
- Auto Exposure: Adjust auto exposure settings, including level, mode, speed and more.
- White: Adjust white balance color temperature, tint and gain settings.
- White Setting: Choose how the FX6 responds to white balance adjustments.
- Offset White: Allows for fine-tuning of white balance in different settings.
- Focus: Adjust focus settings such as autofocus transition speed, subject shift sensitivity and focus area; also control focus detection mode, tracking mode and AF/AF Assist modes.
- S&Q Motion: Toggle Slow and Quick shooting mode on or off; select S&Q Motion frame rate for slow and fast motion shooting.
- LUT On/Off: Toggle LUT application for SDI/HDMI out; viewfinder, proxy and stream out; and internal video recording.
- Noise Suppression: Toggle and adjust noise suppression in Custom and Cine EI modes. By default, Noise Suppression is turned off when shooting in Cine EI mode.
- Flicker Reduce: Toggle and adjust flicker reduction to combat lighting-related flicker.
- SteadyShot: Controls image stabilization.
Get to know the FX6 media
Sony FX6: Project Menu
Like the shooting menu, the project menu offers several settings that you will access somewhat regularly. Here, you’ll find settings that often change from project to project.
- Base Setting: Select your shooting mode and target display; Choosing the Custom shooting mode allows for complete flexibility in the camera’s exposure settings while using Cine EI will lock the camera to the base sensitivity while still allowing you to preview the image with proper exposure.
- Rec Format: Adjust recording format settings; choose the frequency setting corresponding to your selected frame rate; select to use either the full-frame or Super35 imager scan mode; choose your recording codec and RAW output format; adjust recording resolution.
- Cine EI Setting: Select the color space used when recording in Cine EI mode. S-Gamut3 offers a wider color space than S-Gamut3.Cine and can be widely adjusted. S-Gamut3.Cine has a slightly wider color space than DCI-P3, though it’s not as wide as S-Gamut3. Combining S-Gamut3.Cine with S-Log3 – with its gradation characteristics similar to those of scanned negative film – makes it easier to grade a movie for playback on devices such as a digital cinema projector.
- HDR Setting: Control how HDR video is previewed. When Preview is turned on, SDR Gain is applied to the viewfinder image.
- Simul Rec: Access simultaneous recording mode settings, including which buttons trigger recording to each media card.
- Proxy Rec: Set up proxy recording, including audio channel captured and chunk limit.
- Interval Rec: Control interval recording setting for timelapse recording.
- Picture Cache Rec: Toggle picture cache recording on or off and control how much data is stored.
- SDI/HDMI Rec Control: Define how connected HDMI and SDI devices respond to recording start and stop.
- Assignable Button: Assign custom functions to the FX6’s nine assignable buttons.
- Assignable Dial: Assign functions and set rotation direction for the assignable dial.
- Multi-function Dial: Assign functions to the Multi-function Dial.
- User File: Load a user file to import custom camera settings.
- All File: Load and save ALL files to import custom camera settings.

Paint/Look menu
The Paint/Look menu offers granular control over how the FX6 processes color and how it handles light and dark areas of the frame. Note, however, that if you are shooting in Cine EI mode, most of these options will be disabled.
- Scene File: Recall and store image quality settings as scene files.
- Base Look: Select and adjust the base look for Custom and Cine El shooting modes.
- Reset Paint Settings: Resets paint settings except for the Base Look settings.
- Black: Adjust the camera’s black level.
- Knee: Control how the camera handle highlights.
- Detail: Controls how detail is processed and displayed.
- Matrix: Adjust how signals from the red, green and blue color channels are combined.
- Multi Matrix: Adjust multi-matrix correction settings, which offers more refined control over color processing.
TC/Media menu
In this submenu, you’ll find tools to help you manage timecode settings and recording media, including the option to format your media card.
- Timecode: Control the timecode mode, run settings and format
- TC Display: Control how timecode is displayed.
- Users Bit: Control how custom user information is displayed with the timecode.
- HDMI TC Out: Toggle whether timecode is sent to other devices via HDMI.
- Clip Name Format: Define the clip naming conventions.
- Update Media: Update your media card’s management file.
- Format Media: Formats the select media card, completely wiping all data.
Monitoring menu
The monitoring menu allows you to adjust how the FX6 outputs video for monitoring.
- Output On/Off: Turn video monitoring via SDI or HDMI on or off.
- Output Format: Choose the output resolution for SDI and HDMI monitoring feeds.
- Output Display: Control whether or not status information is displayed with the video output.
- Display On/Off: Choose specific status information to include or exclude in the video output feed.
- Marker: Control how various markers are displayed.
- VF Setting: Set viewfinder brightness and color mode.
- Gamma Display Assist: Toggle Gamma Display Assist on or off; allows for more accurate monitoring when shooting in log.
- Peaking: Adjust focus peaking settings, including peaking level and color.
- Zebra: Adjust zebra pattern display levels for Zebra 1 and 2.
Audio menu
The Audio menu only has two submenus. This is where you will find all of the audio input and output settings for the Sony FX6.
- Audio Input: Assign channel inputs, control wind filtering, audio gain and how audio input controls function for channels 1 through 4.
- Audio Output: Adjust audio output settings, including channels to be monitored, volume, headphone out, alarm level and HDMI output settings.
Thumbnail menu
The thumbnail menu control how the FX6 displays recorded clips for review.
- Display Clip Properties: Display the properties of the selected clip.
- Set Clip Flag: Add a clip flag to identify usable clips; flag options include OK, NG and KEEP.
- Lock/Unlock Clip: Lock or unlock clips for protection.
- Delete Clip: Deletes the selected clips.
- Transfer Clip: Transfers the selected clips.
- Transfer Clip (Proxy): Transfers proxy versions of the selected clips.
- Filter Clips: Filter which clips are displayed based on the clip flag.
- Customize View: Select what information is displayed with the thumbnail.

Technical menu
The technical menu lets you adjust how the FX6 functions. This is where you can change what specific buttons and controls do when activated.
- Color Bars: Choose the type of color bars that appear and turn color bars on and off.
- ND Dial: Control ND Dail function.
- Tally: Turn front and rear tally lights on and off.
- HOLD Switch Setting: Control how the camera button lock function works.
- Touch Operation: Turn the touchscreen operation on or off.
- Rec Review: Control the clip length triggered by the record review function.
- Zoom: Access zoom settings, including whether the camera uses optical only or optical and digital zoom.
- Handle Zoom: Select and adjust the handle zoom speed.
- Menu Settings: Access option to show only the User menu.
- Menu Page On/Off: Select which pages appear in the menu.
- Fan Control: Control fan speed.
- Lens: Control zoom ring direction and lens compensation settings.
- Video Light Set: For controlling the optional HVL-LBPC lighting module.
- APR: Runs the Automatic Pixel Restoration process to address dead or hot pixels.
- Camera Battery Alarm: Sets the battery level at which the battery alarm will trigger.
- Camera DC IN Alarm: Sets the power level at which DC in alarm will trigger.
Network menu
The network menu holds everything related to network connectivity. To access the network setup assist tool, select Setup for Mobile App. Otherwise, here’s where to find other network settings:
- Access Authentication: Set up a username and password for access authentication, which is necessary for functions like transferring clips.
- Wireless LAN: Set up a wireless LAN connection, including connection mode.
- AP Mode Settings: Access settings for access point (AP) mode connections.
- ST Mode Settings: Access settings for station (ST) mode connections.
- Wired LAN: Set up a wired LAN connection.
- Modem: Access UBS tethering settings.
- File Transfer: Access file transfer settings, which dictates how, when and to where files are uploaded.
- Network Reset: Return to default network settings.
Maintenance menu
This menu provides basic camera setup and firmware options. You probably won’t need to access this menu after your camera’s initial setup unless you are updating the firmware.
- Language: Select your preferred display language.
- Clock Set: Access date and time display settings such as time zone, date format and current date and time.
- All Reset: Returns the camera to factory default settings.
- Hours Meter: Display the system running time with the option to reset hours to zero.
- Version: Display camera and lens firmware versions and update camera firmware.
Why it’s important to know your camera’s menu
With that, you should have a good grasp of the Sony FX6 menu, but the best way to get to know your camera is to get out there and shoot with it. Getting familiar with your camera’s menu system empowers you to take full advantage of its capabilities, tailor its settings to your needs, and overcome any challenges that may arise during shooting. With a powerful camera like the Sony FX6, your efficiency, creative control and overall experience with the camera will depend on your ability to find and adjust the right setting when you need it.
To learn more about the Sony FX6, visit sonycine.com.
To see a filmmaker's perspective on the FX6, check out this article: Documentary DP Mark Bone on Storytelling and the FX6