04-09-2021 - Gear, Technology
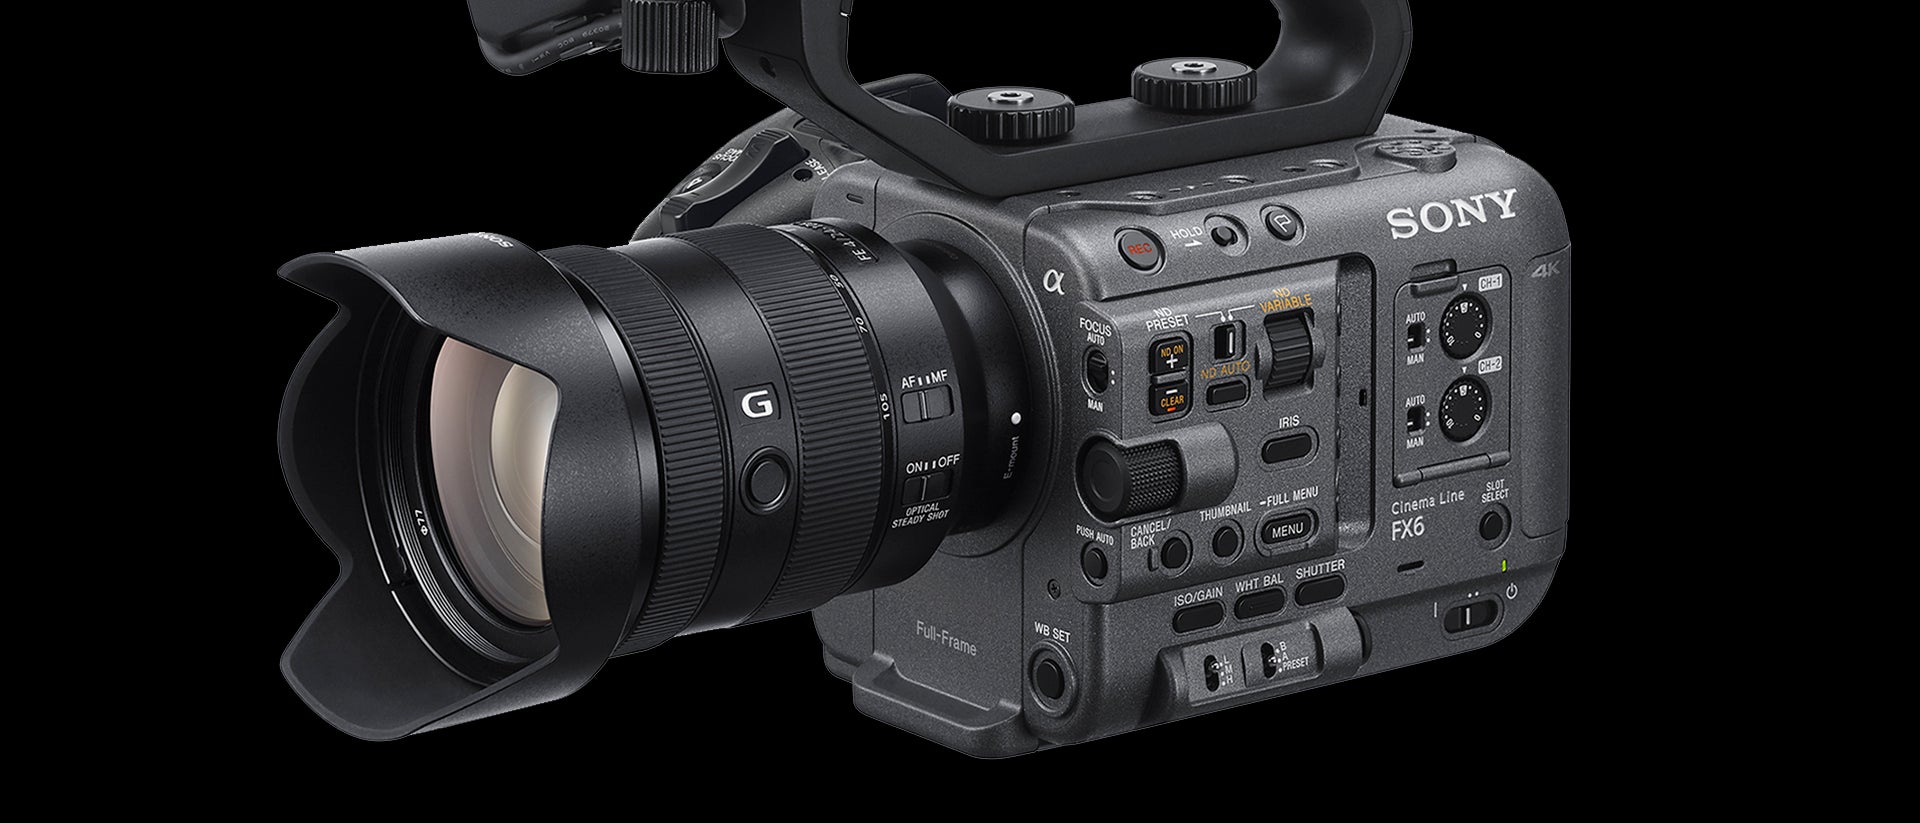
Shooting RAW with the FX6
By: Alister Chapman
Alister Chapman is a regular contributor to SonyCine.com. Check out his website HERE.
The FX6 is a small and compact camcorder and while you can use the Atomos Shogun 7 to record RAW from the FX6, the large size of the Shogun makes it less suitable for the diminutive FX6. So in this article I’m going to focus on using the Atomos Ninja V with the FX6. The much smaller Ninja V is a much better match for the FX6.

The Ninja V is a compact 5” HDR video monitor with built-in recording capabilities. It has an HDMI input and output and it can record using several different codecs including ProRes, Avid DNx, as well as ProResRAW on affordable and readily available SSD’s. But the FX6 outputs RAW via SDI, so as well as the Ninja V you also need to add the Atom-X SDI module. One thing to point out before going further is that you can’t use the Ninja V to record the RAW output of the FS5 and FS7. The Ninja V is not capable of processing the signal from those cameras, even with the SDI module.

Not only does the SDI module allow you to input, output or loop through to another device such as a viewfinder, it also allows you to cross convert between SDI and HDMI and even down convert from 4K to HD, so it’s very handy.
If you already have a Ninja V, you can purchase the Atom-X SDI module on its own. If not, you can purchase the Atomos Ninja V Pro Kit which includes not only a Ninja V and the Atom-X SDI module, but also a power supply to power everything from the mains, a D-Tap adapter and cable to power it from a battery with a D-Tap socket, and a clip-on sun hood. If you buy the Pro Kit then all the licenses needed for ProResRAW over SDI are pre-installed and ready to go. If you purchase the Atom-X SDI module separately, then in addition you will also need to purchase an SDI RAW licence from the Atomos website.
Before going any further, it is always a good idea to ensure that the firmware in your Ninja V is up to date. The latest firmware can be found on the product support page of the Atomos website.
If you purchased the Ninja V and Atom-X SDI separately will need to create an Atomos user account and register your Ninja V so you can then add the RAW over SDI licence. To do this you will need to find its Activation ID number. Touch the screen where the timecode is shown. Drag the menu bar to the left until you get to Activation and select it. You can use the QR code or you can go to the registration page of the Atomos website to create an account and register your Ninja V. (https://my.atomos.com/register).
Once you have registered your Ninja V, you can then select it from the registered devices in your account and activate ProRes recording of the ProResRAW codec and then purchase the SDI RAW license. You will then be provided with an activation code to enter into your Ninja V to activate the RAW over SDI.
It is worth considering that it might not always be necessary to record ProResRAW, even when you need a very high quality final output. For example, if you want to capture S-Cinetone footage at the highest possible quality, then recording ProResHQ on the Ninja V would be a great choice.

ProResHQ can also be used when shooting with S-Log3 to record a very robust 10-bit 4:2:2 file that will hold up very well to extensive post production grading. Because ProRes files are supported in all of the professional edit and grading applications that exist today, it is a very good codec choice if you are ever unsure of how your footage will be handled in post-production.
If you are using the ProRes codec you can also take advantage of the Ninja V’s Pre Roll and time-lapse functions. Pre Roll or “cache record” stores up to 6 seconds (3 seconds in 4K) of video from before the moment you press the record button and seamlessly includes this in your recordings. It’s great for capturing unpredictable events such as lightning in a thunderstorm. Wait for the lightning, then quickly press record and you have captured the lightning strike without having to record for hours on end.
For those times where you want to squeeze every last drop of image quality out of the camera, you can record using ProResRAW. The camera outputs the RAW as 16-bit linear data. The Ninja V then takes this 16-bit linear data and using a sophisticated, visually lossless process converts this to 12-bit log RAW. A 12-bit recording can contain up to 4 times more tonal values than a 10-bit recording. These finer levels help ensure that you are getting the very best from the camera. ProResRAW is a great choice whenever you want to do any extensive grading or image manipulation.
There are two versions of ProResRAW, ProResRAW and ProResRAWHQ. For the best image quality, I recommend using ProResRAWHQ. But should you find that you are low on storage space then you have the option to use standard ProResRAW, which is around the same size as normal ProResHQ.
Low quality SDI cables are a common cause of problems, especially with RAW, so do ensure you use a very high quality SDI cable to connect the camera to the Atom-X SDI module on the Ninja V.
To enable the RAW output from the camera the camera must be in the CineEI mode.

You will also need to go to the camera’s menu or status pages and select RAW only or RAW plus an internal recording codec from the codec options.

As well as outputting RAW, it’s also possible to record to the camera’s internal cards at the same time. This might be a useful option if you need conventional video clips as well as the RAW clips. You can record ProResRAW at any frame rate up to 60 frames per second using either 4K DCI or UHD.
As you will be using CineEI you can add a LUT to the viewfinder if you wish. When monitoring via a LUT you can then offset the exposure brighter or darker by changing the Exposure Index to make the LUT brighter or darker.
The Ninja V’s input source should be set to SDI. If set correctly it will detect the RAW input signal and offer to automatically switch to ProResRAW. Under the record options you can then choose between standard ProResRAW or the highest quality option of ProResRAWHQ.

There are several monitoring options that you can use when recording ProResRAW. The monitoring option that you chose also changes the what the Ninja V’s waveform display will be measuring.
When the monitoring is set to Native you will be monitoring native S-Log3 images that will be low contrast and lack colour. The waveform display will be measuring the S-Log3 levels where the normal exposure for a white card would be 61% and skin tones will normally be around 50%.


If you choose Rec709 the RAW is converted to Rec709 which has a very limited dynamic and viewing range. The wide dynamic range RAW recordings will normally exceed what can be displayed via Rec709 so I don’t normally recommend the use of this display mode as sometimes highlights will appear clipped on the screen when in fact the recordings are fine. In this mode the waveform measures the Rec-709 levels. The waveform scale is in NITs or brightness, where 100 NITs would be the nominal exposure for a white card, skin tones would be around 60-70 NITs.

If you chose HLG - Hybrid Log Gamma - this is a type of High Dynamic Range gamma so now you are much better able to see the full range of the images that you are capturing. Highlights will only be clipped if the RAW itself is clipping.
However HLG has a highlight roll off so the very brightest highlights will have very little contrast. When using HLG the waveform display scale is a 0 to 100% scale. A white card would normally be exposed at approx. 50% and skin tones around 35 to 40%.

My preferred option is PQ. Like HLG this is a high-dynamic-range gamma, so once again you will be able to see the full range of the RAW capture. PQ is the HDR standard used for the majority of HDR productions. There will be more contrast in the highlights with PQ, so it is easier to judge how your highlights may look after grading. The waveform display scale is in NITs. When using PQ a white card would be exposed so it is 100 NITs. Skin tones will be around 45 NITs.


The final option is LUT. You can load up to eight of your own 3D cube LUTs onto the Ninja V and then these LUTs can be applied to the S-Log3. To add LUTs to the Ninja V you should place them on an SSD drive. Then attach the drive to the Ninja and go to the monitor options and select the LUTs tab.

Then chose one of the eight LUT positions to load you LUT into. Next select the folder symbol to view the LUT files on the SSD and chose the LUT you wish to load into that position.

Now that you have loaded a LUT you can use it to monitor the RAW. The waveform display will show the LUT brightness levels. The exact, correct exposure levels will vary greatly depending on the LUT that you are using. The waveform scale is a 0 to 100% exposure scale. With most conventional LUTs a white card will tend to be somewhere in the region of 75 to 85% and skin tones around 60 to 70%.

As an alternative to using the waveform to measure exposure, you can also use the Ninja V’s zebras. Like the waveform display, the zebras reflect the selected monitoring mode so you will need to adjust the zebra levels to suit your chosen monitoring mode.
When shooting using log or RAW, if you are unsure about your exposure it is generally preferable to shoot a little brighter rather than darker. In post-production you will be able to adjust the brightness of your footage. If your exposure is too dark and you try to make it brighter it can become noisy and may become difficult to grade. But if it’s a little bit too bright this rarely causes a problem.
Once you have shot your RAW material you will need to take it in to post-production for grading. ProRes RAW is currently directly supported in Apple’s FCP-X as well as Adobe Premiere, Edius, Assimilate Scratch and Avid Media Composer.
If you wish to edit or grade your ProResRAW footage in a different application then you will need to transcode the ProResRAW into another codec. One way to do this is with FCP-X. I have discovered that while you can transcode files using Apple Compressor, there are issues with the gamma and color space conversion. For this reason I recommend instead that you use FCP-X and the “file,” “share,” option. Simply select all of the files you wish to transcode, then via the settings view of the inspector set the color space to Rec-709 and set the camera LUT to off.

Then select “file” “share” and “master file”, next go to the settings and chose the codec you want then click “next” to choose where the files should be saved.

When transcoding the ProResRAW I recommend the use of the ProRes 4444 or ProRes 4444XQ codecs as these are both 12 bit codecs and will retain virtually all of the RAW’s original picture information.


When working with ProResRAW material in FCP-X you should set your library to Wide Gamut HDR. With your library selected go to the inspector pane and click on “modify” and change the gamut to “Wide Gamut HDR.”

Once you have imported your ProResRAW files into the library you can change the look of your footage by changing the LUT that’s applied to the clips via the clip inspector. In addition, you can also adjust the post-production exposure level by selecting a different ISO value.

In Adobe Premiere, once you have imported your ProResRAW clips, you can change whether the clips are converted to Rec-709 or to one of several alternative gammas and color spaces using the clip effects control panel. In addition, you can also apply an exposure offset by changing the exposure value.

Editing ProResRAW material is then no different from any other type of video file. You can grade it and adjust it using your chosen software’s color tools knowing that you have the captured the camera’s output at the highest possible quality level.