04-29-2024 - Gear
Unlock the Raw Power of the Sony FX3 Using the Atomos Ninja V
By: Yaroslav Altunin
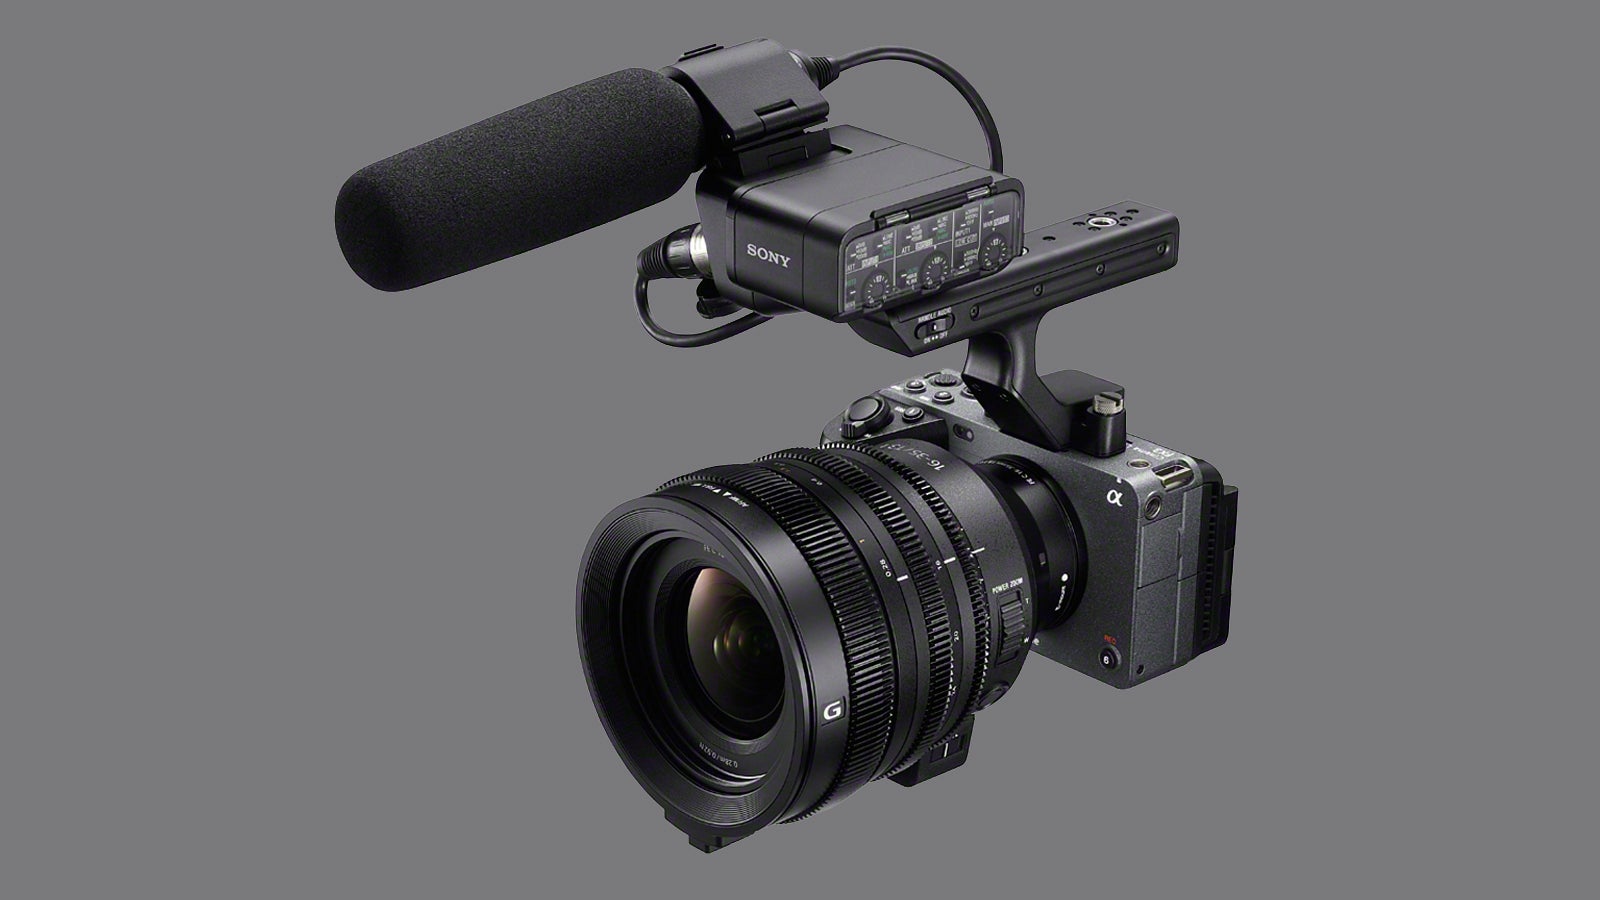
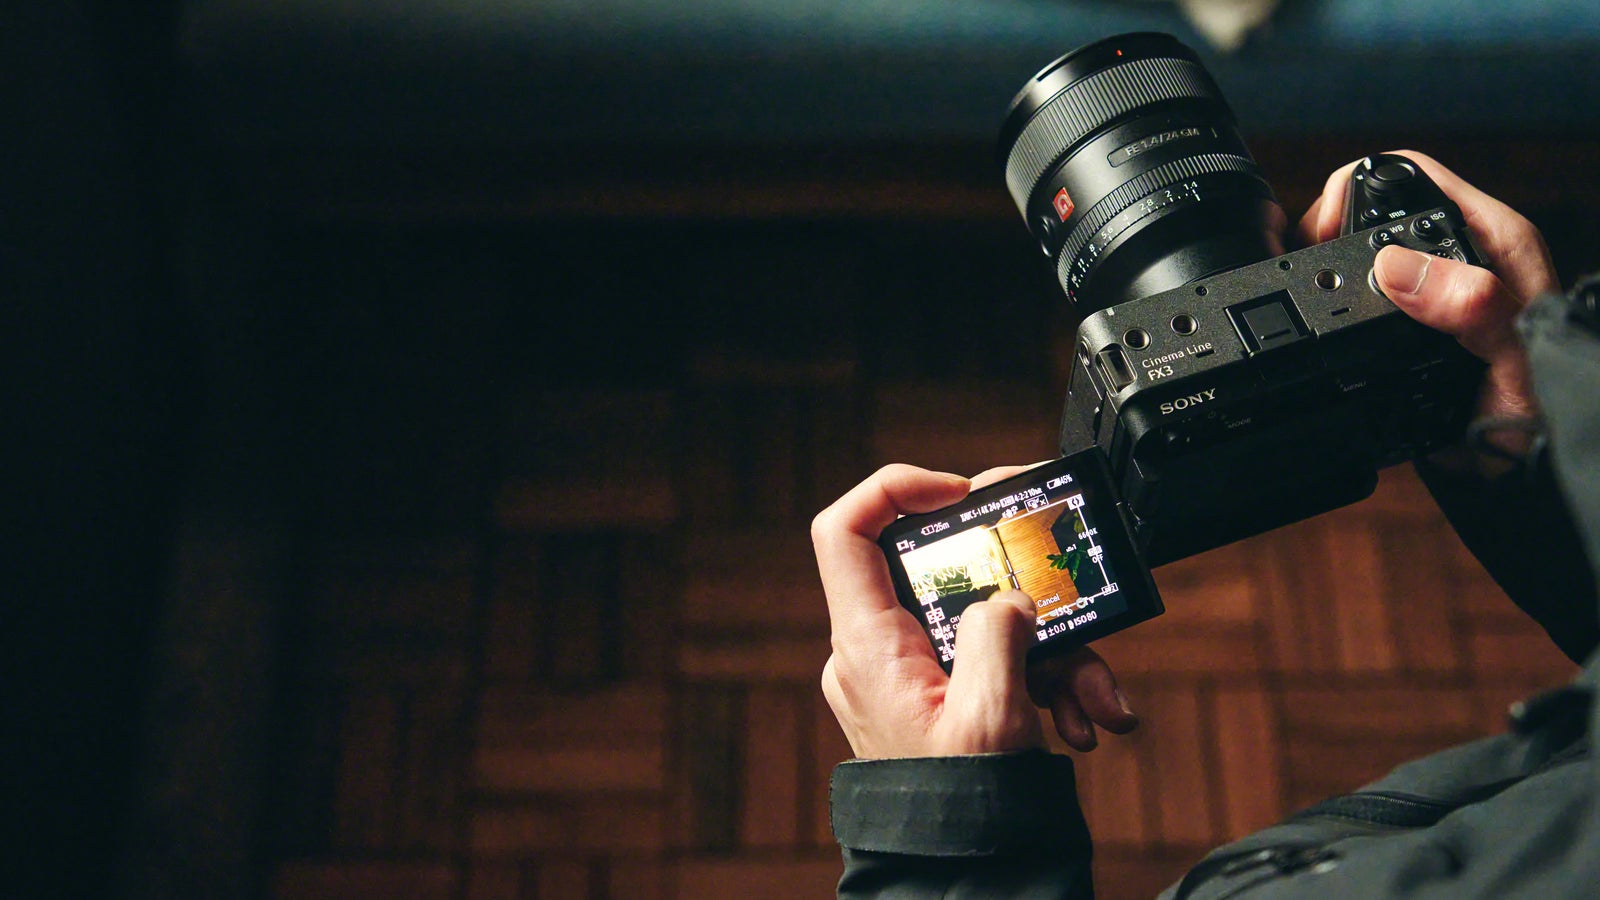
The Sony FX3 was released in February of 2021, putting incredible cinematic imagery into the hands of every filmmaker. With its 12.1MP full-frame sensor, 15+ stops of dynamic range, and cage-free design, Sony has married its cinema and Alpha series of cameras to create an affordable cinema powerhouse that has pushed filmmakers to new heights.
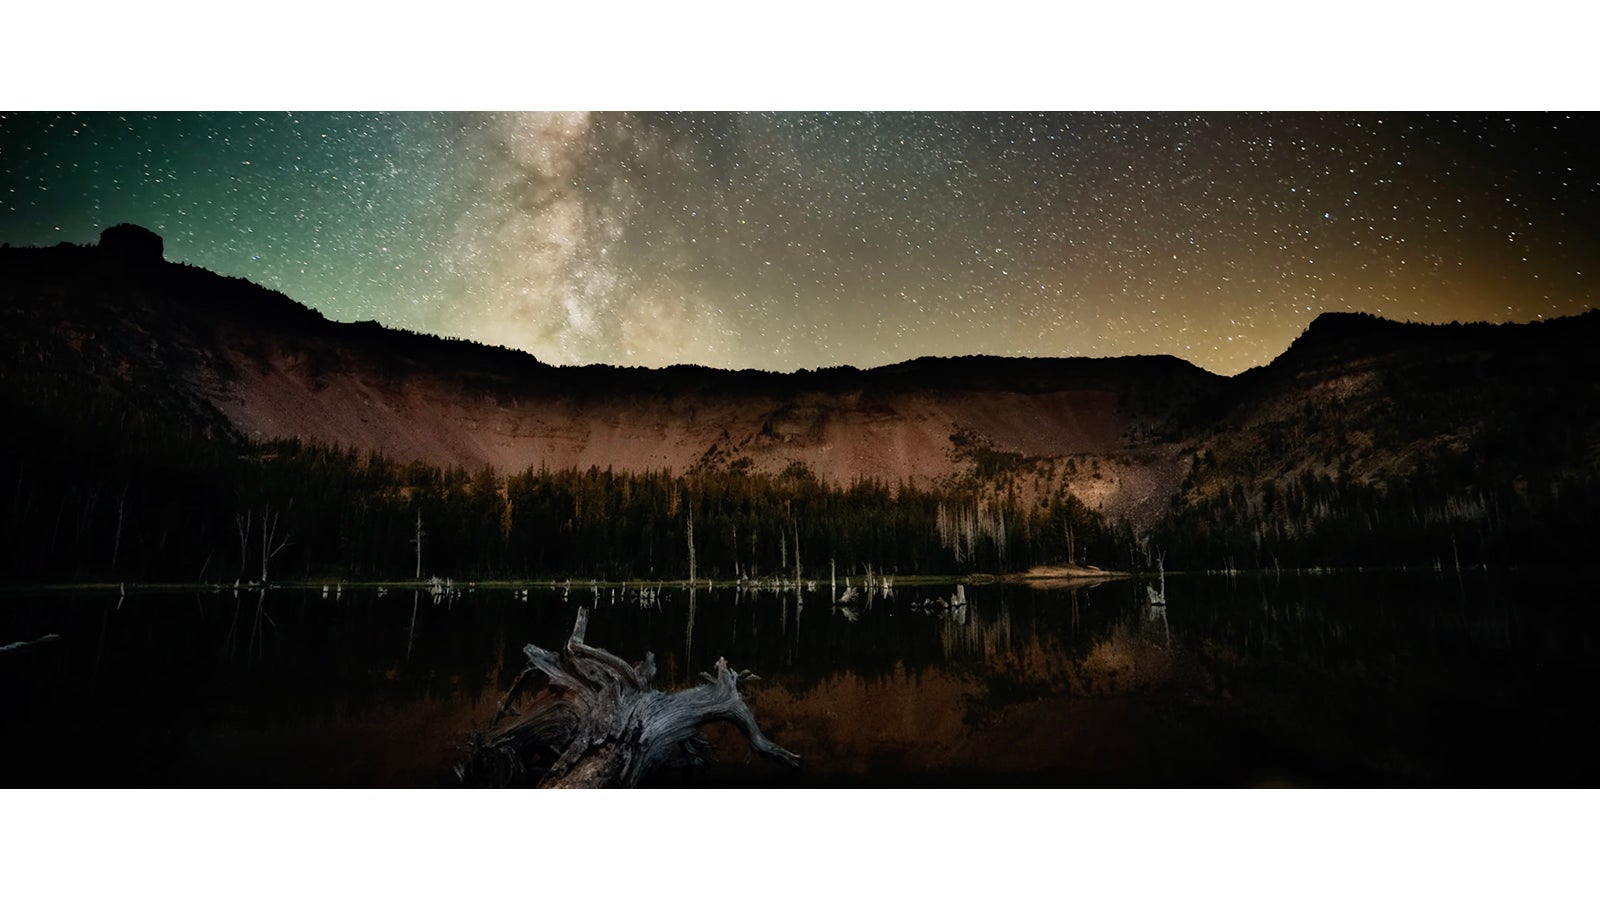
It has been such a success that director Gareth Edwards, DoP Greig Fraser, and cinematographer Oren Soffer chose the camera system to capture The Creator, an 80-million-dollar sci-fi epic. However, to unleash the 16-bit raw that this compact cinema camera is capable of, the creative team behind this film needed to utilize an Atomos external recorder.
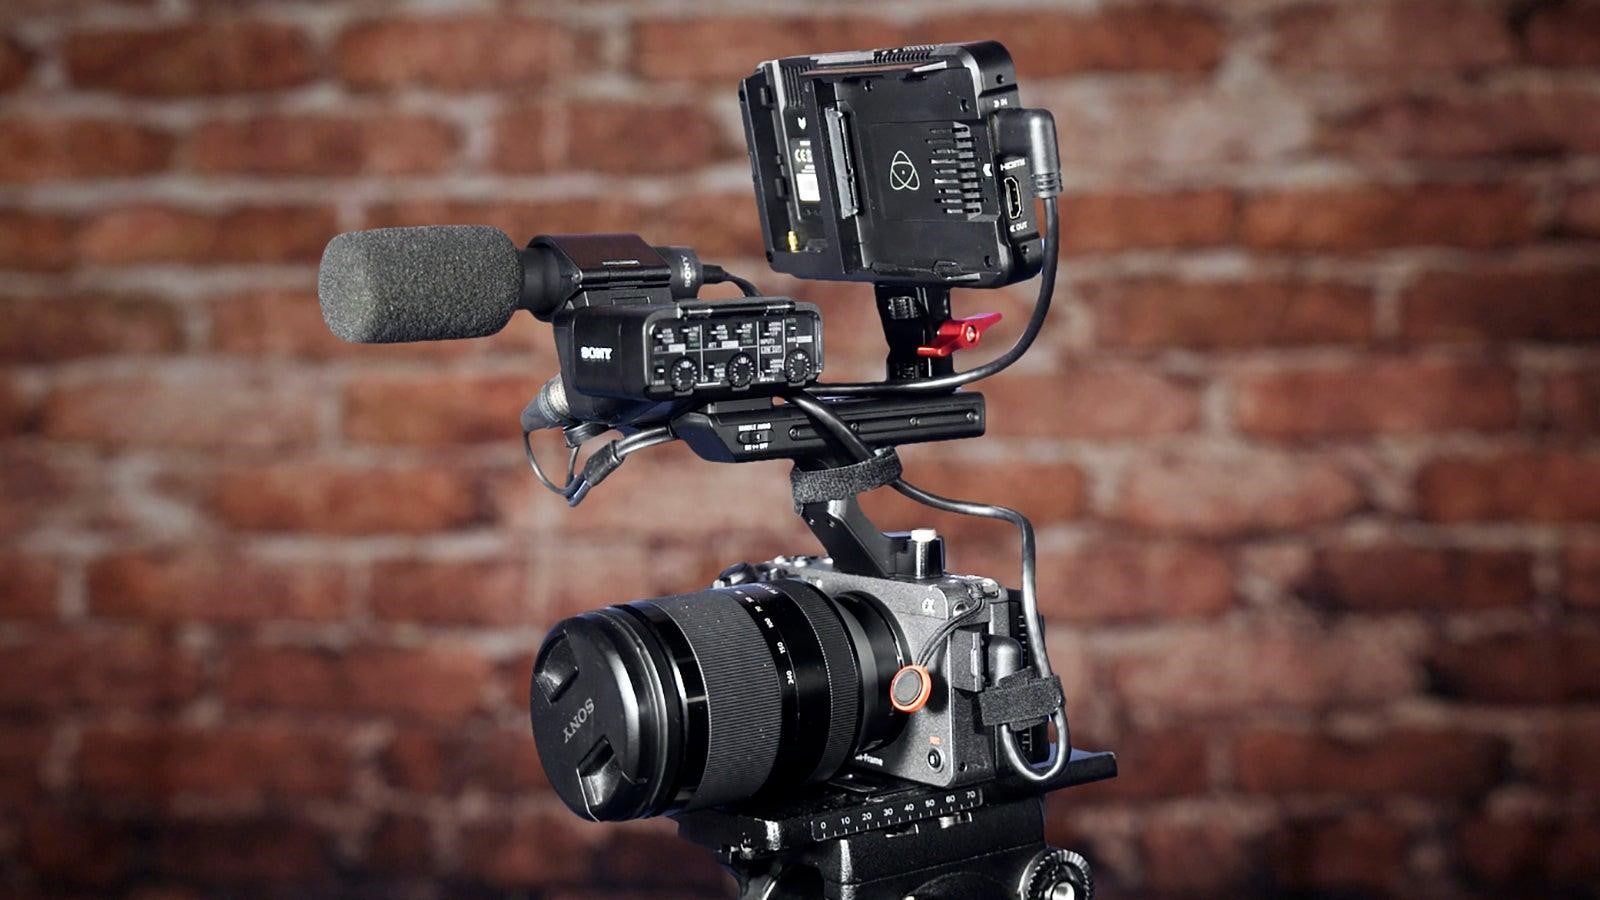
What truly makes these tools so powerful is their price point. With so many filmmakers getting their hands on this combination, we wanted to create a guide to get creatives shooting without worrying about technical hurdles.
Here is the step-by-step process for quickly setting up your FX3 and unlocking the RAW workflow, which productions need to have complete control over their image pipeline.
Picking the Right Pairing
As of March 30, 2024, the Sony FX3 is compatible with the Atomos Ninja V, Ninja V+, Ninja, Ninja Ultra.
When choosing between the Ninja V and Ninja V+, creatives have several things to consider. Firstly, the Ninja V is still available for sale, but the Ninja V+ has been discontinued and can only be found second-hand.
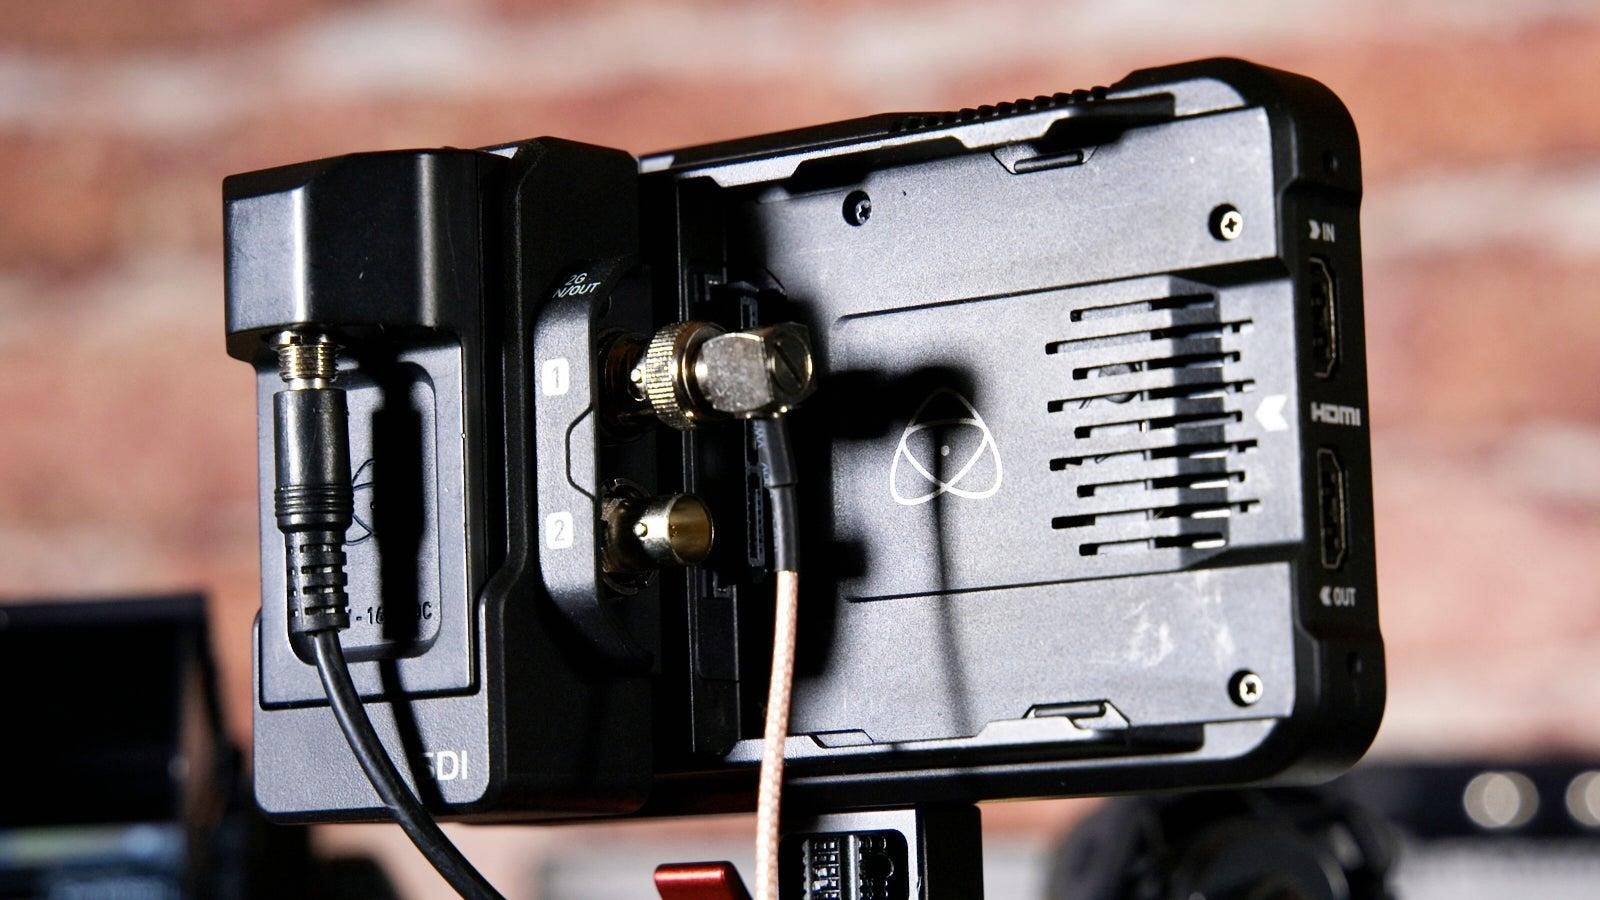
While the Ninja V features a 5” display and the V+ a 5.2” display, both offer 1000 nits of brightness and a 10-bit (8+2 FRC) touch panel. The big difference between the two recorders is the resolution, with the Ninja V+ able to record up to 8K30p and the Ninja V only able to record up to DCI 4K60P.
The FX3 records up to UHD 4K internally, which is oversampled from a 6K sensor. However, it can output a 16-bit RAW signal over HDMI at 4.2K. This means filmmakers won’t be able to use the 8K recording options and are free to choose whichever recorder is available to them. When the Atomos Ultra is finally compatible with the FX3, we will recommend that creatives upgrade to that unit to support their projects.
One final thing to keep in mind: The 16-bit RAW signal from the FX3 will be compressed into a 12-bit ProRes RAW container. While this technically reduces the signal, the 12-bit ProRes footage will have more than enough data for creatives to color grade.
Now that you have your monitor/recorder of choice let’s run through the steps you need to take to set it up with the FX3.
First Steps
Before jumping into our settings, ensure you are running the most recent firmware for your camera and recorder. It is always a good idea to keep your gear updated at all times when you’re working across different brands.
An additional step for owners of a new Atomos Ninja V requires activating the ProRes RAW codec. Users will need to provide an email address and the unique Device ID located within the AtomOS menu.
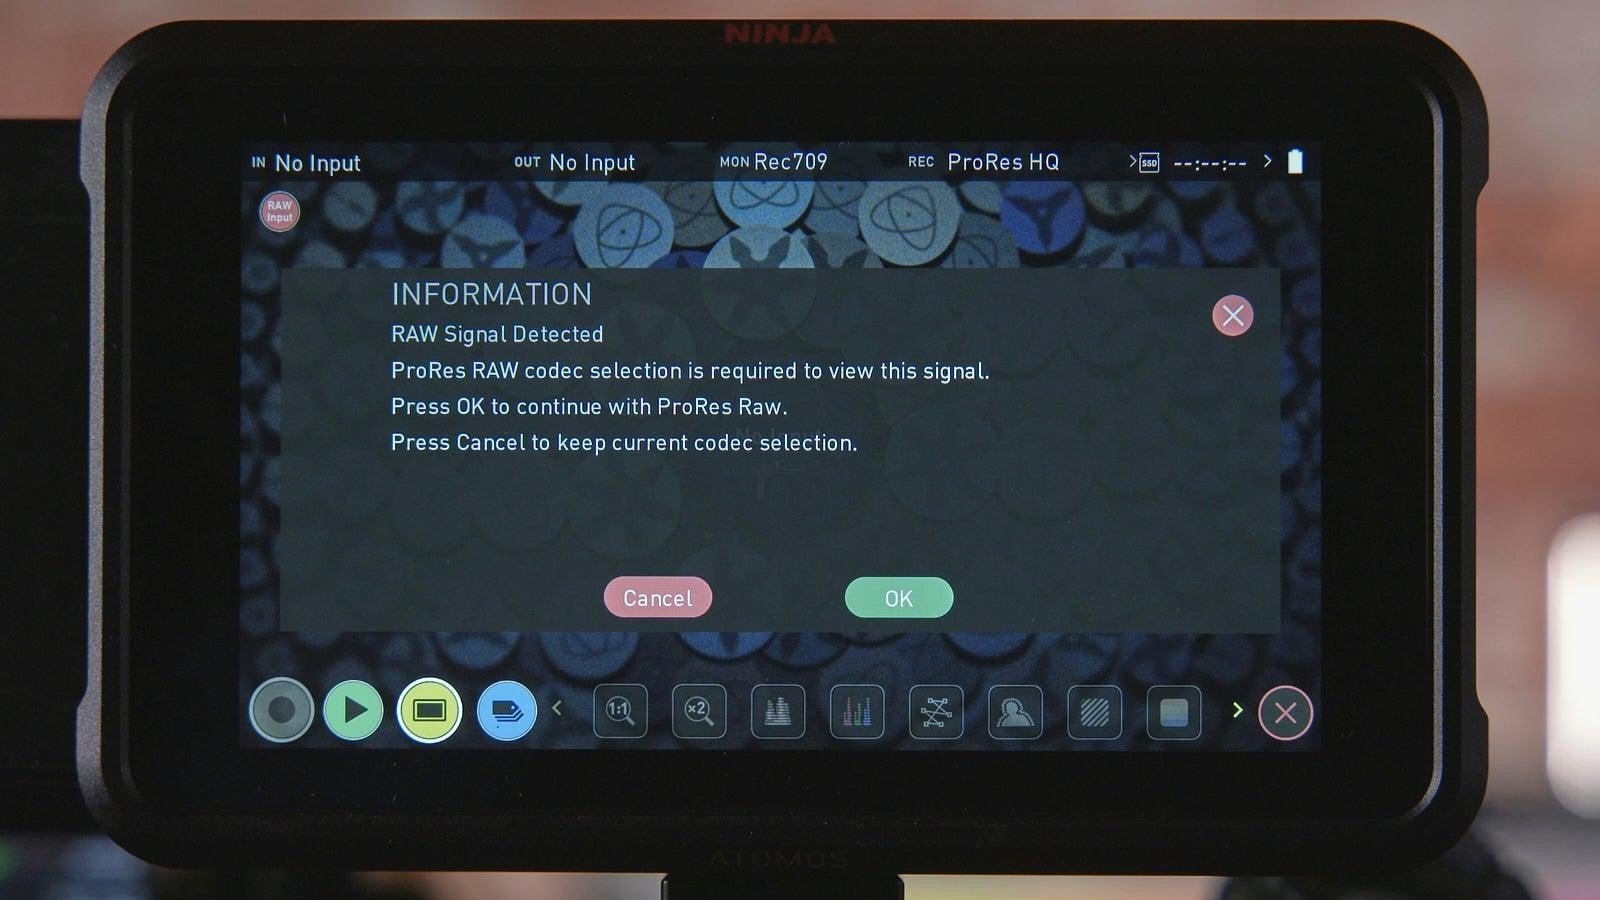
Follow this link to generate your activation code for your Atomos device and this link to get the most recent firmware for your FX3.
Now, let’s move on to the camera settings.
Setting Up the FX3 For Output
The Sony FX3 is capable of dual recording to an internal card and externally to the Atomos Ninja V. If your workflow requires this, select your desired resolution in Menu1. If not, you can skip this setting.
Now follow these steps:
● Step 1: In the Main2 menu, TURN ON LOG SHOOTING, as you won’t be able to access the RAW recording option. You can pick whichever setting best fits your workflow (Flexible ISO, Cine EI Quick, or Cine EI).
● Step 2: On Page 11 of the SETUP menu, you will find your EXTERNAL OUTPUT SETTINGS. In this menu, select HDMI OUTPUT SETTINGS.
● Step 3: Inside the HDMI OUTPUT SETTINGS menu, select RAW OUTPUT and turn it ON. You will be prompted to connect your Atomos Ninja V if you haven’t already done so. This prompt will disappear automatically, or you can hit OK once your Atomos device is connected and turned on.
● Step 4: While in the HDMI OUTPUT SETTINGS, select REC MEDIA DURING HDMI OUPUT and turn it ON if you want to dual record internally and OFF if you want to just record external RAW.
● Step 5: Now, let’s select your frame rate. On Page 2 of the HDMI OUTPUT SETTINGS, select RAW OUTPUT SETTING to choose your desired frame rate from 23.98p, 29.97p, or 59.94p.
○ NOTE: This will change both your output frame rate and your internally recorded frame rate.
● Step 6: While still on Page 2 of HDMI OUTPUT SETTINGS, make sure you TURN ON TIME CODE OUPUT and REC CONTROL. This will allow you to control the Atomos recorder with your camera and have timecode in your metadata.
● Step 7: Finally, select the desired audio channels in the 4CH AUDIO OUTPUT menu. This will send your selected audio channels over HDMI as well. However, it is not possible to output audio in all four channels via HDMI
Your FX3 is now set up to output a 16-bit RAW signal over HDMI at a resolution of 4264 x 2408 (4.2K) for your Atomos Ninja V to capture in the 12-bit ProRes RAW codec.
In order to refine your setting further, such as recording the necessary delivery aspect ratio, let’s dive into the Atomos Ninja V recorder.
Setting Up the Atomos Ninja V or V+
Here is a quick checklist to ensure we have all the settings we need for our final image.
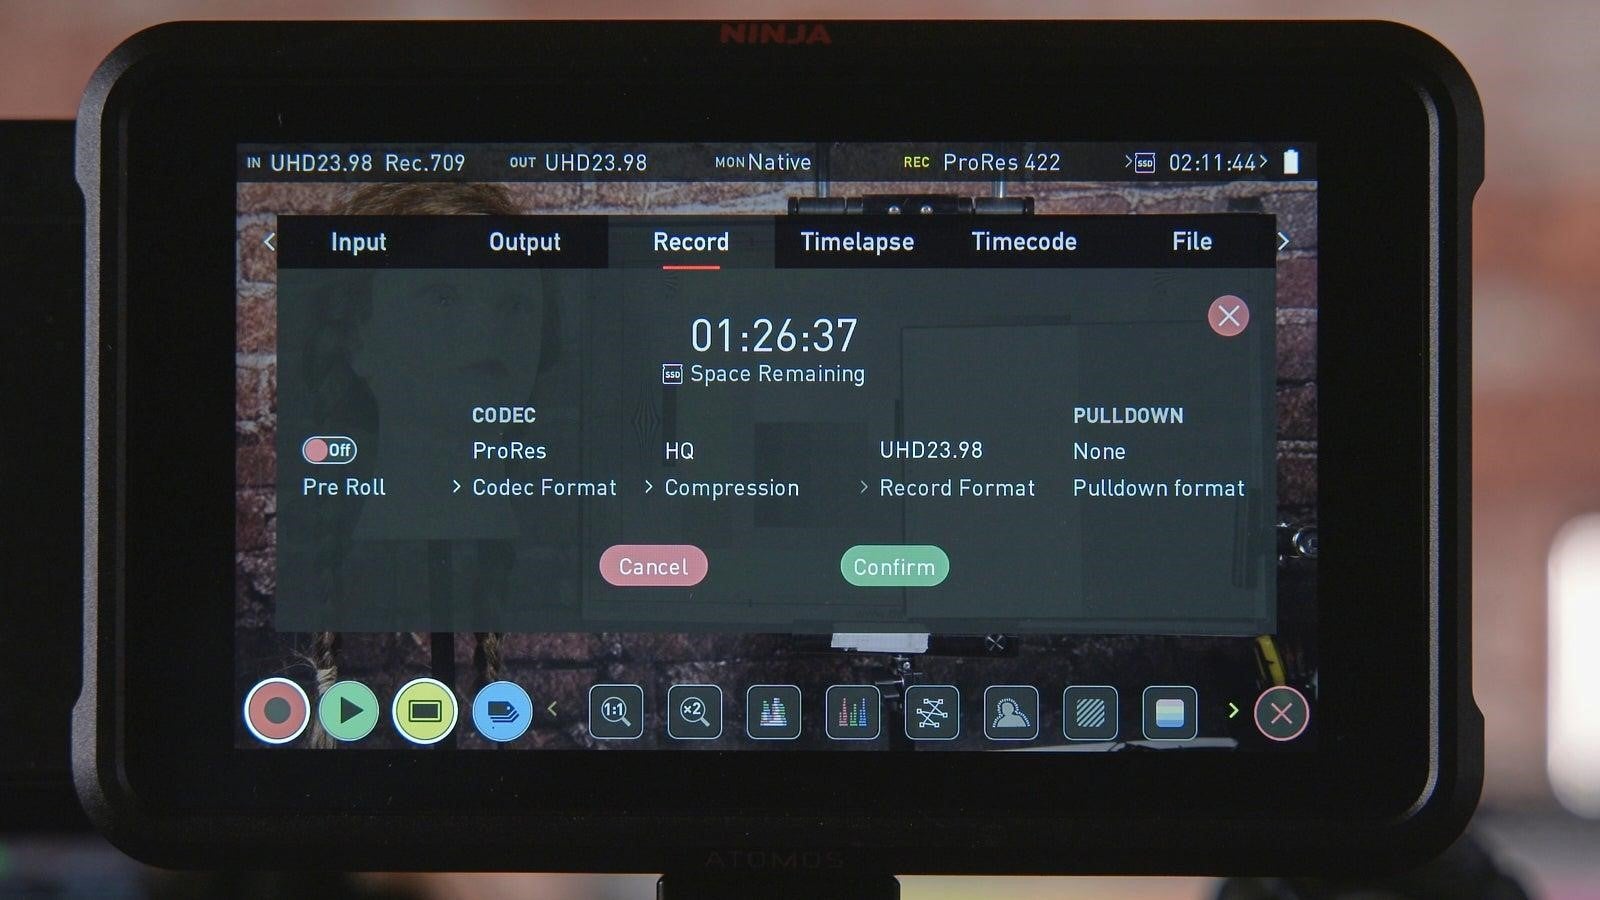
● Step 1: On your Atomos Ninja V, open the options menu where you will see menu tabs for Source, Input, Output, Record, Timelapse, and Timecode.
● Step 2: In the SOURCE tab, make sure you have HDMI active. While this should have been activated automatically when you connected your FX3, it’s good practice to double-check to make sure there aren’t any issues.
● Step 3: In the INPUT tab, make sure you are getting a 4.2K signal in your desired frame rate. Also, check your TRIGGER settings and set it to either TIMECODE or HDMI. There will also be an input for TRIGGER ON or OFF, depending on your needs. Finally, make sure the REMOTE is set to CAMERA CONTROLS so you can activate the recorder using your camera REC button.
● Step 3: If you need to pass through your signal or another monitor or wireless audio solution, use the OUTPUT tab to set the desired settings you need for the project.
● Step 4: In the RECORD tab, you have the ability to select the desired ProRes RAW you need, be it RAW HQ or RAW. Finally, select Metadata Crop in this menu if you want your 17:9 4.2K (4264 x 2408) image to be cropped into a 16:9 aspect ratio.
Explore More
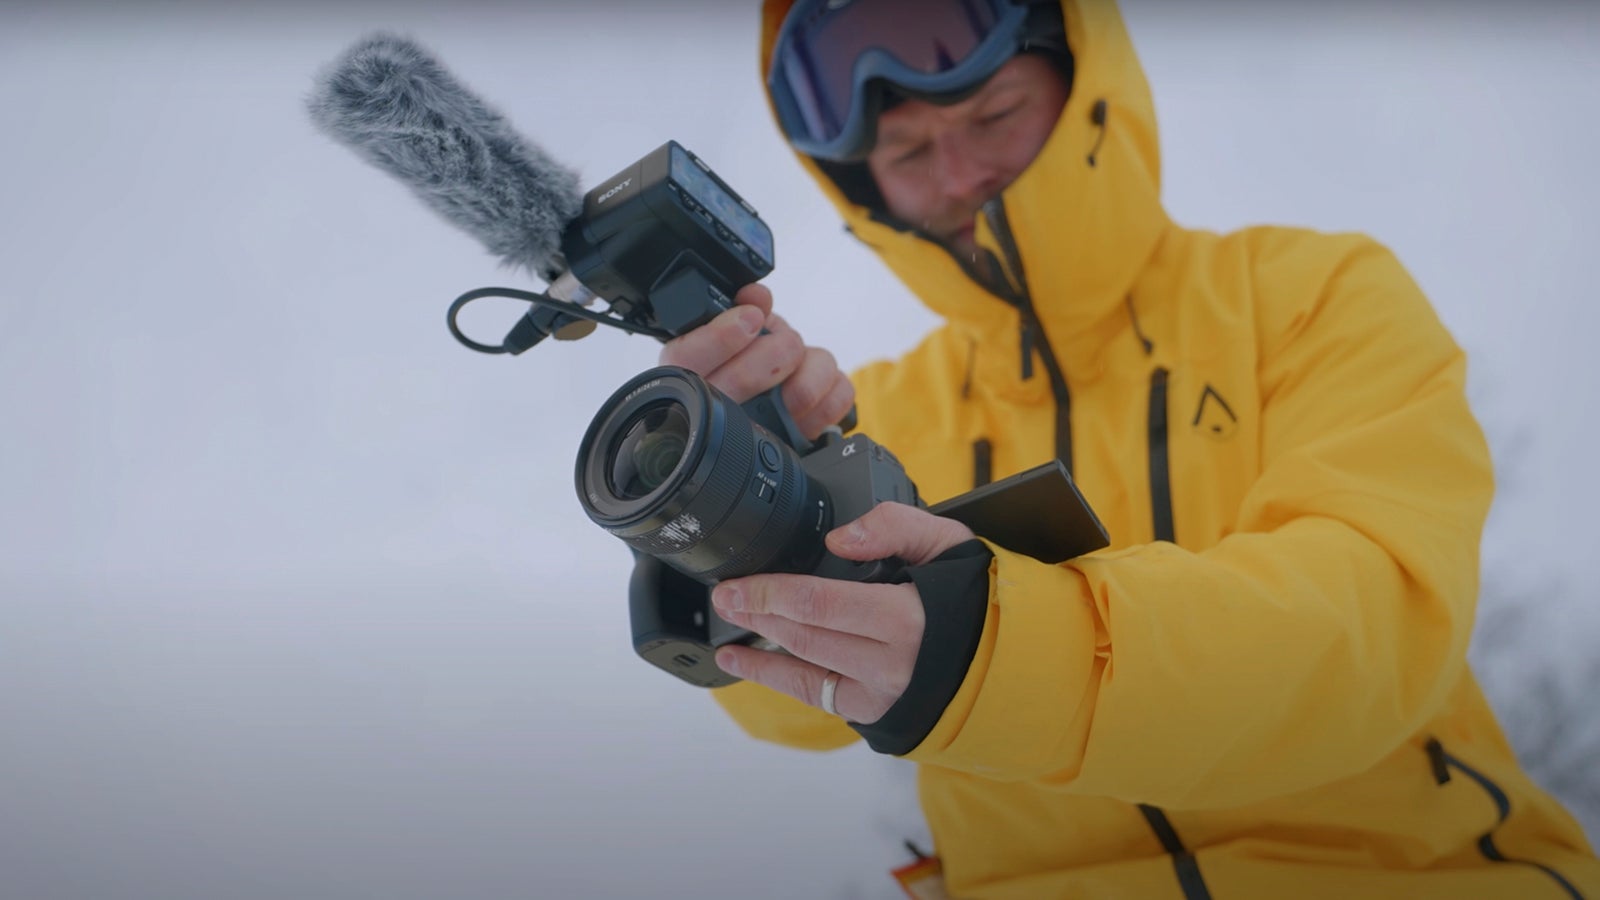
The Sony FX3 is a flexible tool that thrives in fast-paced shooting environments, no matter the budget level. To learn more about how this camera was utilized to capture The Creator, listen to the Shot Talk podcast episode with director Gareth Edwards and DoPs Greig Fraser, ACS, and Oren Soffer.
The creator | dir. Gareth edwards, dps greig fraser acs, asc & oren soffer | shotdeck: shot talk
