SETTING UP Your Sony Camera
Setup files to upload to your cameras to configure for different shooting scenarios and conditions.
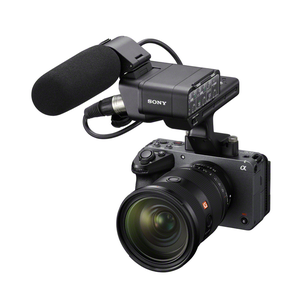
FX30
FX30 - Setup Files
This "All File" allows you to easily set up your FX30 including your assignable buttons.
How the "All File" will set up your FX30 camera:
- Camera set to Log Shooting - Cine EI, S-Gamut3.Cine/S-Log3
- S&Q framerates set to- 48fps at a project framerate of 24 or 60fps at a project frame rate of 23.98
- File naming set to - Cam ID + Reel#
- My Menu1 customized with easy access to these menus: Marker Display, De-Squeeze Display, Format, HDMI Output Settings, HDMI Info. Display
- Note, when HDMI Info Display is set to ‘On’ - you will lose picture on the VF LCD on FX30 when an external monitor is plugged into the HDMI.
- You will see OSD (Menus and camera info) in the external display.
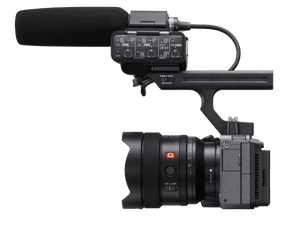
FX3
FX3 - Setup Files
Each preset sets up your FX3 so your “Fn” Menu will be customized to provide quick access to the following menu items:
- Base ISO
- Type of Auto Focus
- Auto Focus area
- Markers
- Frame Rate
- Auto Focus Transition Speed
- Zebra
- And Steadishot among others
The presets will also update the “My Menu” settings so that users have easy access to:
- Marker Display
- De-Squeeze Display
- Format
- HDMI Output Settings
- And HDMI Info. Display**
**Please note that when HDMI Info Display is turned on then the FX3 LCD viewfinder will go to black when an external display is connected via HDMI. The On-Screen Display (OSD) will appear on the external monitor.
FX6
FX6 - Setup Files
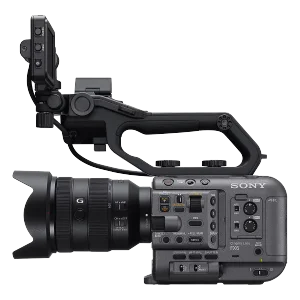
Sony FX6 Assignable Buttons Guide
1 - S&Q Motion
Sony FX6 Assignable Buttons Guide
1 - S&Q Motion
