
01-19-2024 - Gear
Now Available: Downloadable Presets for Sony FX6 camera
By: SonyCine Team
We’ve heard it before! It’s hard to navigate the menus – especially when you are just getting started or moving between cameras. So, we heard you and created presets for your Sony FX30, FX3 and FX6 cameras. This article is a guide for your FX6.
What is a preset?
The presets are downloadable files that can be installed into your camera to make the most popular menu functions easy to access via the cameras assignable buttons.
So, here are the downloadable presets for the Sony FX6: Link here
Here’s your step-by-step instructions on how to install/load the “all file.”
Step One:
- Download the All File. When you open the file, the folder structure should look like this:

- Next, insert a CFexpress Type A or SD card into media slot ‘B’ of the camera.
- Push and hold MENU>TC/Media>Format Media
- Remove the media card from the Camera and insert into laptop.
- From your computer, navigate to the media card. The folder structure will look like this:

- From the downloaded file, copy and paste the folder labeled “CAMERA” onto the media card under the “PRO” folder. Eject the media card and insert it into the camera’s Media Slot B

- Push and hold MENU>Project>All File>Load From Media (B).
- Select between ‘001.ALL’ and ‘002.ALL’. The camera will list them like this:

- 001.ALL - FX6-2398 (Cine EI, 23.98, 3840x2160, FF, XAVC-I, S-Gamut3.Cine/SLog3)
- 002.ALL - FX6-24 (Cine EI, 24, 4096x2160, FF, XAVC-I, S-Gamut3.Cine/SLog3
- To Save an All file, Push and hold MENU>Project>All File>File ID>Set Title. Then go to All File>Save
Here are the Sony FX6 All File Details:
- Clip Name Format is set to: Cam ID + Reel# > A001
- S&Q: 60fps
- EI Switch in 800: L - 400, M - 800, H - 1600
- EI Switch in 12,800: L - 6400, M - 12,800, H - 25,600
- WB Switch: Preset - 4300, A - 3200, B - 5500
- Focus Menu: Transition speed - 4, Subject Shift Sensitivity - 3, Focus Area Wide
- LUT set to ‘ON’ for SDI/HDMI and VF
- Audio: CH1 is set to INPUT 1 (XLR 1 on the handle) and CH2 is set to Internal MIC
- User Menu has been reorganized to include the heavily accessed items closer to the top of the page.
- Marker: For those who would like to monitor for a 9:16 (ie IG Stories or TT) the User box Width and height has been set accordingly (Width 152, Height 269). You can turn this on and off by pushing and holding Menu>Monitoring>Marker>Scroll to User Box > set to ON or OFF. Alternatively, under Aspect Select>Custom, it is set to “09.00:16.00”.
- Embed LUT file “ON”: When a clip that was recorded in a Log shooting mode is played back, the EI value and LUT used when the clip was recorded are applied. When EMBED LUT is turned “ON’’, the LUT shown on playback will be the 3D LUT if the 3D LUT used to monitor is installed on the camera. If EMBED LUT is set to ‘OFF’ the LUT selected will be determined by what is selected under PAINT/LOOK>BASE LOOK>SELECT.
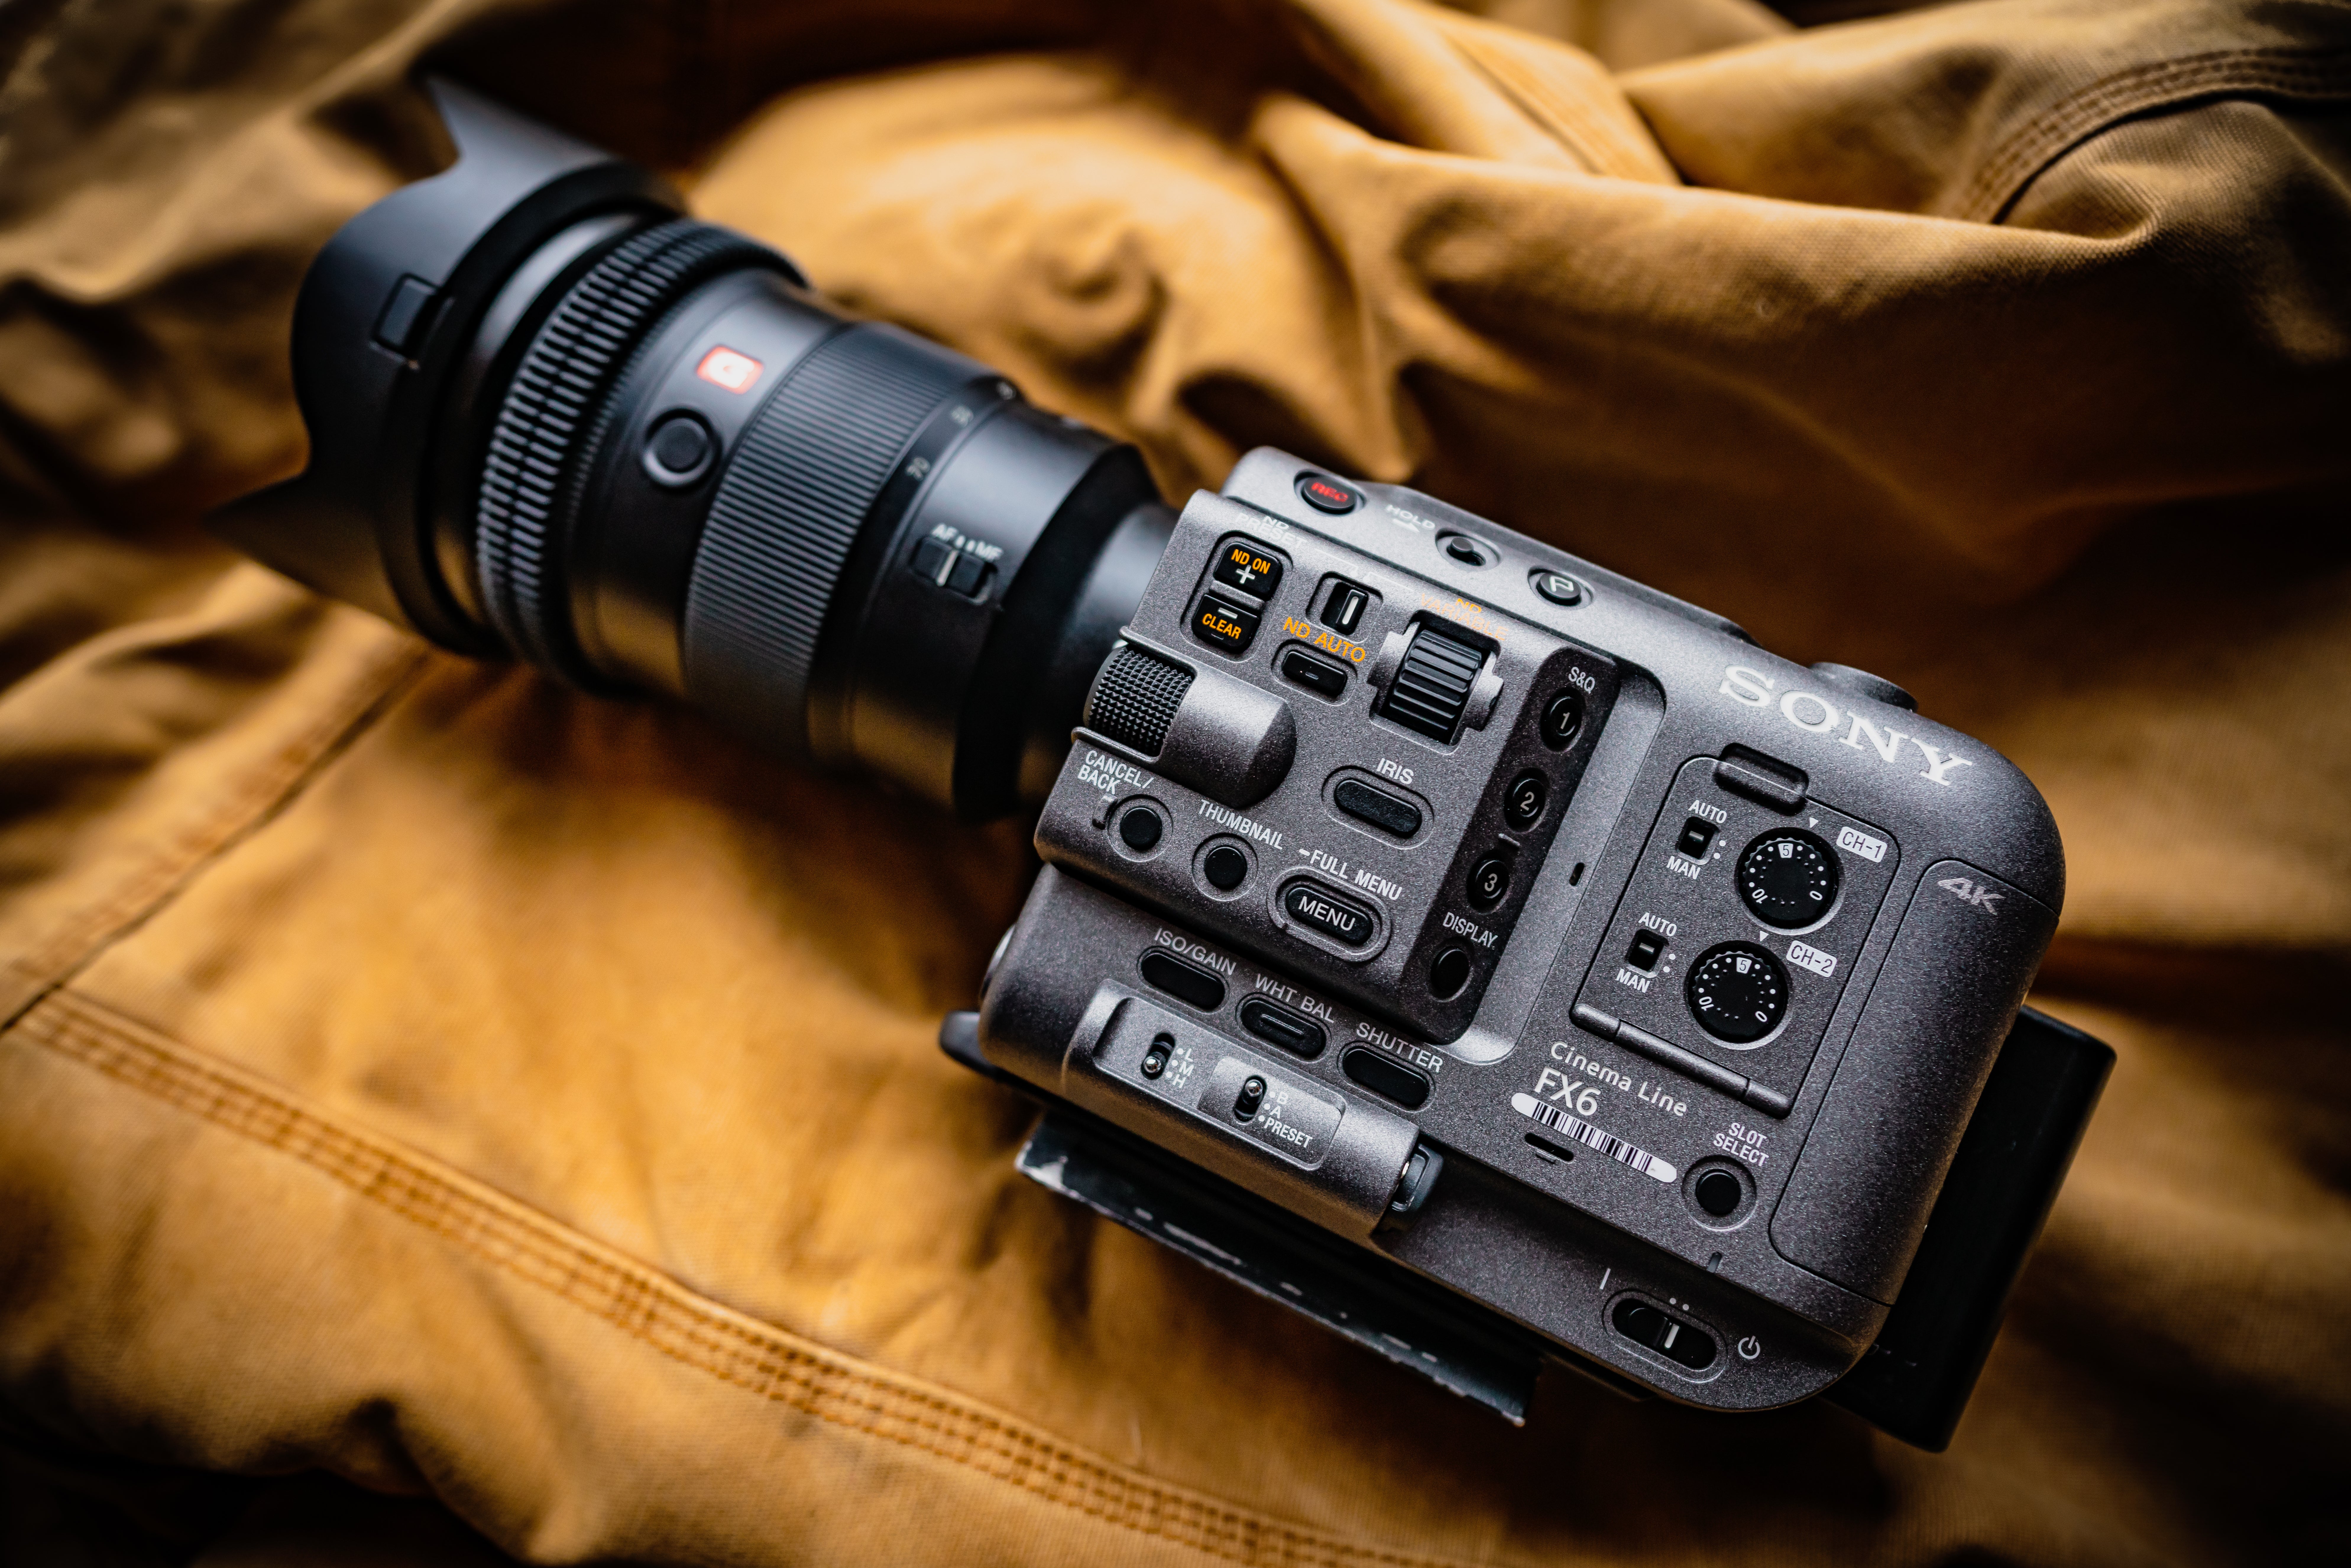
Your New Sony FX6 Assignable Buttons Guide
1 - S&Q Motion
2 - Base ISO/Sensitivity
3 - Video Signal Monitor
4 - Focus Magnifier x3/x6
5 - Direct Menu (You can check the status and settings of the camera displayed on the viewfinder screen, and directly select and change the settings. The following items can be configured. You can also access this by pushing in on the scroll wheel.)
6 - Off
7 - Picture Cache Recording
8 - User Menu
9 - Marker


