
09-09-2021 - Case Study, Gear, Technology
Shot on FX3: Filmmaker Rob W. Scribner and Long Exposure Photography of the Milky Way
By:
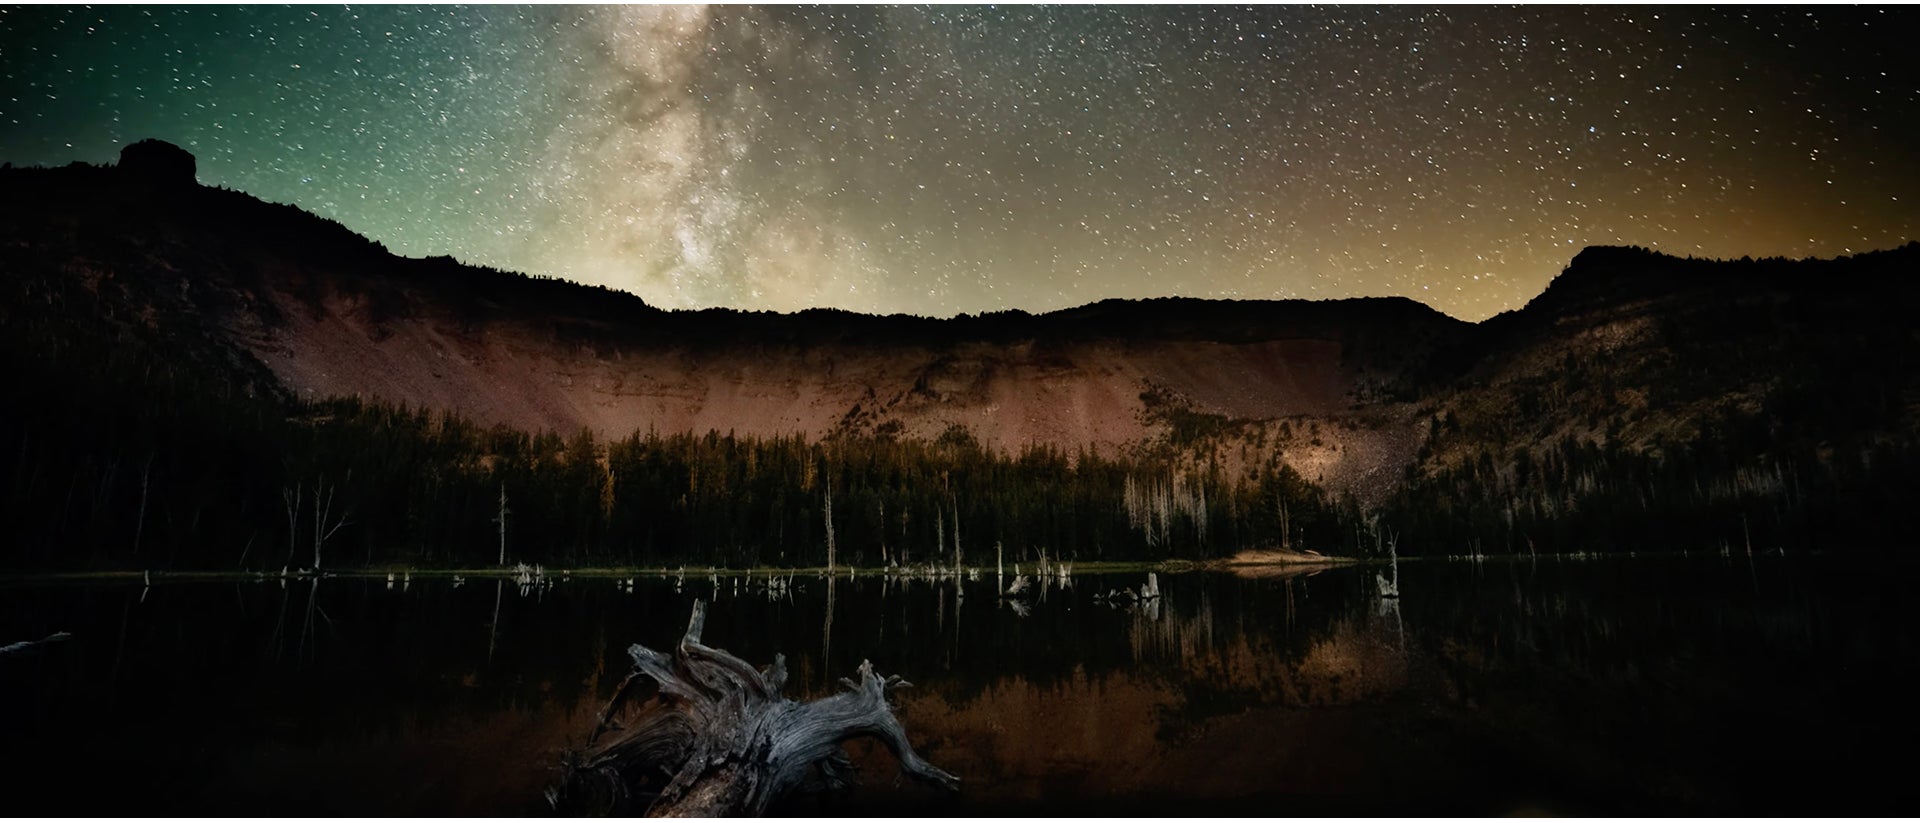
Go behind the scenes with filmmaker Rob W. Scribner for a look at how he uses his Sony FX3 for long exposure photography of the Milky Way – using the Sony FX3 and Sony 16-35mm G Master lens.
Scribner explains the process for these shots: “I followed the 500 Rule most of the time, so If I was at 16mm I would divide 500 by 16 and get an exposure time of roughly 30 seconds. I also made sure that my aperture was wide open at f/2.8.”
“I personally like my white balance set from 4300K to 4800K because I like my skies to have a slight light blue tint to them. When setting up the intervalometer, again I set my exposure to 30 seconds with a 5 second delay and shot somewhere between 600 - 800 photos depending on how early I started my shot or if I had a smaller window to work with because of the moon.”

“It was extremely important to capture black frames after my timelapse was compete so in post I could remove any hot pixels that can happen from long exposures on digital cameras. I also made sure to turn off my Image Stabilizer and Long Exposure Noise Reduction. My ISO changed depending upon how much light pollution was around me, so if I was way up in the mountains I would have an ISO no higher than 6400, and if I was closer to a city or had smoke or clouds rolling in, I would set my ISO to 3200 minimum; it really just depended on the night. A few times I set my ISO to 5000 because it just looked right in my test shots.”

“For Post Processing, I used a combination of programs. I started with Adobe Bridge to organize all my files (light frames, dark frames, test shots, etc.) and moved them to the proper folders to keep myself organized, knowing I was going to eventually have thousands of images.”
“I would then go into Lightroom, find a good-looking shot and process it using the Adobe Camera Raw application. In some cases, I applied my processing settings to all the usable frames and sometimes instead I just exported my Camera Raw settings as an XML file to be used in another program.”

“I will then go to Adobe After Effects and import the .ARW files into a timeline. If I had already processed all the files in Lightroom, I’ll use the black frames to start the process of removing any hot pixels that may have appeared and start a creative color grading process.”
“If I had not yet applied the XML setting to the photos, once imported into After effects, I will apply my settings upon import and again use the black frames and color grade to taste. After exporting the timeslapse sequence, I edited the project in Adobe Premiere. This is also where I will remove any excess noise that may have incurred during the process by using the Neat Video noise reduction plug-in. For this film it was very much a back-and-forth process because fine tuning the final image took a bit of time, though that's to be expected when shooting hundreds of long exposure shots.”

“I did experiment using Maxlm DL IP a few times to help remove hot pixels. The results were great but it took a long time to process each frame, so I mainly used After Effects because it was faster. If I’d had more free time to process these images to remove hot pixels, I probably would have used Maxlm DL IP on every shot and then bring it into After Effects from there. Regardless, I am very happy with my results.”


