
02-17-2021 - Case Study, Gear
Camera Test at the Sony DMPC
By:
When we approach a job with an unfamiliar camera how do we proceed? With lenses we can project them to look for issues or desirable qualities and then put them on cameras we are considering, but how can we test the cameras themselves?
One way to weed out prospective cameras is by the features of the cameras themselves. Do they record in your favorite flavor of capture? Is the sensor size to your liking? Do they have the outputs, lens mounts and connectors you desire? Do they have the sensitivity you need? Are they slower to work with? Are the camera’s dimensions and weight acceptable? Does your recommendation of camera inspire confidence in your abilities to the producers? Do they fit the budget of the production? Are the cameras reliable? Are they available and does the rental house have backups in case they fail?

George Lucas shooting a Panavised Sony F900
All these factors come into play when considering a camera, but the biggest factor of all is - What do the pictures look like? Do the camera’s color space and dynamic range mesh with your aesthetic? Does it work for the film at hand? Can the camera give you the images you expect and desire without trauma? Does the camera function the way your mind works? Do you feel at one with it or are you constantly trying to find workarounds for its shortcomings? If the answer to any of these questions is no then you need to re-examine your choice and decide if the camera’s benefits outweigh the camera’s issues. If you can live with these then get access to a prospective camera and test it.
There are probably as many methods for camera tests as there are cinematographers. Here we should not only examine the photographic capabilities of prospective cameras but also their physical attributes as well. Many years ago at the Santa Fe HD workshops I was lucky enough to study under Jeff Cree and Michael Bravin. The Sony F900 had just come out and we learned about the capabilities of the camera system, which was capable of giving great images under proper circumstances. Coming from a film background this was important to me.
From that point I became very interested. Not only was I intrigued in the images the camera could produce, but more importantly where did it break. Not in a physical sense, but image wise. There were obvious examples, but I wanted to know how far it could be pushed before the image failed and what characteristics emerged as this was happening? Were they desirable or undesirable?
With film the saying was “Expose for the shadows and let the highlights take care of themselves.” A cavalier attitude to be sure, but it makes an important point. With film’s latitude, it was much better at holding highlights than shadows so special care was needed to see detail in the shadow area.
I learned the difference between film and video in 1979 when shooting news at WIS-TV in Columbia, South Carolina with their Thomson Plumbicon and Saticon tube cameras. Those cameras were SD and had little latitude though they were cutting edge at the time. Highlights had to be protected or they were gone immediately and even worse, the tubes would burn if pointed at bright objects. Today we have sensors instead of tubes so burning in is much less of an issue. Sensors now are also much more sensitive to shadows and hold highlight detail much better, but care must still be taken. Knowing this, how do we proceed?

Frame from a test at the DMPC, DP Bradford Lipson
Having worked with many brilliant cinematographers, DITs and technical gurus in my career, I’ve come up with a method which, in my mind, helps sort out a camera’s capabilities. Where with film I metered as required, with digital I’ve tried to train myself to shoot by eye while relying on a properly calibrated monitor for balance and a waveform monitor for exposure confirmation.
If using this method, be sure your reference monitor is properly calibrated with proper color bar and pluge settings before proceeding so you get an accurate idea of what the test camera is actually doing. Otherwise you have no reliable gauge of what you are seeing and hence your test is useless. Also be sure to have a waveform monitor available either in camera, in monitor, or stand-alone so you can judge exposure and dynamic range. The waveform won’t be as telling as the DSC Labs Xyla high dynamic range chart, but it will give you a good idea.
Upon knowing the test camera has no technical issues and is up to spec from the manufacturer per the provider, how do I test it for myself? Having participated in the original Zacuto Great Camera Shootout of 2010, I got to observe how many of the great cinematographers and technicians checked cameras for various qualities. We had many devices at our disposal including zoetrope like devices for checking rolling versus global shutters and many other attributes.
One of my favorites was the Bob Primes, ASC bare-bulb test which, at the time, was guaranteed to break any camera. I mention this as in the test I’m going to describe now, the bare bulb test, is a major factor, as is the CaviBlack component from the DSC Labs ChromaDumonde color chart, which is essentially a recessed area of total darkness in the chart resulting in absolute black.
This test could be done anywhere, but as luck would have it I was at the Sony Digital Media Production Center (DMPC) in January 2020 learning the ins and outs of their VENICE camera system. After the course, since I had a shoot with the camera coming up immediately, they allowed me to shoot tests on their stage, which conveniently has a standing set complete with quite an array of props, grip, camera and lighting available. Another good aspect of the DMPC’s set is a room on set that can be left in total darkness.

View of the stage at the DMPC
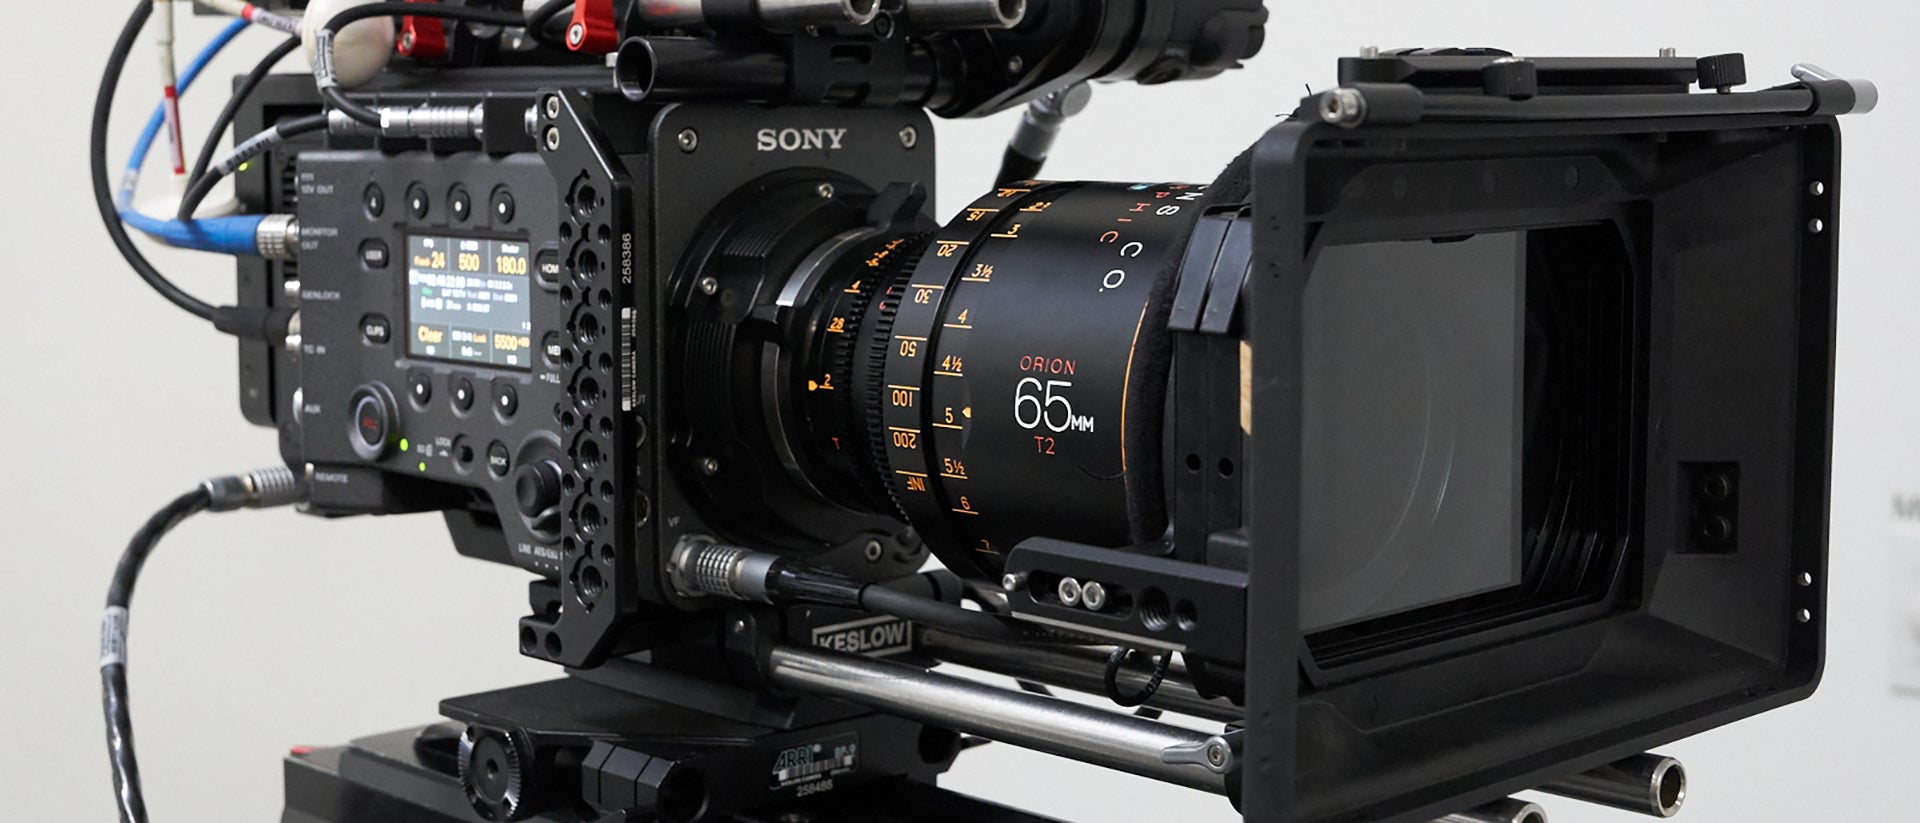
With the camera on the tripod I had a choice of ZEISS Supreme Prime T1.5 and Sigma Cine Prime T1.5 lenses to try so we could know that our results were not lens dependent. Lens speed was critical as I knew my upcoming project was all night work so a matching stop between lens manufacturers was a bonus. It was going to be a T1.5 kind of shoot.
On the set was a couch in the foreground, some other furniture and in the background a large fake fireplace, that was quite interesting. To the right was the open door to the room I kept in total darkness. In front of that door’s opening about 6 feet from camera, was an end table where we placed the table lamp with the bare bulb. To kick it up a notch I chose a household size clear bulb with a massive glowing filament. The set was raked from the high left with a studio Fresnel dimmed, scrimmed and silked way down to where it barely registered on camera. The walls felt the light of the bare bulb and the deep pile fabric on the couch didn’t register separately on the waveform monitor but the camera saw it. I had the entire range from well over exposure to complete darkness.
The VENICE has two base ISOs, 500 and 2500, so we wanted to test them both. To do this while keeping the lighting and stop constant we used the camera’s internal ND filters, as I am never afraid to use NDs indoors to stay within the exposure range and camera characteristics desired. This test was to evaluate the camera system. Luckily I had the ZEISS and Sigma lenses available. The ZEISS were outstanding as expected and I was happy to find the Sigma lenses were really very nice as well, since the Sigmas were what I’d have in Minneapolis when I arrived for the upcoming shoot.

VENICE with ZEISS Supreme Prime Radiance lens
We pointed the camera at the set and rolled several takes with both lens options and ISO settings with the ND adjusted to allow 500 and 2500 settings at T1.5 on each the ZEISS and Sigma lenses. The camera was set at maximum quality 6k resolution. Then we downloaded the footage and took it to Sony’s viewing theater to see it on their massive Crystal LED display screen, which has stunning image quality.
One thing immediately noticeable was the dynamic range of the VENICE and how well it handled everything I threw at it. The bare bulb against total darkness held nicely and the foreground couch, which was well under exposed and looked noisy on the set monitor, was perfect on the Crystal LED screen in the viewing theater, with no visible noise to my eye. What this told me was that the VENICE handled highlights well and had low light capabilities that exceeded the monitors I was viewing it on during image capture. Good information to know moving forward.
Of course, the same test with different camera systems will yield a variety of results. Ultimately, before embarking on a job and especially when you’re renting gear, test so you know what your equipment can and can’t do. Your success depends on it.

VENICE with Sigma Cine Prime lens


