06-15-2020 - Gear, Technology
FX9 Firmware Version 2 - Metadata Image Stabilization - Deep Dive
By: Alister Chapman
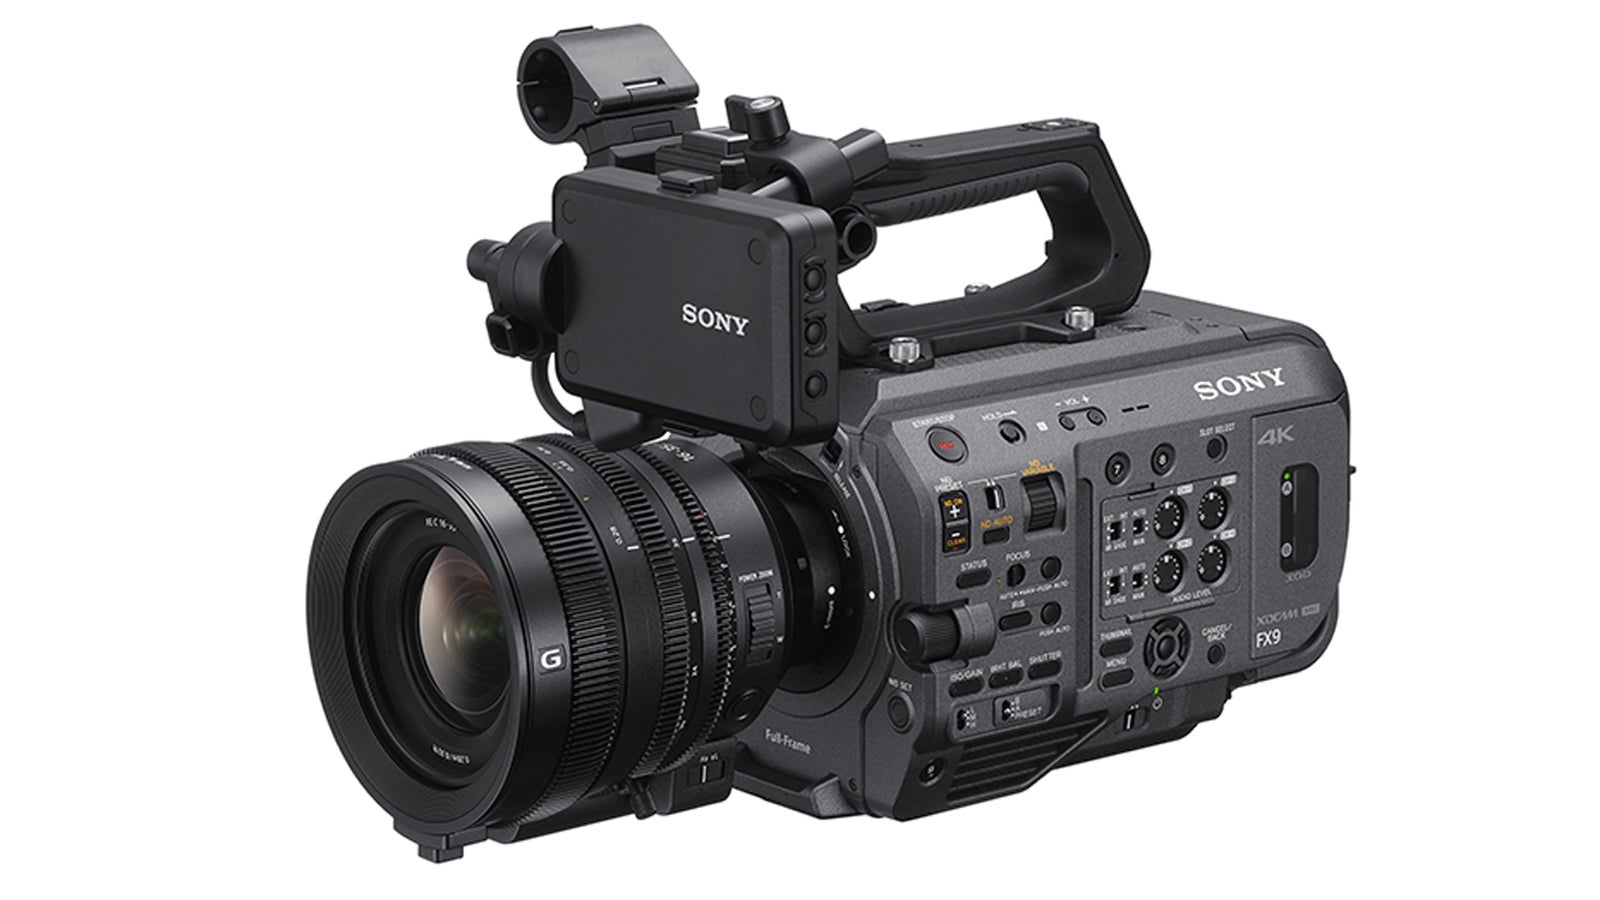
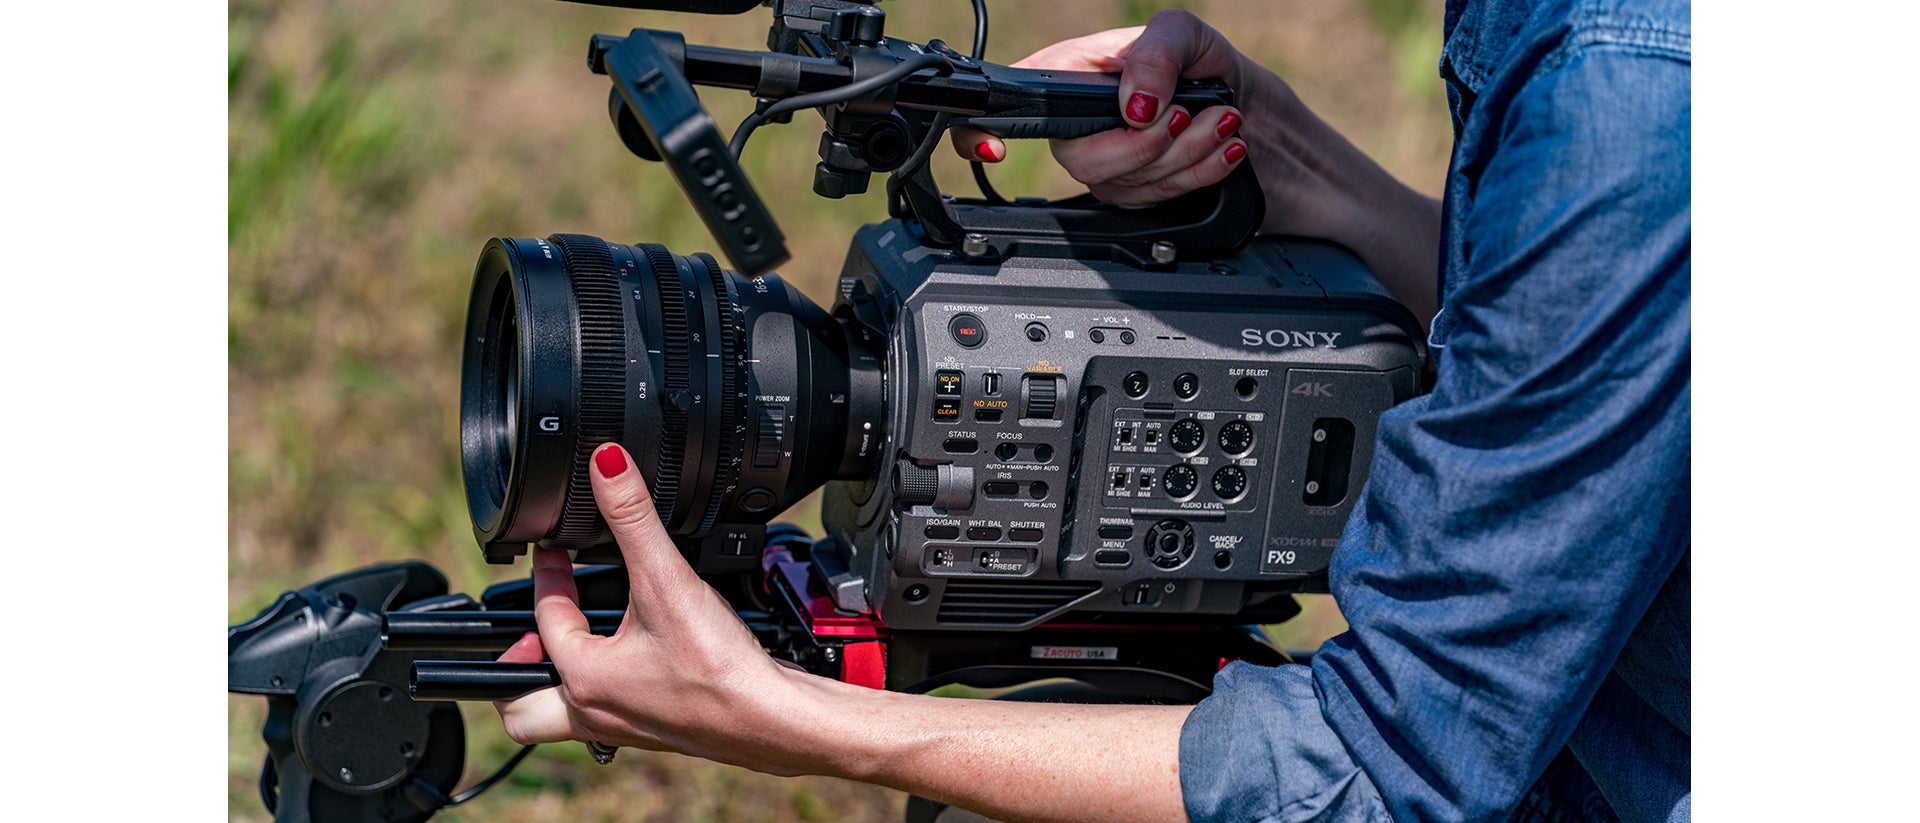
One of the really great features of the PXW-FX9 is that we are able to stabilize wobbly or shaky footage in post-production using metadata recording how the camera is moving. This metadata stabilization feature really is very good and it can help produce shots that look like they were shot on a gimbal or other stabilizer.
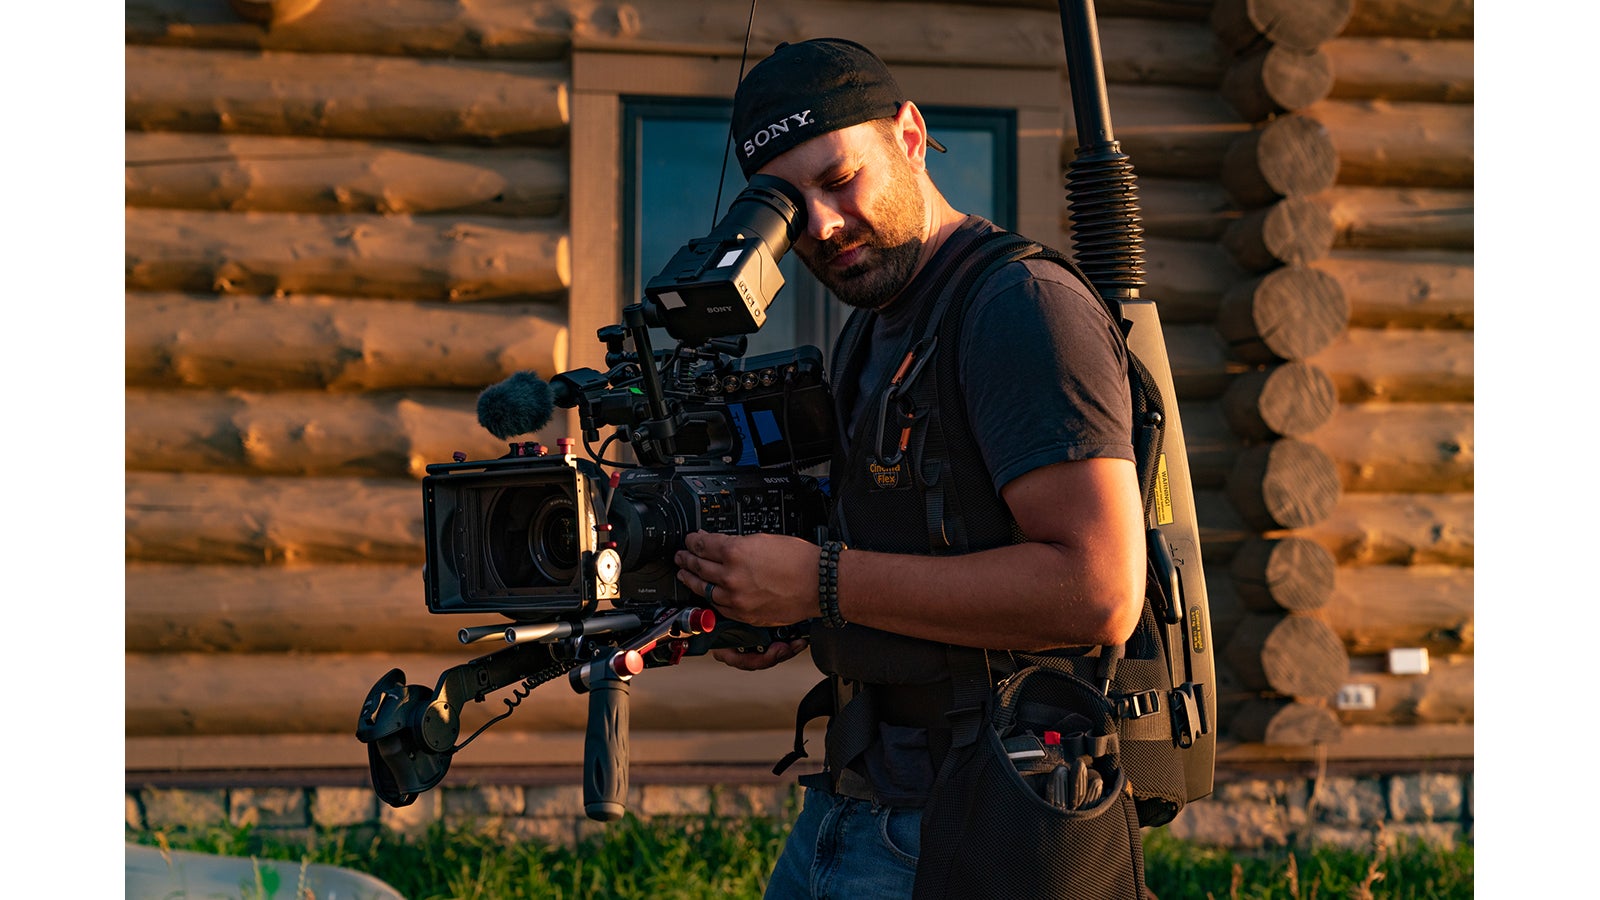
So how does it work? The camera has built-in sensors that are able to measure how the camera moves in three-dimensional space. These gyro-driven sensors are independent of the FX9’s GPS sensor so they work equally well indoors or outdoors. They very precisely measure the roll, tilt, up, down, and left and right movement of the camera. This information about the camera’s movement is then saved as metadata in the “.bim” sidecar files that are attached to the internal XAVC recordings. Movement metadata is stored for every single frame of the video clip.
In post-production, software that can read this metadata is used to adjust the video footage to smooth out the camera’s movements. At the time of writing the only software able to do this are Sony’s free “Catalyst Browse” and Sony “Catalyst Prepare,” available by subscription. But the software development kit for this function has been shared with most of the major edit software vendors and it’s expected that in the near future we will gain the ability to use the camera’s metadata to stabilize clips directly within most edit and grading software.
There are a few things that must be understood about how to use this function. The first is that you cannot use it in conjunction with optical stabilization. If you were to attempt to do this, the unknown amount of stabilization applied by the lens would make it impossible for the software stabilization to produce a satisfactory result, the two would fight against each other. Because of this you must ensure that any optical stabilization is turned off, not just via any stabilization switch that the lens might have but more importantly, in the camera’s menus; you must turn off optical stabilization.
In addition to this, to work correctly the camera and software need to know what lens is being used. The focal length of the lens in particular will change the amount of stabilization that is needed. So, the lens that you use must pass vital information about its focal length to the camera, which is then recorded in the metadata. To guarantee that this will work correctly, Sony E-mount lenses should be used.
Next, you need to think about your choice of shutter speed. When a camera is moving rapidly, and the shutter speed is relatively slow, each frame of video captured may be slightly blurred by that movement. When you then stabilize the footage and reduce the amount of movement in the shot, any extra motion blur can look a bit odd as the shot remains stable, but the blur varies from frame to frame. In order to prevent excessive softening of your footage, using a slightly faster shutter speed than perhaps you would normally may be beneficial. When I am planning on using the metadata stabilization, I tend to use a shutter speed twice as fast as I normally would. So where I would normally use a 1/48th, 1/50th or 180 degree shutter, I would typically instead use a 1/100th or 90 degree shutter.
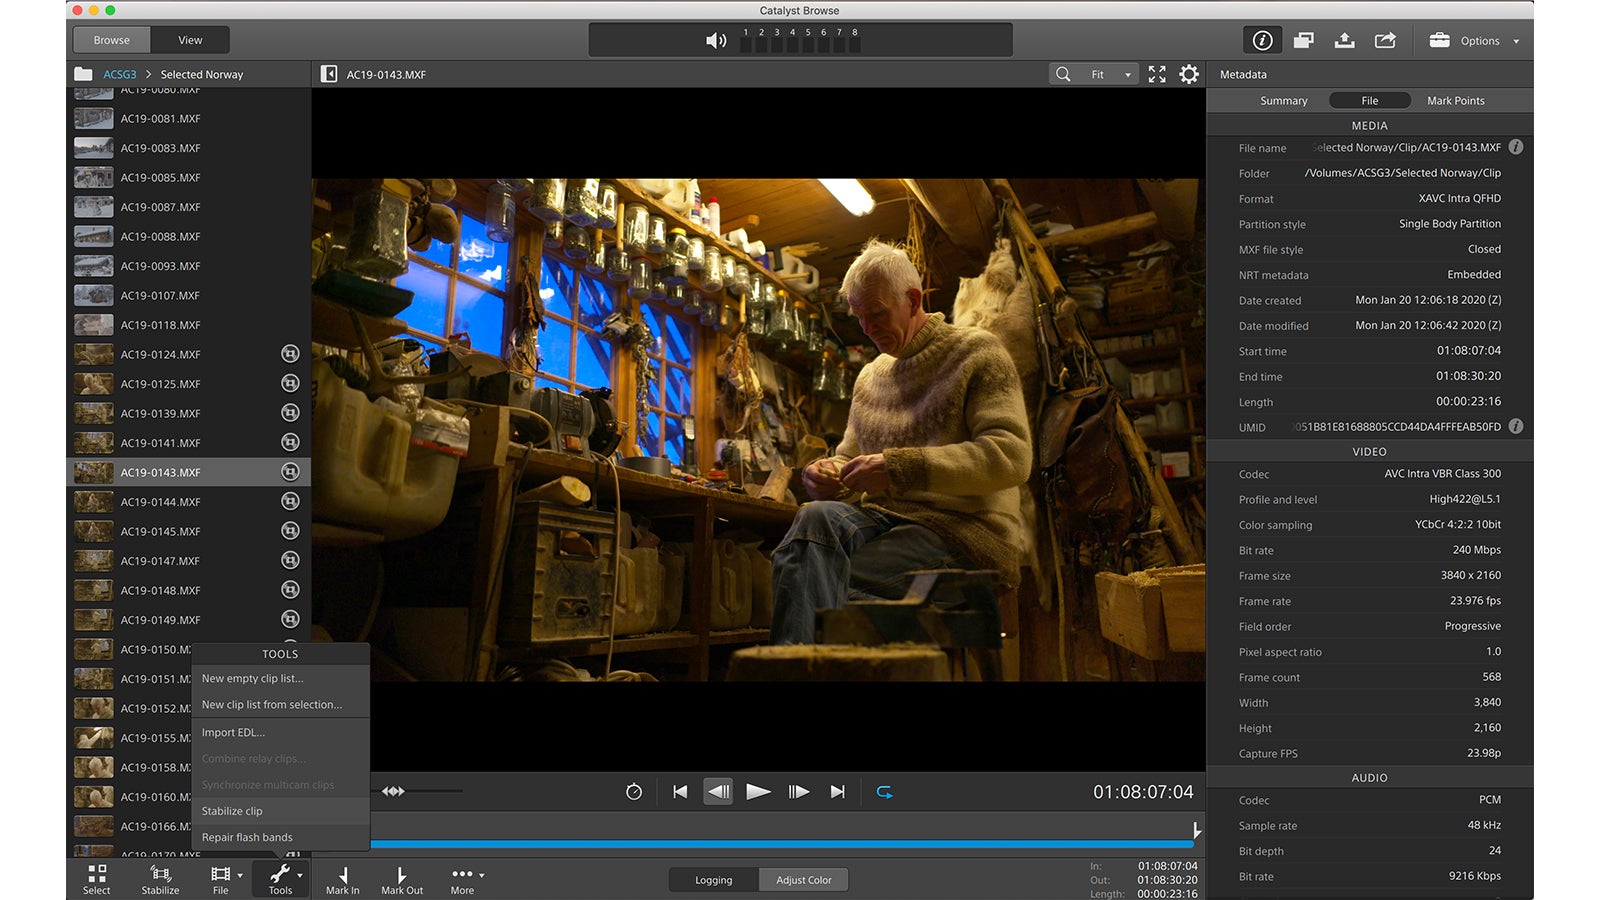
Once you have shot your clips, after making sure you have the latest version of Catalyst Browse, simply import the clips as you would normally. Select the clip you wish to stabilize and in the vew window at the lower left use the “Tools” button to open the Tools menu where you will find the stabilize option. If “stabilize” is greyed out this may be because the lens didn’t pass the necessary metadata to the camera at the time of recording or you had enabled Image Stabilization in the cameras menu system.
When you select the stabilize option a new window opens and Catalyst will rapidly analyse the clip and prepare a preview of how it will look after stabilization. This process is normally very fast even on a more modest computer.
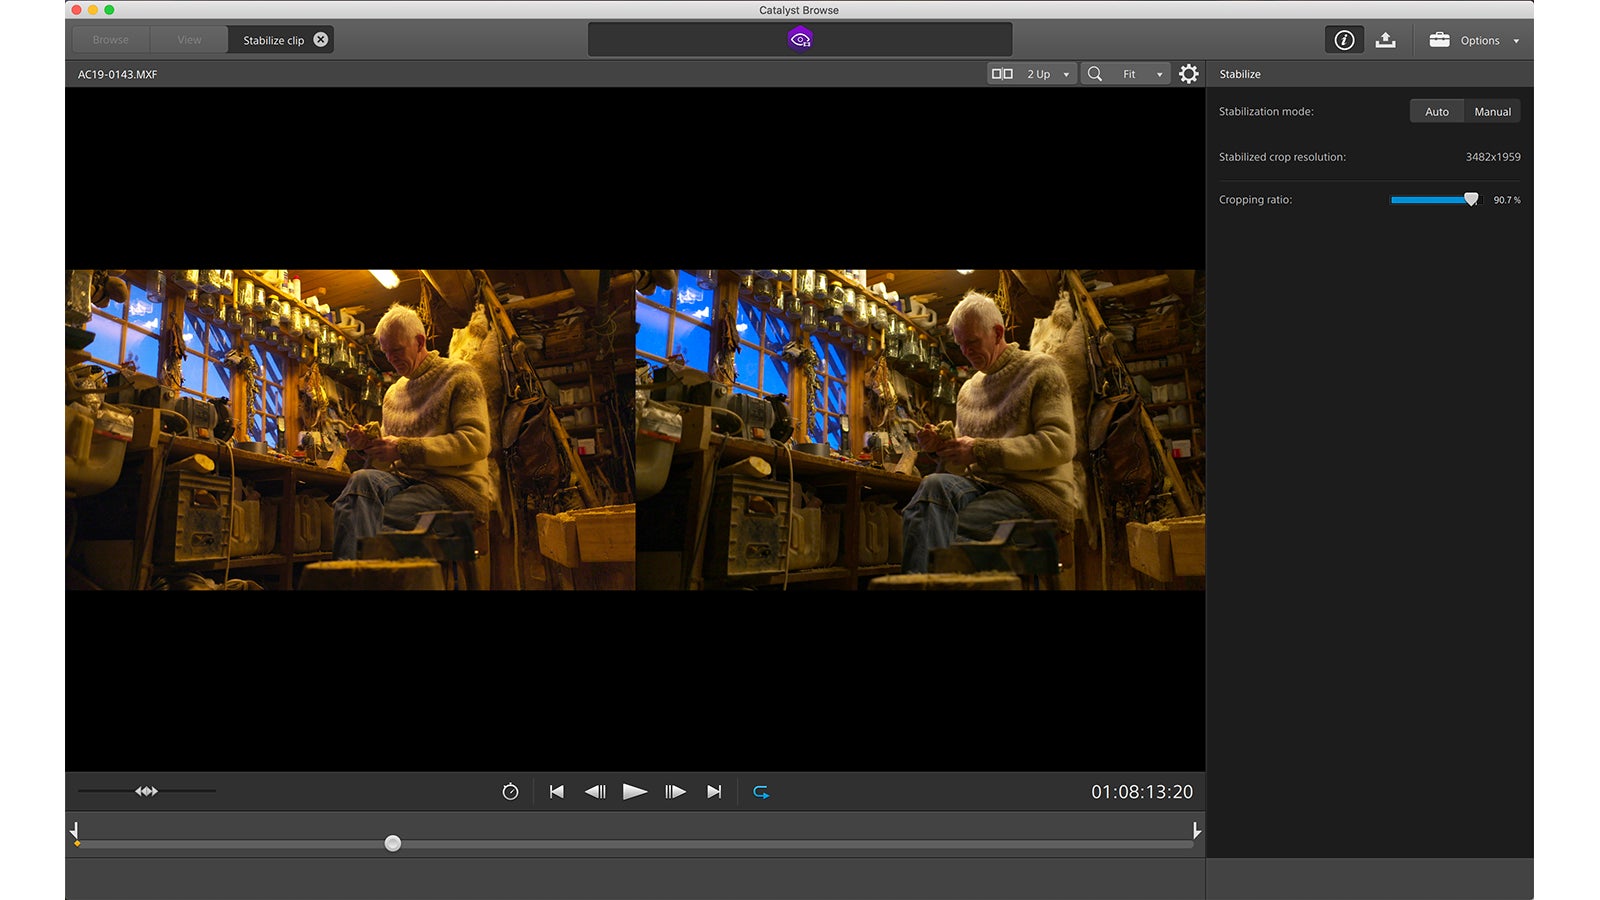
Note that in the example shown here that not only is the clip being stabilized but in addition Catalyst Browse’s powerful colour correction tools are being used to grade the shot.
If you’d like to manually adjust the amount of stabilization, you can toggle between Auto and Manual at the top right of this window. Once you are happy with the amount of stabilization, you can then export a new copy of the clip with the stabilization applied using Catalyst’s export function.
Because metadata stabilization uses information about the camera’s motion to control the way the clip is adjusted, it is not fooled or confused by motion within the shot as other software stabilizers often are. This means it can be very effective at stabilising handheld shots of action sequences or fast moving sports, things that can be challenging to successfully stabilize with traditional software stabilization. Often a software-based stabilizer will make stabilized footage look very flat and two-dimensional and this can look unnatural. The corrections that are applied in Catalyst Browse include geometric corrections based on the focal length of the lens so that as the camera pans or tilts the movement looks natural and true to life.
While the stabilization process does need to crop in to the image to work, the loss of quality is normally very low. If you are using the FX9 in its Full Frame 6K scan mode the oversampling means that the 4K files are higher resolution than possible from a camera with a 4K sensor. So even if you apply a 90% or even 85% crop to stabilize a clip you should not notice any resolution reduction compared to a conventional camera with a 4K sensor.
See also - FX9 Firmware Version 2 - 16-Bit RAW - Deep Dive
FX9 Firmware Version 2 - Scan Modes - Deep Dive
For an overview of FX9 Firmware Upgrade V2.0 - See New Firmware Upgrades Announced: VENICE Version 6.0 and FX9 Version 2.0
