
12-15-2021 - Gear, Technology, News
FX9 Version 3 Firmware Update – Feature Deep Dive
By: Alister Chapman
Alister Chapman is a regular contributor to SonyCine.com. Check out his website HERE.
The FX9 has served me very well from the day it was released. I have found it to be a very capable all-around camera. It’s worked very well for documentary and news-type shoots, for example when I took it to Norway to document my 2020 Northern Lights expedition. It’s also been great for drama and narrative work, I particularly like the ability to work with both Full Frame and traditional Super 35 PL mount cine lenses.
I always look forward to new firmware releases since they can often add some handy new functions. I was particularly looking forward to the FX9 Version 3 firmware update as Sony had already told us this would bring an anamorphic mode to the camera. I had already shot a couple anamorphic projects with my FX9 using third-party monitors and viewfinders for the desqueeze, but built-in desqueeze was going to be a nice upgrade and make shooting anamorphic just the little bit easier.
But what took me and many by surprise was the inclusion in the version 3 update of what Sony call “Real-time tracking” auto focus, perhaps more commonly referred to as touch tracking AF.

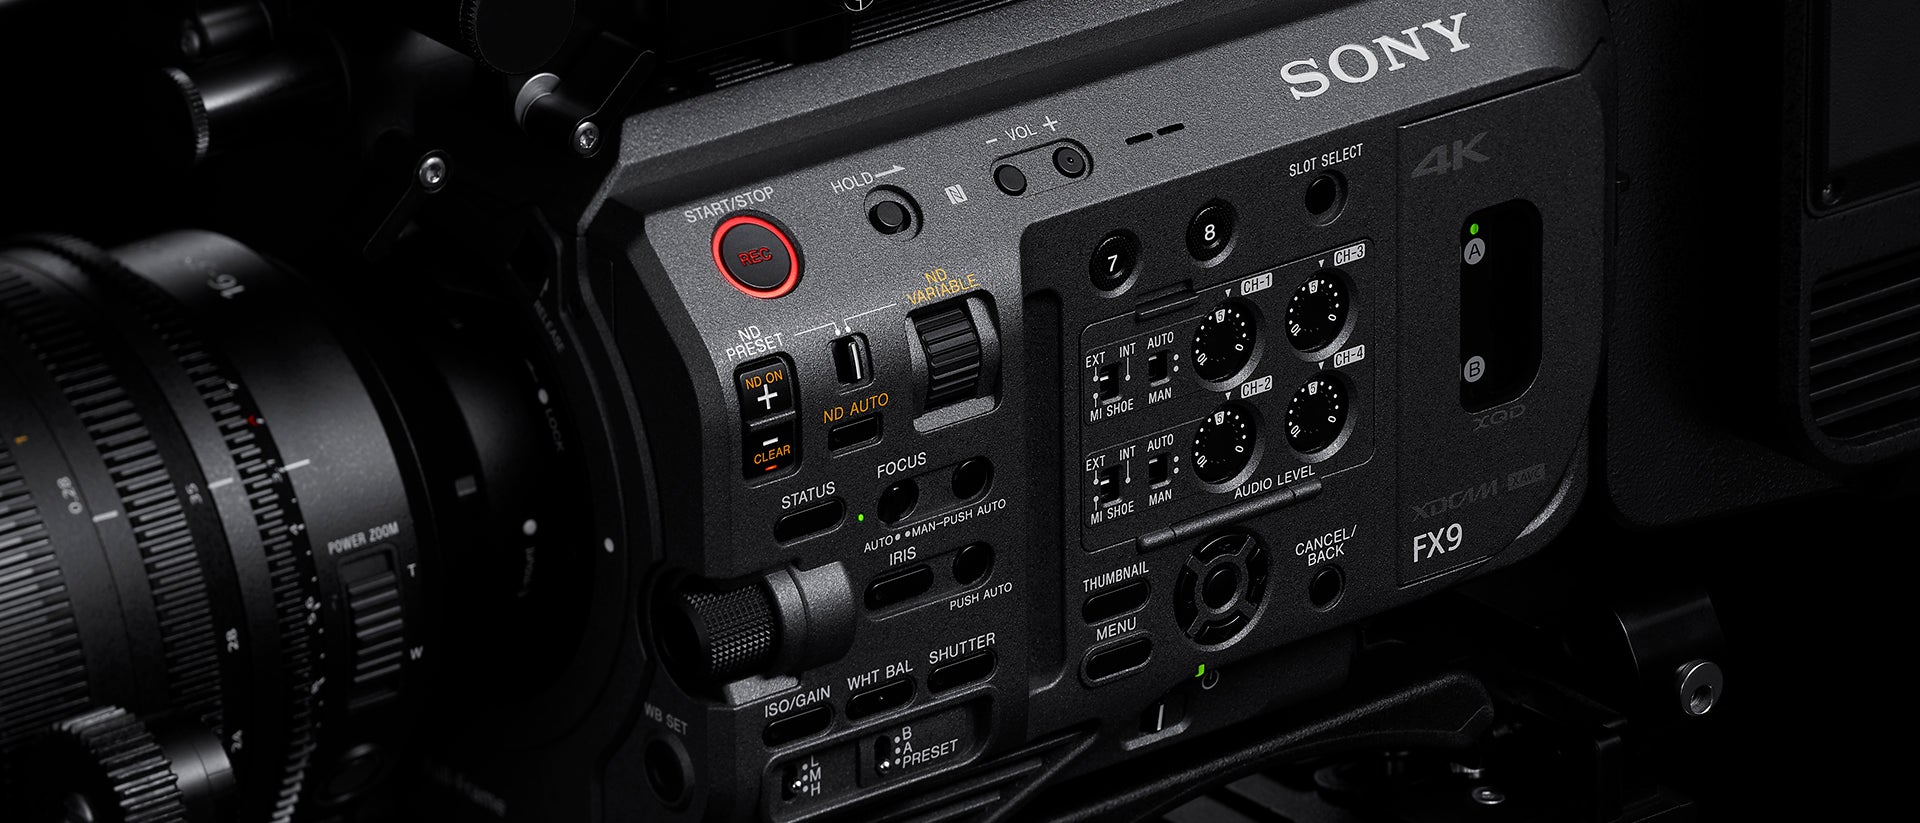
Real-time Tracking AF
The FX9’s amazing autofocus system has changed my view of the use of AF for professional video applications. Even before the version 3 update I found myself using AF rather than manual focus more often than not. When working with faces, the camera’s face/eye AF allowed you to choose the face it would focus on by moving a cursor under the desired face and selecting it, then a white double box around that face or one of the person’s eyes would let you know that this was what was being focussed on. However, when there are no faces it was always a bit less certain as to what the camera is going to focus on. Most of the time the camera would pick the most significant thing in the shot and most of the time this would be correct, but not always. In this case, you could use the flexible spot focus zone to isolate a particular part of the shot, but this required a dive into the menus or a custom button press plus moving the flexible spot to a fixed part of the shot.
The addition of Real-time tracking in version 3 takes the AF system to the next level. Now you can simply touch on the LCD screen to select almost any object or face and that’s what the camera will focus on. And not only will it focus on it, if it moves, it will track it. Plus, there is a white box with a vertical white bar on each side of it, placed over the touched object or face so you know what the camera is focusing on. There’s no more guesswork. To stop the touch tracking, touch the grey cancel box that appears in the top left of the VF (circled in image above).

When working with people and faces there are some very nice changes. When using Face/Eye Priority AF, now when you touch on a face, that face is saved and then that face is prioritized over any other (if using Face/Eye Only then only that face will be focused on, all others and anything else is ignored and the focus halts if the save face isn’t present). But things get really clever should the selected person turn away from the camera so their face can’t be seen. Rather than the AF going to another face, the AF will track the side or back of that person’s head.


Images above: The face has been touched, so we see the tracking box over the mannequin’s eye. Then as the head is turned away, the tracking switches to the back of the head and then is tracked as the head moves across the image.
When using Face/Eye AF, you can now touch on any object that isn’t a face to focus on that object instead of a face, temporarily suspending the Face/Eye AF until you cancel the real-time tracking, or until the selected object can no longer be seen by the camera.
If the camera’s AF/MF switch is set to manual focus, you can still use real time tracking. If the lens you are using is an E-mount autofocus lens and the AF on the lens is switched on, you can then focus manually with the lens as you would normally until such time as you touch on an object on the LCD screen. Then the Real-time tracking will start and the AF will track and focus on the selected object. To go back to manual focus just turn the lens focus ring or press the cancel button, top left of the viewfinder.
This really is an amazing system. It makes me look good because it rarely gets the focus wrong. You can do perfect focus pulls time and time again. You can do walk-and-talk shots with ease, even if the talent turns away from the camera.

What About Anamorphic?
Version 3 adds both 1.3x and 2x desqueeze to the viewfinder for both shooting and playback. This has no effect on the recordings or the HDMI or SDI output. It is only for monitoring, but for the majority of anamorphic projects that’s what you want. When working with 1.3x anamorphic lenses you can use FF 6K scan, FF 5K crop or S35 4K scan because 1.3x anamorphic lenses are designed for 16:9 or 17:9 sensors. For 2x anamorphic lenses you must use the cameras FF 6K scan mode to get the sensor height needed to work with the majority of 2x anamorphic lenses designed for open gate 35mm film.


The 2x anamorphic de-squeeze mode not only squashes the image 2x vertically but it also expands the image by approximately 30%. The 30% expansion is included to remove the vignette that would otherwise be seen due to the width of the FX9’s 6K 17:9 sensor. In post production, to achieve the normal 2.40:1 final aspect ratio from a 2x anamorphic lens, you will need to expand the recordings by around the same 30% as well as add the 2x desqueeze. So the image seen in the viewfinder is representative of how the final image will look. Because the FX9 has a 6K sensor, even after you have done the necessary expansion to eliminate the side vignette, the horizontal resolution is comparable to many of the most commonly used anamorphic capable cameras.
S16 2K Scan
This was another feature we knew was coming in version 3. But as well as adding the new Super 16mm sized 2K scan mode, Sony added the ability to add a “crop select” function to the assignable buttons. Crop select allows you to quickly switch through FF 6K scan, FF 5K crop, S35 4K and S16 2K scan without having to go into the menus. There are some limitations to this – you can’t select a crop mode that is incompatible with the recording format. For example, you can’t select the new S16 2K scan mode if recording in 4K or UHD. To select S16 2K scan you need to be recording in HD.
If you are shooting in HD then switching from FF 6K scan to S16 2K scan gives a 3x punch in - very handy if you need a tighter shot but your lens isn’t long enough.
The S16 2K scan mode is also great for shooting using S&Q motion between 100fps and 180fps. This now seems to be the highest quality scan mode for high-frame-rate shooting in the FX9. Having said that, it’s worth considering that you are only using a very small part of the sensor and expanding this to fill the screen. As a result, the noise isn’t as smooth or as appealing compared to the much finer noise from the FF 6K, FF 5K crop or S35 4K scan modes. You might want to consider using a higher noise reduction setting in the camera or shooting at a slightly lower EI rating. If that doesn’t help then a touch of post-production noise reduction could be used.

The S16 2K scan mode also makes it much easier to use B4 lenses designed for 2/3” cameras. These lenses generally have huge zoom ranges, so they are great for news or documentary productions. If you use the Sony LA-EB1 adapter, the camera will also support ALAC (Automatic Lens Aberration Correction) where the lens has this feature.


Images above – same lens, huge zoom range

Clip Naming With Reel Numbers
Another nice addition is the ability to change the clip naming structure to one that includes a reel number, camera identifier letter, camera position character and sequential clip number. This new naming format is very similar to the format used in most high end cinema cameras and is particularly useful where large numbers of clips are recorded across multiple cards. Each time you put a completely empty card or format a card in the camera the reel number will automatically increas incrementally.
Removing Unused Status Pages
If there are any status pages that you don’t use these can now be disabled, so for example, if you only rarely use the GPS status page, this can now be turned off so it isn’t shown.
S700 Protocol Over Ethernet
For those wanting to use the FX9 in a studio or outside broadcast setup you can now use many of Sony’s existing RCP Remote Control Panels to control the camera. You need to have the optional XDCA-FX9 as this provides the necessary ethernet port to connect to the RCP panel. Plus, you need an ethernet switch that has a Power over Ethernet (PoE) port to power the RCP.

Author Alister Chapman shooting the FX9
But once you have these all you need is normal low-cost Ethernet cables to connect everything together to be able to control the FX9 from the RCP. You can use RCP’s from the 1500, 3100 and 3500 series and can control the white balance, exposure, including the ND filter, black balance and many of the paint settings.
Real-time Proxy Uploads
The way the camera can upload proxy files has been changed. Previously, prior to uploading a proxy file, you must have finished recording the clip. Now you can break the proxy files into upload chunks. This means that the file upload can start before you have actually finished recording the clip, speeding up the upload process, especially when shooting very long takes or clips. As the camera now allows you use many Android phones and iPhones as tethered modems by plugging into the USB modem ports on the XDCA-FX9, it has never been easier to upload proxies quickly for offline edits or breaking news stories.
As well as all of the above there are a few other smaller new features in the FX9 in the version 3 firmware. The update is free, so I would urge all FX9 owners to update their cameras.
For further reading: FX9 v3 Now Available


