
03-08-2021 - Gear, Technology
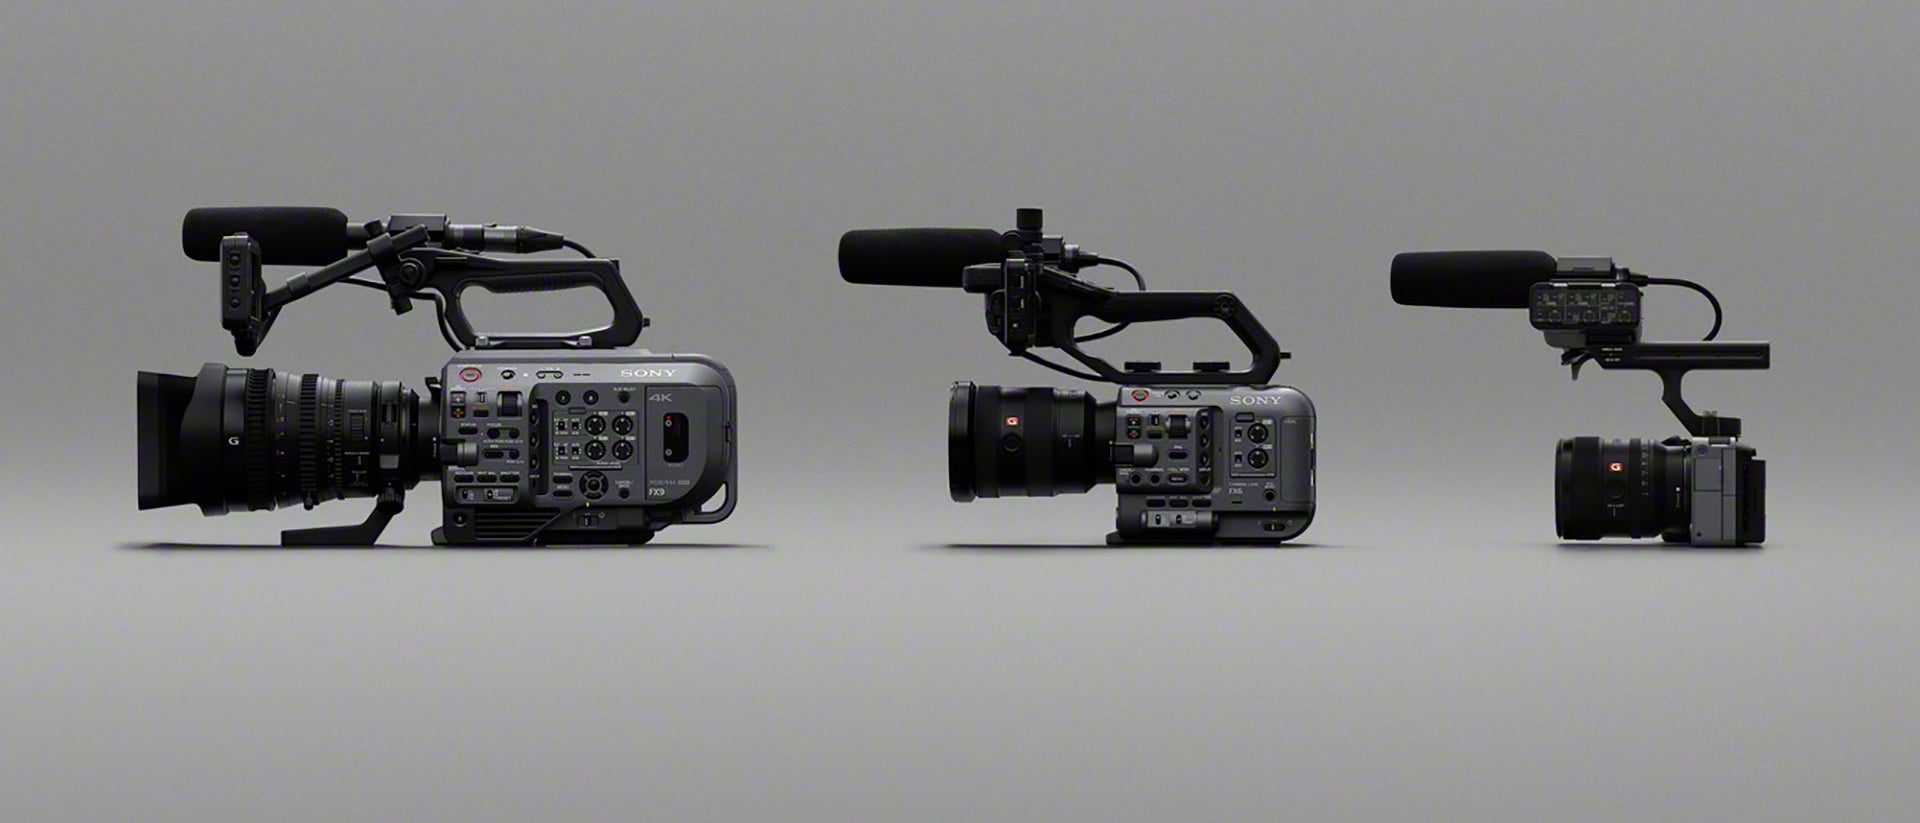
How To Correctly Expose S-Log3 – a7S III / FX3 / FX6 / FX9
By: Alister Chapman
There are many different ways to expose a camera and ensure the recordings are the right brightness.
But often the way you expose a video camera is guided by the way the pictures you are recording look on the LCD screen or in the viewfinder. But sometimes when shooting using S-log3 it isn’t always possible to gauge exposure simply by looking at the images in the viewfinder as they can appear flat, washed out and lack color. So, in this guide I hope to offer some alternative ways to set and check the exposure of S-Log3 whether you are shooting with an a7S III, an FX3 or an FX6/FX9.

Any exposure measurement or assessment requires some kind of reference. The best reference you can get will be a proper 90% reflectivity white card or an 18% reflectivity “middle grey” card. My favourite is actually the back of a DSC labs “One Shot” chart as this has both middle grey and 90% white side by side. But there are plenty of other cards on the market to choose from. I strongly urge anyone that shoots with S-Log3 regularly to invest in a good, reasonably large, good quality white and grey card. It needs to be a reasonable size as it’s much easier to measure the brightness of a large white/grey card than a tiny patch on a chip chart or similar. There are ridged charts from companies such as DSC Labs or X-Rite as well as handy, folding, pop-up charts from Lastolite.
However, I’m also well aware that there may be times when you don’t have access to a proper white or grey card. As a “get out of jail” alternative a piece of paper isn’t a terrible option. Generally a little bit brighter than a proper 90% white card, but any error this introduces will be very small, so white paper isn’t such a terrible compromise. You can also use faces and skin tones, but there is a very wide range of variation in the brightness of faces. However, they are still a useful option as we often shoot faces and people.
And what about a good old fashioned light meter? Well of course you can use a light meter. You’ll be glad to know that if I use my light meter to set my exposure it’s normally within half a stop of perfect. Sony’s ISO ratings for S-log3 appear to be spot on, so accuracy is largely down to the calibration of your light meter and the care you take when using it. Just remember that if using a light meter, make sure the camera’s shutter speed is matched to the light meter. Sekonic light meters in their movie mode assume you are using a film camera with a 180 degree shutter by default. So, if you are using a 1/60th shutter, a light meter in movie mode would be need to be set to 30fps.
But what about the in-camera options? I’m going to start with some examples using the Sony FX3. The a7S III works in exactly the same way so these suggestions apply equally to both.
First of all, what are the brightness levels we need to know?

Zebras settings

The zebra settings are found in the color/exposure area of the FX3 menu.
Zebras are your friends (in the UK they are zeb-raas, everywhere else they seem to be zee-bras). If you are coming from a stills camera that doesn’t have zebras, they are a hatched line pattern that is superimposed in the viewfinder over the parts of your image that are at the brightness level defined in the camera’s zebra settings. So, by setting the zebras to the appropriate value we can use them to measure how bright specific parts of our images are.
With the FX3 and a7S III, zebras are in my opinion the best way to check your S-Log3 exposure levels. But you will need to set the Zebra level to the right custom level depending on what you want to measure.
To measure the brightness of a white card you will need to set the level to 61%. To measure the brightness of a grey card, 41%. For faces and skin tones the value I chose to use is 52%. This is the brighter end of the skin tone range, but with S-Log3 it is generally better to be a little bit brighter rather than a bit too dark.

In the image above you can see that I have chosen custom zebra setting C1 and have changed the zebra level to 61% and also the zebra range (circled in yellow) to +/- 2%.

As well as setting the zebra level I also change the zebra range. This narrows the range over which the zebras will be seen. By reducing the range to +/-2, zebras will only appear over in this case anything that is between 59% and 63% and this makes your exposure measurement more accurate.
Now place your white card in the scene and point the camera at it to check the exposure.
The 61% zebras are only visible on the cameras own screen. But as you can see here above, I have the stripy zebra pattern over the white card and white patches on the greyscale chart and this tells me the camera is correctly exposed for S-Log3.

And above you can now see zebras that have been set to 41% in order to measure middle grey instead, now the zebras appear over the middle grey side of my reference card with exactly the same exposure settings.

But what if you don’t have a white or grey card, perhaps there isn’t time to use one. This may be where skin tones become the best option. In the image above I have set the zebras to 52% and you can see the how the zebras are now across the skin tones of the mannequin.
So you can see how zebras can be used to measure either a white card, a middle grey card or more approximately, skin tones. In this case it should be remembered that we are measuring the recording levels of the S-Log3 itself. It’s also worth taking note of the “M.M. +0.3” indication at the bottom of the viewfinder display. This is the cameras internal exposure metering, and it thinks that in this case the camera is over exposed by 0.3 stops. This is a helpful indication, but the measurement takes a scene average and when shooting S-Log3 this is very easily confused and may not always be correct. I would only ever be concerned if this value is greater than +1.0 or lower than -0.5 and then I would want to re-check my exposure.
You can also use auto exposure, but I don’t really recommend this as when shooting with S-Log3 any changes in exposure during a shot can make post production grading difficult. If using auto exposure I suggest adding a +0.5 EV offset to help ensure you are never accidentally under exposed.

Viewfinder Display Gamma Assist
Another useful tool in the FX3, a7S III and also the FX9 is the camera’s Viewfinder Display Gamma Assist function. This is very similar to an MLUT (Monitor Look Up Table) but it only works via the camera’s built-in viewfinder display. When viewing correctly exposed S-Log3 it will often look flat, washed out and lack color. This makes judging whether it is correctly exposed, or not, difficult. However, by turning on the camera’s Viewfinder Display Gamma Assist function, the image in the viewfinder is corrected so that it should look normal. This helps provide the reassurance that you are correctly exposed. If you are under exposed the image will now appear obviously dark and if you are overexposed, it will appear obviously too bright. You should be aware that when using the Viewfinder Display Gamma Assist the zebras are still measuring the S-Log3 levels so you should continue to use the zebra levels appropriate for S-Log3 when using Gamma Assist.
Note that the zebras, set to 52% for skin tones in the above example, appear over the same skin tone areas both with and without the gamma assist, even though the brightness and contrast is quite different. This is because the levels the zebras measure are not affected by the Viewfinder Display Gamma Assist as it is purely an adjustment to the way the footage looks in the viewfinder. Gamma Assist has no impact on the levels actually recorded or the levels on the HDMI (and SDI) output.

Here we can see that the zebras of this FX9 have been set to 61% and the aperture to 2% to increase the accuracy of the exposure measurement.
Zebras with the FX6 or FX9
You can also use zebras with the FX6 and FX9 in exactly the same way to measure the S-Log3 exposure directly. If you are using the CineEI mode, the zebra levels you need to use will depend on whether you are using the cameras MLUTs or not. With these cameras the Zebras and the Waveform display (more on that in a bit) measure the image that is on the SDI and HDMI output. When the MLUT is off for the SDI/HDMI then you will be measuring the S-Log3 level, when you have an MLUT on for the SDI/HDMI then you will be measuring the MLUT levels.

As seen in image above, when the MLUT is off for the SDI/HDMI we are measuring the S-Log3 recording level. The “SG3C/Slog3” indication just above the waveform display tells us we are measuring the S-Log3 and with the Zebras set to 61% we have zebras across the white card and white bars of the test chart telling us we are correctly exposed. Just like the FX3 we can use 41% zebras for middle grey and 48-52% zebras for skin tones when measuring the S-Log3.
You can also use the waveform display on the FX6 and FX9 to measure the exposure level.

When using an MLUT.
When using the default s709 MLUT and this is enabled for the SDI/HDMI outputs both the waveform and zebras will now be measuring the brightness levels of the MLUT. Because of this we need to use different Zebra levels for s709 compared to S-Log3.

If you are using an FX6 it has a particularly useful function where a yellow line is superimposed on the waveform display at the waveform level corresponding to the zebra levels you have chosen.

My preferred way to set up the zebras in the FX6 is like this, above.
As you can see I now have 2 new zebra levels set, 61% and 77%, and these levels are very useful.
With NO MLUT I can use 61% to measure the S-Log3 and a white card as in my previous examples. But when turn on and use the default s709 MLUT the 61% zebras correspond nicely with brighter s709 skin tones, so without the LUT, 61% measures white, with the s709 LUT 61% measures brighter skin tones, I have no need to change the zebra value.

In the image above of the FX6’s LCD you can see how 61% zebras are showing across my brighter skin tones when the s709 MLUT is enabled. I know I am measuring the s709 because of the “LUT s709” indication just above the waveform display.
Also note that there are two orange lines on the waveform display, the lower of which is zebra 1 at 61% and the upper is zebra 2 at 77%. Note how the brightness level of the white card is at the 77% line. This tells me this is correctly exposed.
In addition, because I am using the MLUT I can also assess my exposure simply by looking at the image on the screen. Does it look right?
The relationship between white, skin tones and middle grey never changes. Whether you are outside on a bright sunny day or indoors in a dimly lit room these ratios don’t ever change. So, if you expose a grey card correctly, white and skin tones will also be correct. Similarly, if you expose a white card correctly, middle grey will also be correct. Using a white or middle grey card will result in consistently accurate exposure. Skin tones are not as accurate due to the wide brightness variation from person to person, but they are still a useful guide.
The a7S III/FX3/FX6/FX9 are all low noise cameras. There is no need to expose these cameras any brighter than the Sony recommended levels for most normal scenes. So, there is no need to include the exposure offsets that I felt necessary with the FS5/FS7 etc. This makes exposing these cameras much easier as you don’t need to worry about offsets and there is the added benefit that you will have a larger highlight range. If you are shooting in scenes with very low average light levels you may choose to expose brighter than the levels I have suggested in this article. For that type of shooting, I really recommend using the FX6 or FX9 with their CineEI mode and using a lower EI of 400 or perhaps even 200 EI. Then, when using and measuring the default s709 MLUT you can continue to use the levels I have provided here for s709.
Alister Chapman is a regular contributor to SonyCine.com. Check out his website HERE.


