
11-11-2022 - Technology, News
Introducing the Sony Low Contrast Base LUT
By: Oakley Anderson-Moore
The new Low Contrast Base LUT was developed by legendary Color Scientists Josh Pines and Chris Kutcka and creates the ultimate starting point for almost every project.
Josh Pines and Chris Kutcka have been coloring cinematic images for decades. Star Wars, Blade Runner, Jurassic Park, Saving Private Ryan, Titanic and Kill Bill are just a few titles they've worked on.
Only a handful of individuals across the planet know as much about color as these two. So who better to create a low-contrast Base LUT than these two?
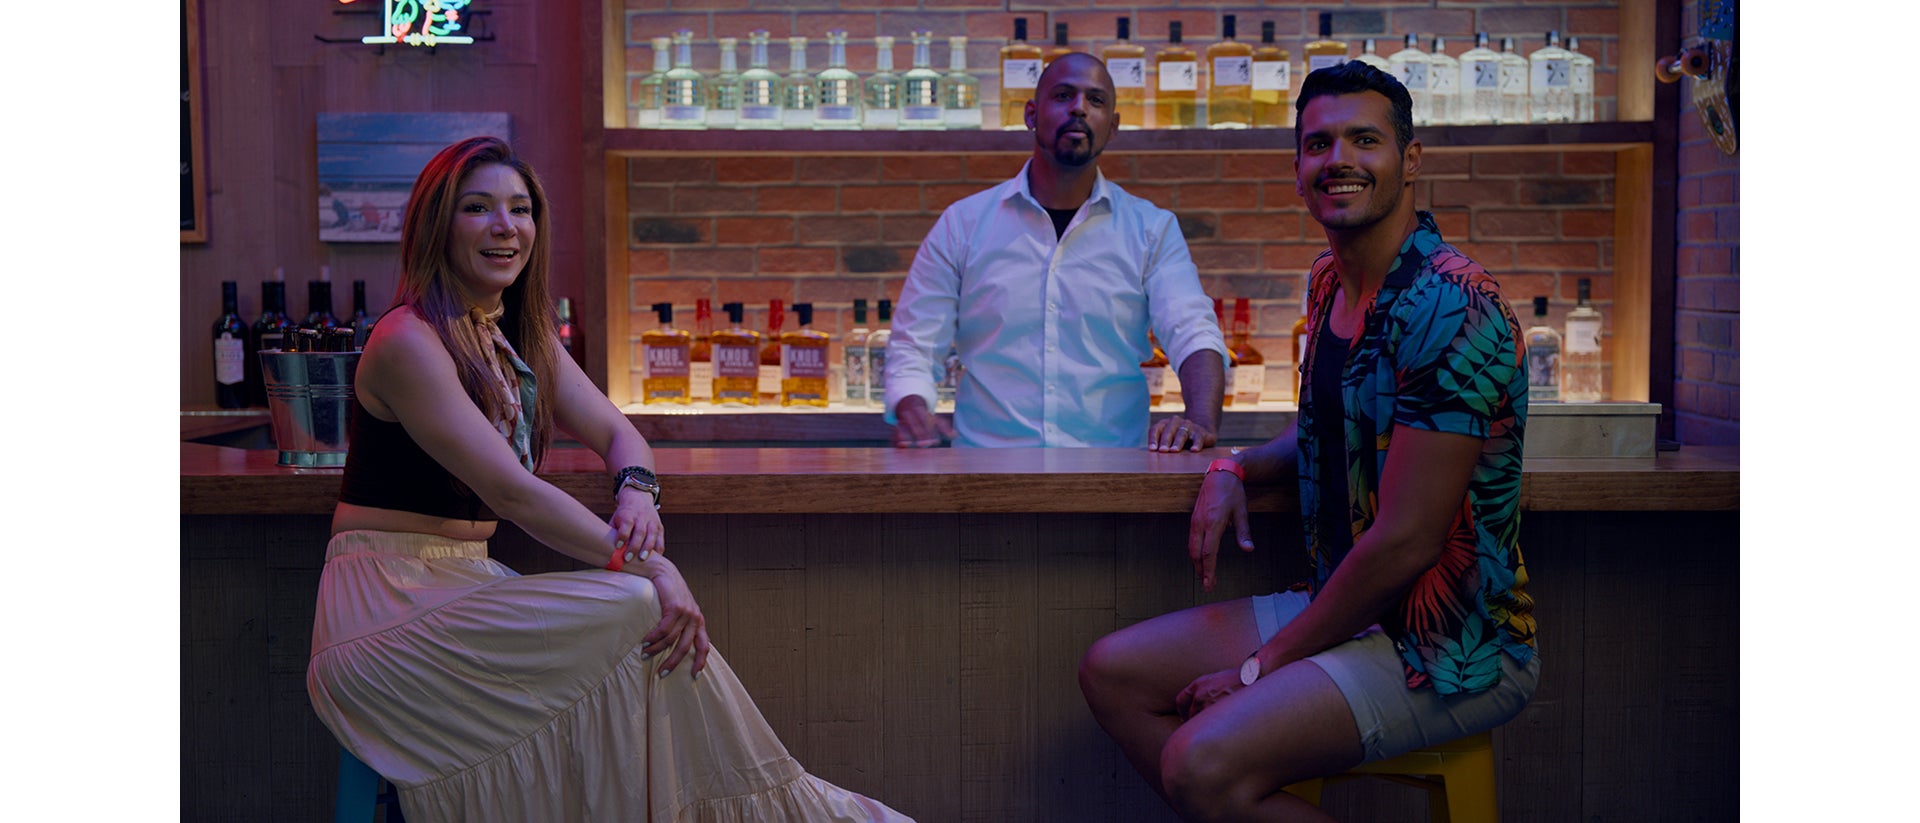
SonyCine sat down with Picture Shop’s Chief Color Scientist, Josh Pines, Manager of Imaging Science Chris Kutcka, and Senior Colorist Jason Fabbro to discuss the new Sony VENICE 2 low contrast base LUT. The new Low Con base LUT was developed based on the color science of the VENICE 2 and gives filmmakers a low contrast starting point. Unlike a regular LUT, this base LUT is designed as a starting point. It allows filmmakers to push the look of the LUT in any direction.
To learn more about the LUTs and to see the entire collection in action, watch the video
What's a base LUT, and why do you need one?
For Josh Pines, creating one essential low contrast base LUT is the key to solving cinema's digital color crisis. By now, almost everyone uses LUTs to transform their imagery into the final look. The only problem? People are trying to apply off-the-shelf LUTs to footage that it wasn't meant to be used on, and it just doesn't work.
"Unless it's exactly right for the project, you find yourself fighting against parts of the LUT," explains Pines. "Any LUT, any viewing transform that looks good, has done something destructive. I mean that mathematically. It limits the gamut, imposes a higher contrast."
The way Pines sees it, most LUTs act like a One-Hour Photo. Remember when you could shoot a roll of film and take it to one of these quickie kiosks and get prints in under 60 minutes?
"The pictures look fine, but believe me, the person being paid minimum wage at the drugstore is not taking each of these pictures and turning knobs to make them look good. No matter what you shot, it all goes through the same process. That's how it works with off-the-shelf viewing transforms or LUTs."
As experts in the field of color science, SonyCine approached Pines and Kutcka and asked them to create something completely different.
Enter the Sony Low Contrast Base LUT.
Pines and Kutcka designed this base LUT specifically with the Sony VENICE 2 in mind. The Sony Low Contrast Base LUT is based on the S-Gamut3.Cine color space and underlying S-Log3 curve to successfully map those color spaces for any display. The goal was to create a low contrast S-curve that enabled cinematographers, DITs, and their colorists to push the look in whatever direction they wanted.
"When colorists sit down with the creatives, DPs, and directors to develop a look, they usually want to start with something that's much more generic, very flat, and very desaturated," says Pine. "These are generic starting points. They don't fall off the truck looking good. That's the bad news. The good news is, boy, can you drive them anywhere you want!"
Many colorists use a base LUT for look development for this very reason. From a period piece to a modern, futuristic piece with any particular color palette, a base LUT allows the creator to easily drive the look of footage in any direction.

Above is a comparison of the Lo Con Base LUT versus Sony’s native s709 shot indoors with only available light using the Sony VENICE 2 and Cooke Varotal/i FF Zooms at Abelcine by Jon Fauer ASC.
Why the low-contrast base LUT gets you what you need the most: the S-curve
"If you go and look at paintings through the Renaissance or fashion photography from the '40s, you see the S-curve," explains Pines.
From Pines' perspective, going as far back as the Lascaux cave paintings, humans have been trying to capture high dynamic range real-world situations and show them on a relatively low-contrast display. The key to doing that is through the S-curve.
"But here's the thing. If you take your log image, like your standard grading tools, primarily to lift gain, gamma, saturation, and stuff, you can turn those for 12 years, and you're not going to get an S-curve response. This base LUT is a starting point and has this S-curve built into it."
Why grading using a base LUT is a better option than just using Log
You might be wondering, how is this different than grading the log footage? To Fabbro, Log is a blunt tool that, frankly, won't get you there.
"The advantage of Josh's base LUT is that if you want to start changing things. You want to start chipping away at that block, and it's going to happen in a much nicer fashion because you're starting with a better tool," describes Fabbro. "To stick with the sculpting metaphor, you have a nice, sharpened chisel that's going to you get nice, clean edges and look great, as opposed if you just take a big, blunt chisel. With Log, you just start whacking away at it, it's going to work, but then you'll have rough edges and broken pieces that you'll have to address. Starting with Josh's LUT, it will come out clean and smooth as you're chipping away.

Above is a comparison of Look 1 versus Look2, developed by Picture Shop Senior Colorist Jason Fabbro based on the Lo Con Base LUT. The original footage was shot indoors with only available light using the Sony VENICE 2 and Cooke Varotal/i FF Zooms at Abelcine by Jon Fauer ASC.
Two simple looks created with the Base LUT
Colorist Jason Fabbro, who worked on Servant, The Aviator, as well as Marvel blockbusters Avengers: Infinity War, Black Panther, Thor: Ragnorok, and Captain Marvel, demonstrates how you could use the 'Sony Low Contrast Base LUT' to develop looks. Given the number of very stylized looks in the Sony Picture Shop library, Fabbro opted to create two sample looks that offered a more subtle, filmic feel.
"The low contrast base LUT is a perfect starting point to develop a look because what you're grading into is essentially a nice film curve, but that gives everything in your exposed negative," describes Fabbro.
Fabbro says that when using the base LUT, any changes you make, whether that's pushing the highlights to roll off, crushing the blacks, or adding saturation, are easily done without any weird side effects.
"Imagine you have a block of clay, and we're going to turn this into a sculpture," says Pines. "How do you do that? You chip away at it and you throw stuff away. That is the art."
The Looks
For the first look, Fabbro added contrast and saturation while reducing the strength of the red color. For the second look, Fabbro increased the contrast and saturation strength while reducing the reds' digital look and lowering the strength the highlights.
Knowing the base LUT would be applied to different content and times of day, he didn't want to be too dramatic.
"It's a very soft direction that's going work well on a lot of different material, different content, different exposures," explains Fabbro. "For a perfectly exposed image, it's just going to add some nice contrast. It's going to make it a little more filmic. But if something's a little overexposed or a little underexposed, it's still going to translate well to that image."
How to use the low contrast base LUT in Post
So how do you make changes to the low contrast base LUT? You want to grade before it.
"If you grade after it, you don't get any advantage," explains Fabbro. "You're bypassing the S-curve if you grade behind it. Literally, in the sequence of how the grade's being done in Resolve, when I'm turning the knobs and making an adjustment, it's happening before that material hits that lookup table. When I make an adjustment, that adjustment then is moved forward in the correction chain, and the next thing in the chain is Josh's lookup table. You can add another correction on any color corrector so it's a lookup table that's held in. I happen to work on DaVinci Resolve, so it would be held in a single node. I would grade in the node before it."
It's that simple.
For Pines, part of the base LUT is trying to remain faithful to what everyone is doing on set.
"DPs are shooting something, lighting it," says Pines. "And there's the hair and makeup, costume, art direction, set design too. Everyone is spending a lot of time on it. So the goal here, with this LUT, is to capture everything in the best possible way from that set, or the real world, and carry everything you have into post-production."
The new LUTs can be found HERE.


