10-02-2020 - Gear, Technology
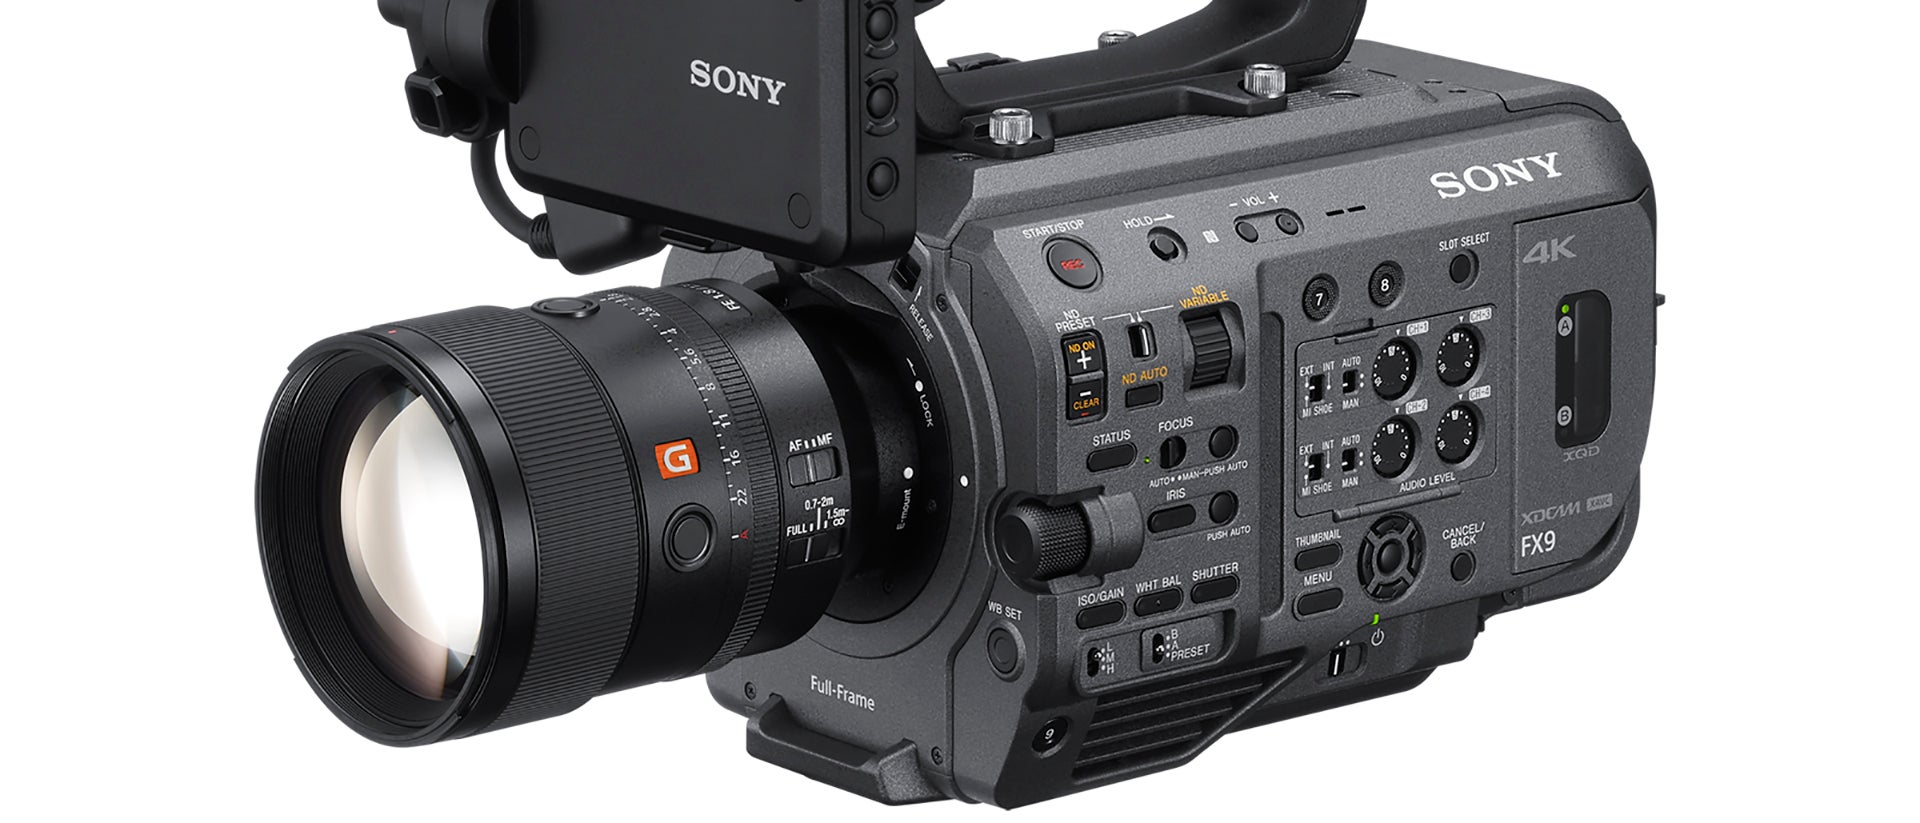
FX9 Version 2 Firmware Overview with Alister Chapman
By: Alister Chapman
Alister Chapman is a DP, editor, producer, educator, and is very well versed in technology and all things camera and video related.
To learn more about Alister Chapman, visit his website: xdcam-user.com
Also by Alister Chapman:
Video Guide to the Sony FX9 with Alister Chapman - Part 1
Video Guide to the Sony FX9 with Alister Chapman - Part 2
Performing the update
Before going any further a few notes about updating the firmware.
1: Follow the instructions included with the firmware download.
2: Follow the instructions included with the firmware download.
There are several networking items that must be disabled before the firmware can be updated. In addition, the camera really should be running from the supplied main power supply. I strongly recommend that you insert a fully charged battery so that should you lose main power, the firmware update will continue under battery power. The update takes about 40 minutes to complete, so it would not be at all wise to try to do the update using just a BP-U30 or BP-U35 battery as there is a high risk of the battery going flat before the update completes.
Also don’t be alarmed when you start the update and the LCD goes blank for an extended time. This is normal, the screen will be blank for around 5 to 10 minutes before you see the progress information on the screen. I suggest going for a coffee or doing something else while you wait for the update to complete.

What is Version 2 firmware?
So, what does the version 2 firmware update mean for users of the PXW-FX9? The headline updates included in the firmware are the addition of a new sensor scan mode called Full Frame Crop 5K, the ability to output 16 bit raw via the XDCA-FX9. Touch screen operation and the addition of Eye AF to the already excellent autofocus system. In addition, users can now load their own LUTs into the camera when using the Cine EI mode and the camera’s base operating modes have been altered a little to accommodate a new dedicated HDR mode.
I’ll come back to these in a bit. As well as all of the above there are many smaller tweaks which are very welcome. One of my favourites is the addition of a new assignable button function that allows you to adjust both the autofocus speed and responsiveness setting without having to dive in the cameras menus. 
In addition, the Focus Area assignable button function now does two things, a short press allows you move the AF focus area when you are in either zone or flexible spot mode and a long press allows you to switch between the different modes.

4K DCI
The ability to shoot 4K DCI has been added, so now as well as 3840 x 2160 16:9 UHD you can now also shoot at 4096 x 2160 DCI 4K, 17:9. So if you want a slightly letterboxed image on a normal UHD or HD TV you can now have that as well. Plus, if you are shooting for theatrical release you can combine the 4K DCI frame size with the new straight 24p recording function. These are nice new features for those shooting drama, short films or perhaps using the FX9 as a B camera for a VENICE on a movie shoot.
And then to get your video out of the camera in UHD or 4K there is a further improvement as SDI 2 can now operate as a 3G output for HD, as a 6G output for UHD and 4K up to 30fps and 12G for UHD/4K at 50/60fps. So, no matter what your base frame rate or recording resolution you can always get a full resolution 10 bit SDI output.


ISO / Gain Expansion
The FX9 was already very sensitive in version 1, but now the upper gain and ISO limits have been increased still further. The maximum gain in both high and low base ISO modes has been raised from +18dB to +27dB and the maximum possible ISO rating in low base now becomes 20,000 ISO. In high base it’s a whopping 102,400 ISO. One bit of advice from me though is to never go significantly above +8dB gain in low base ISO (800 ISO if using S-Cinetone) as any higher than this and you are better off switching the camera to its high base ISO mode.

Full Frame Crop 5K
Coming back to the headline features: Full Frame Crop 5K is a new scan mode that sits halfway between the existing Full Frame 6K scan mode and the 4K Super 35 scan mode. The frame area is 82% of Full Frame. The main reason for the introduction of this scan mode was to get around the sensors readout limitation at 6K of a maximum frame rate of 30fps (19 million pixels are a lot of pixels to read out). The FF Crop 5K scan mode allows users to shoot at up to 60fps.
If you need to shoot 50i or 60i for broadcast, you can use this scan mode with the sensor operating at 50/60 fps so that you can record HD at 50i/60i. An added bonus is that there are many lenses designed for Super 35 that will also just about cover this larger frame size. Not all will be usable, and you will need to test for yourself, but it’s certainly a very useful scan mode. While talking about the scan modes there has also been an incremental image quality improvement when using the Super 35 2K scan mode to bring it into line with the quality the FS7 achieves in its Super 35mm 2K scan mode. Looking to the future in firmware version 3 we will also get a Super 16mm sized 2K center scan mode.

New Touch Screen
Switching between scan modes used to mean entering the camera’s menu system. But now you can use the camera’s LCD viewfinder as a touch screen and in combination with the camera’s status pages to quickly change many of the camera’s key settings. Not every function in the status pages can be changed, but most of the things that you need to change frequently or regularly can be accessed this way. I find this quicker and easier than going through multiple pages of menus. Simply press the “Status” button to bring up the status pages and touch on the setting you wish to change. If you don’t want to use the touch screen you can use the multi-function dial to scroll through status page options and change them via the multi-function dial.

Another touch screen function is the ability to touch the screen to quickly move the autofocus zones while using AF. When using the camera’s “flexible spot” AF zone you can perform quick focus pulls from area of the frame to another quickly and easily just by touching where you want the camera to focus.
The autofocus itself is further improved in V2 with the addition of Eye AF. Eye AF will detect the eyes of people in your shots and ensure that when you are using either the Face/Eye Priority or Face/Eye Only AF modes that it is the person’s eyes that are sharp. The FX9’s autofocus system is one of its big strengths, it really is a revelation and now something I use more often than not. Eye AF makes it even better as it makes it very easy to get pin sharp eyes, even when your subject is moving around a lot. Something that can be quite a challenge when shooting Full Frame with a large aperture.

Monitor LUTs
Something else I use a lot is the ability to load user MLUTs into the camera for use when shooting with the Cine EI mode. The way the FX9 uses user MLUTs is much improved over the FS7 or F5/F55 cameras as there are now 16 separate MLUT memories in the camera and LUTs are stored using the original LUT name rather than just a number. To load a 3D .cube LUT into the camera the LUT must be placed in the “Sony” – “Pro” – “LUT” folder of an SD card that has been formatted in the camera’s utility card slot. From there, the LUTs can be loaded into the camera and then recalled as needed when shooting S-Log3 in Cine EI. When outputting with an MLUT applied the first 8 characters of the LUT’s name will be displayed directly above the waveform display in the viewfinder, so if you have two LUTs with similar names I recommend ensuring that the very first part of the LUT’s names are different. If you name them as “Blockbuster V1” and “Blockbuster V2” both will be shown as “Blockbus” in the viewfinder so better to name them “V1Blockbuster” and “V2Blockbuster” so that you will get “V1Blockb” or “V2Blockb.”
While most of the camera’s output MLUT options remain unchanged from the version 1 firmware, a small improvement is the ability to apply an MLUT to the viewfinder when shooting in UHD/4K and outputting UHD/4K. Previously, in this configuration it wasn’t possible to have a viewfinder LUT without baking the LUT in to your file, but now it is possible by enabling the monitor LUT option.
16-bit RAW
In the search for the highest possible image quality many people now wish to record the camera’s output as a RAW signal. A RAW output bypasses much of the camera’s internal image processing. This allows you to do that processing in post-production where you have more control. But if you want to do the processing later in your workflow, it’s then essential that you record the best quality data that you can. From version 2, the FX9 can now output 16-bit RAW via the XDCA-FX9 accessory.
This exceptionally high quality uncompressed output can then be recorded on a suitable external recorder. At the time of writing the only recording option is via an Atomos Shogun 7 recorder with updated firmware. The Shogun 7 is an affordable recorder/monitor that uses economical off-the-shelf SSD media. So this gives us a a very low-cost recording option. However the Shogun 7 can’t record 16-bit ProRes RAW so it has to convert the 16-bit RAW to 12-bit. It does this using what is, according to Atomos, a visually lossless process that converts the 16-bit linear data to 12-bit log data. I’ve been lucky enough to have shot RAW with a beta of the firmware and I have to say that it was very nice to work with.

To be clear though – RAW won’t give you more dynamic range, it won’t give you a wider colour range, and you must still expose and white balance correctly. In many cases it will be extremely difficult to see a difference between something shot correctly and recorded using S-Log3/XAVC and the 16-bit RAW output. But I do find the RAW easier to bend and manipulate in post than the XAVC recordings, so when I really do want to squeeze every last drop of image quality out of the camera, RAW will be my preferred recording format.


SDR, HDR, Cine EI
Last but by no means least, the cameras operating modes have been divided up, so where there was just two modes: Custom and Cine EI, there are now three, SDR, HDR and Cine EI.
SDR mode is exactly the same as what used to be called Custom mode, so no changes there other than the name. The Cine EI mode also remains unchanged. HDR mode is an entirely new mode designed for shooting HDR content quickly and easily using HLG – Hybrid Log Gamma. HLG is an HDR gamma curve, so it is always going to be best viewed on a suitable HDR TV or monitor. But HLG, although optimised for HDR, can also be viewed in SDR on an SDR TV or monitor without looking terrible.
There are two HLG Looks that can be selected via the Paint settings in the HDR mode. The default “HLG Live” look is broadly aligned with Rec-709 so it gives a contrasty, dynamic-looking image that doesn’t need any further grading or post production whether viewed in HDR or SDR.
The “HLG Natural” look is more closely aligned with the BT.2100 HDR standard, so this looks a bit flat and dull on an SDR TV, but it looks great in HDR!
Do note that when shooting using HLG you should be exposing skin tones around 60% rather than the 70% you would use for Rec-709. If you do overexpose the HLG it might not look too bad in SDR but it really won’t look good in HDR. To help you avoid this the camera’s Viewfinder Display Gamma Assist function is enabled by default in the HDR mode and this allows you to gain a good sense of how your HLG footage will look on an HDR monitor even though the LCD screen isn’t a true HDR display.
All in all, there are some great new features in the version 2 firmware. But version 2 is not the end. There will be more updates in the future and the FX9 will continue to get even better than it already is.