05-25-2023 - Technical Guides, Gear
A Filmmaker’s Cheat Sheet to Get the Most Out of the FX3/FX30 Firmware Updates
By: Oakley Anderson-Moore
It’s been almost a month since two amazing firmware updates were released for the FX3 and FX30. The 3.00 and 2.00 updates came with lots of new features that filmmakers requested.
Have you used them yet?
There’s no better way than to use it in the field. However, once you get into the field, if you’re like me, you may realize you don’t quite know how to find all the new features. After doing this myself, I decided to compile a handy cheat sheet with links and tips on how to find and make use of all the new creative tools that you get in the FX3 3.00 and FX30 2.00!

Photo credit: Estefania Villaquirán
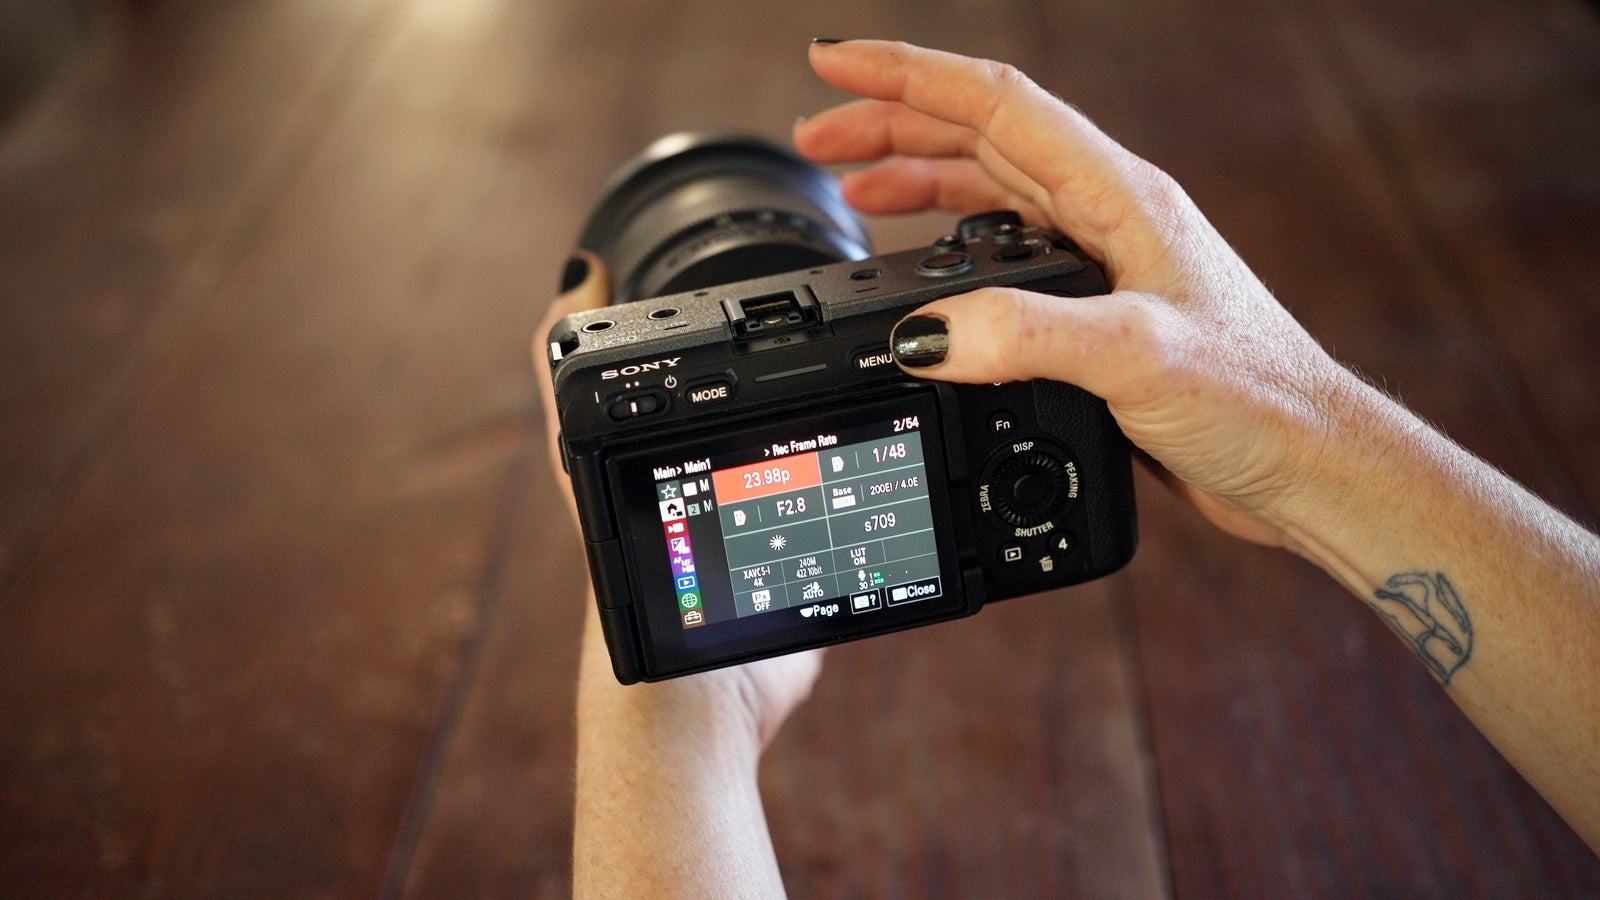
First, how to update?
If you haven’t already, on the FX3, you’ll need to download the Sony Camera Driver and the new ILME-FX3 System Software (Firmware) Update Ver. 3.00. (If you haven’t yet updated to 2.0, you’ll need to also download that and upgrade in order from 1.00 > 2.00 > 3.00.)
If you’re using an M1 Apple computer like me and have encryption enabled, there’s an extra step involved at this point. You’ll need to restart in utility boot-up mode and disable it for the duration of the upgrade. With a few clicks where you feel like a cybersecurity professional hacking your own computer, you’re ready to follow the rest of these step-by-step instructions. In short, you’ll run Sony Camera Driver on your computer, followed by connecting the FX3 using your data cable. Don’t forget to bring encryption back when all is said and done!
With the FX30, you download the ILME-FX30 System Software (Firmware) Update Ver. 2.00 onto your media card, and pop it into the camera, and follow the upgrade instructions on the screen.
Shoot at DCI 4K in True 24P
There’s a brand new format in town, and it’s XAVC S-I DCI 4K (17:9). When you shoot in this format, you’re shooting at DCI 4K in true 24.00p. As I’ve said before, one of the most admirable aspects of owning a Sony camera is knowing that Sony engineers not only listen to filmmakers who use their cameras, but also add features based on their feedback! For a while, the ability to shoot in 24.00P was one of the most common things I hear cinematographers asking about with the FX3. It’s not only to be able to capture stories intended for a theatrical release in theaters projected in 24.00P (or a festival run with the intent to have a 24P-capable DCP made) but to help the camera match on set with other Sony cameras in the Cinema Line.
It’s also pretty sweet to note that DCI 4K means you get an even larger frame to work with. If you are delivering in UHD, this gives you a little extra room to reframe, either to add something creatively, or to frame out that boom pole!
To set this in-camera, from the Menu go to Shooting > Image Quality/Rec > File Format > XAVC S-I DCI 4K.
Just so you know, when shooting in true 24.00p, you won’t be able to have proxy recordings in other shooting modes. If you’re editing and proxies are important to you, you’ll just need to batch create them in Post.
What are you compensating for? Focus Breathing!
There’s nothing as satisfying as a perfect rack focus pull. With all the neat advances of modern lens optics, we’ve also picked up this growing issue of “focus breathing.” As you probably know, focus breathing is the phenomenon where you adjust the focus, and the angle of view, or perceived focal length, shifts too. On the new update, when used with compatible lenses, focus breathing compensation minimizes those shifts. And on top of being able to make it disappear most of the time with the new update, there’s help in Post to minimize anything stubborn using Catalyst Prepare/Browse and Catalyst Prepare. There’s a list of the compatible lenses here.
This is a specific update for the FX3, because as you may know, the FX30 already had this sweet spot covered.
To use focus breathing, from the Menu go to Shooting > Image Quality/Rec > Lens Compensation > Breathing Comp. > Auto.

Photo credit: Estefania Villaquirán
Desqueeze that beautifully wide anamorphic footage
At the end of winter, I shot an anamorphic test shoot with the FX3 and FX30. At the time, the only way to monitor was using a monitor that could de-squeeze. Now, both cameras can de-squeeze in-camera at 1.3x and 2.0x. This is very exciting, not only because it makes viewing native with or without a monitor, but circumvents the limitations that many monitors have with disabling color, LUT and histogram viewing while in anamorphic de-squeeze mode. Now there’s no reason not to shoot anamorphic on either camera!
To activate de-squeeze, while in Log shooting mode, from the Menu go to Setup > Display Option > De-Squeeze Display.
Just a heads up, when using de-squeeze, autofocus and image stabilization are automatically disabled. If you’re familiar with the way the options of most anamorphic lenses work, you’ll know that they just don’t work with in-camera image stabilization and autofocus anyway.
Toggle between Standard Movie and S&Q settings
One thing I was reminded of when talking to cinematographer Bill Winters about the production of Rennervations is how important it is to be able to change settings with one button.
On the FX3 and FX30, before the update, there were many things you could assign, but not switching between S&Q mode and Standard Shooting mode. If you’re in the field and recording run-n-gun, the time to go to the menu and choose your S&Q setting could often mean not taking the risk to switch and missing some potentially exciting time lapses or in-camera slow motion sequences. Now, you can toggle to S&Q Motion from Standard mode with one touch.
To set your button to toggle between, decide what button you want to use. Then from the Menu, go to Setup > Operation Customize > [Movie Icon] Custom Key/Dial Set. When you click on the button you’d like to assign, navigate to [Shooting] > Shooting Mode > Movie/S&Q select.

Photo credit: Estefania Villaquirán
Naming your files the same as other Sony Cinema Cameras
With the new update, file naming goes "Camera ID+Reel number+Cameraposition+File number+Date+Random” to match the high-end cameras like the FX9, VENICE and VENICE 2. You don’t need to do anything for the new naming conventions, just start shooting, and if you have an FX3 or FX30 on set with a FX9, it’s that much more seamless in Post! Your editors will thank you, even if your editor is yourself.
Better connectivity between your camera and smartphone
At the end of last year, Sony came out with a new way for getting your beautiful footage from camera to phone, and it’s called Creators’ App. (On the App Store here and Google Play here.)
It’s free to use and improves on a lot of asked-for features from the previous Imaging Edge Mobile app.